You may not see what I did at first, but look at the photo on the last page and then look at this one and see if this photo looks sharper? Never mind the text right now, that is not what I am referring to. You
should be able to see more detail in the leaves of the pine trees.I selected the photo on the bottom (hold down the Alt key and click once on the photo to "drill down" to the next layer), then selected
Special Effects from the Bitmap Effects menu (Utilities > Bitmap Effects and Plug-ins > Special Effects. If it is not already selected by default, select Sharpen >
Medium and press OK to apply Xara's bitmap sharpness filter. The sharpness filter accentuates the edges of the objects in the photo and makes them appear sharper.
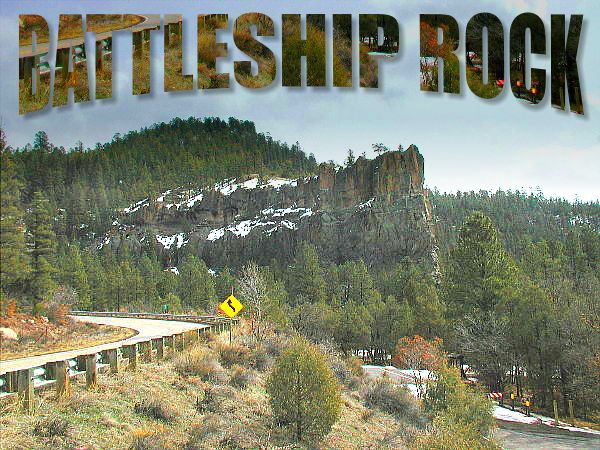
Finally, I applied a
Mould, Banner Envelope to the text, (Impact), straightened out the top portion of the envelope, and applied the brighter version of the photo as a bitmap Fill from the Bitmaps Gallery.
I positioned the fill so just the bottom part of the photo was filling the text. I applied a Wall shadow with the Shadow Tool to the text to lift it off the page a bit.
And that's it. Who would have thought there was that much color in that dull, washed out photograph?
If you have any questions, or comments, or criticisms, please use the
form on the next page to send me your comments. If there is something you would like to see covered in the Guest Tutorials, send your request using the form as well.