|
Step 5
So far so good. This next part is a little tricky. When you save the image you are going to specify that an image map file is saved alongside the GIF
or JPEG. An image map file is some HTML code which identifies the X/Y coordinates of some hotspots within your image. The good news is that Xara X sorts out the tiresome details of the coordinate data for you; you
just have to say for which objects you want the data output. You do this by specifying a web address for each hotspot object.
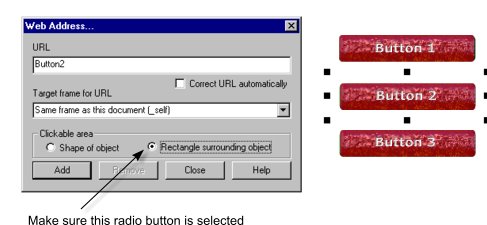
Select a hotspot object and choose the web address function (Ctrl+Shift+W). Enter a descriptive name for the hotspot (e.g. Button2) and make
sure you check the box for "Rectangle surrounding object". Press the Add button and repeat for each of the hotspots and also the Textbox area.
Step 6
Select everything and export as a GIF or JPEG file. The hotspot applet will
accept both GIF or JPG file formats so you can choose either. However, for this example I have chosen JPG with a compression rate of 40%.
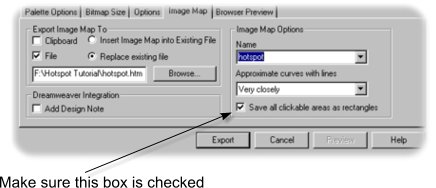
On the Image Map tabbed section of the export file dialog, check the "Export Map to file" box and select "
Replace existing file". Make sure also that you select the "Approximate curves to lines" option and that the "save all clickable areas as rectangles" box is checked.
|