|
 The second tabbed section in the Bitmap
Options dialog is Bitmap Size. The second tabbed section in the Bitmap
Options dialog is Bitmap Size.
Many of these options are grayed out. When exporting a bitmap, instead of creating a Bitmap Copy, these options are enabled.
Width and Height are the actual width and height of the selection in pixels at 96 dpi (Windows screen resolution). Changing one of these
sizes, changes the other size proportionately.
DPI (Dots Per Inchactually should be Pixels Per Inch) lists resolutions from 50 to 300. An image saved at 96 dpi will display in Windows
browsers at the same size the image displays in Xara at 100% Zoom Factor. 75 dpi is more or less Macintosh screen resolution (I believe it's
72 dpi) and will display about 1:1 in Macintosh browsers. 250 and 300 dpi are better suited to printed output, 300 dpi translating to about 150 lpi (Lines Per Inchused by commercial printers).
NOTE: Using a higher resolution will not add more detail to the image,
it just makes the image larger when viewed in a browser. For example, an image saved at 150 dpi will display twice the size as the same image saved at 75 dpi. This is why it's best to save the image at 96 dpi
if you want the image to appear same size or 1:1.
Anti-aliasing has two settings: Maintain Screen Anti-aliasing and Minimize Visible Anti-aliasing (checked by default). The difference
between the two options is very subtle. Xara recommends using the default setting unless you specifically have designed your image to anti-alias exactly as it appears on the screen.
As always, the most important button in any Xara dialog is Help. Pressing Help in most dialogs produces a context-sensitive menu
explaining options offered in that dialog. Preview will refresh the two preview windows in the Bitmap Options dialog if it does not do so automatically. And Create
gives Xara to go-ahead to create the image.
Limiting the Number of Colors
When creating a bitmap image with 256 colors or less, Xara generally tries to create the best image possible using what it considers to be the
perfect number of colors. As a rule, the result is hard to beat in terms of image quality and small file size. But there are times, when you may want to modify the number of colors.
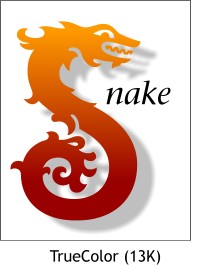 This image was created using the
TrueColor palette option and is only 13K in file size. This image was created using the
TrueColor palette option and is only 13K in file size.
The image has degraded slightly because after I created the bitmap copy, I exported it as a JPEG. The original image is smooth and crisp.
|
 Here are four more images saved as PNG
bitmap images with 256 colors and less.
Here are four more images saved as PNG
bitmap images with 256 colors and less.