 |
 |
 |
 |
 |
 |
 |
Importing Xara 3D 4 Images with Transparency
|
|||||||||||
Importing Xara 3D 4 Images with Transparency |
|||||||||||
I created this spacey looking image in Xara 3D 4 using a font called Glazer SteD (Glazer Stencil—designed by and named after Milton Glaser).
We'll use it for this demonstration. Here are the settings I used to achieve this high tech look. The font size is 48 points. The Extrusion Depth is 130. The Extrusion Outline option is selected with the
Depth set to 25. The Bevel type is 60% Bevel, the Miter option is checked, and the Bevel Depth is set to 800. Cool, huh? |
 |
|
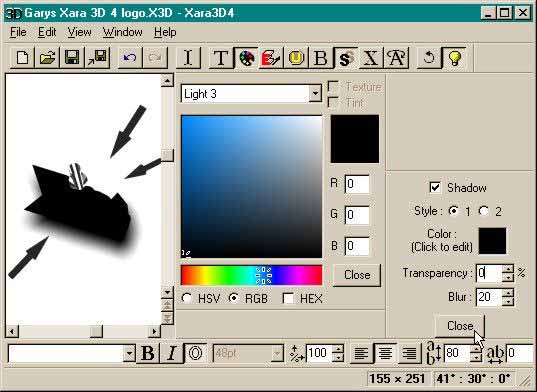
I Exported the image as a PNG file, using the 24-bit Color setting and with Transparency unchecked. Then I opened the Show/Hide Lights
dialog, selected each light and set the color to black. Next I selected the Shadow and changed the Transparency to 0 and the Blur to 20. I selected the background and made the color white. I exported
this as a Gif file, 256 Colors, and no transparency. |
|
As you can see, the background for the image is anything but transparent. |
|
|
A tip of the hat to Luciano Capello for the excellent tip. |
|
|
||||||||||||||||||||||||||||||||||||