WEBSITE AND WEBSITE GRAPHICS CREATED WITH XARA XTREME PRO

 H 1 2 3 4 5 Download Zipped Tutorial
 Creating a Slide Show in Web Designer 6
There are several new ways to create a slide show in Web Designer 6.
And they are all easy. How cool is that?
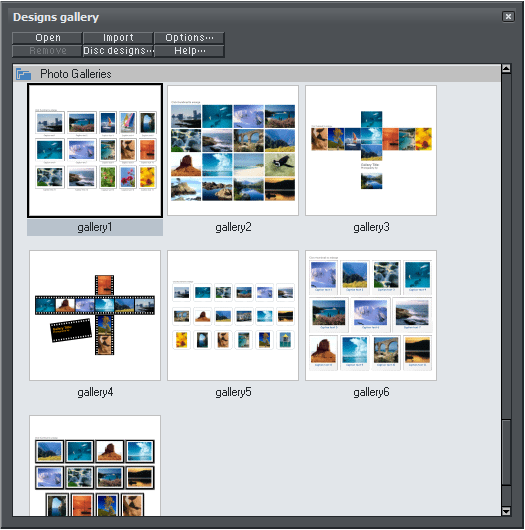
For those of you who prefer to press a button and let Web Designer 6
do all the work, there are numerous templates in the Designs Gallery
including the Photo Galleries selection shown below.
Creating a Slide Show in Web Designer 6
There are several new ways to create a slide show in Web Designer 6.
And they are all easy. How cool is that?
For those of you who prefer to press a button and let Web Designer 6
do all the work, there are numerous templates in the Designs Gallery
including the Photo Galleries selection shown below.
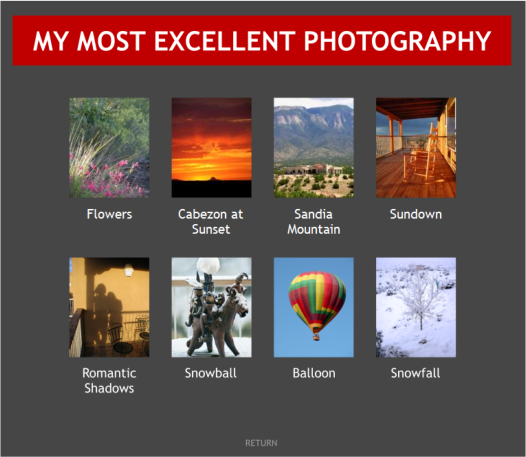
 Open one of the templates. Hold down the Ctrl key and drag and drop
an image from Windows Explorer onto an image. When you preview the
page the replaced photo will pop up when you click the thumbnail.
Some of the templates, though for some reason, not all, such as the
Photographer Theme, let you drag a selection of images, hold down the
Ctrl key, and drop the images onto the first thumbnail image in the
page. This replaces all of the images with the new photos. All in one fell
swoop.
The difference is that all of the thumbnails in the Photographer Theme
gallery have been named “autoreplace”.
You can create your own template. Select all of the thumbnail images,
press the yellow tag icon on the Infobar, and Add the name
autoreplace. This is it lets you create a reusable template and instantly
update a photo gallery. Brilliant!
Open one of the templates. Hold down the Ctrl key and drag and drop
an image from Windows Explorer onto an image. When you preview the
page the replaced photo will pop up when you click the thumbnail.
Some of the templates, though for some reason, not all, such as the
Photographer Theme, let you drag a selection of images, hold down the
Ctrl key, and drop the images onto the first thumbnail image in the
page. This replaces all of the images with the new photos. All in one fell
swoop.
The difference is that all of the thumbnails in the Photographer Theme
gallery have been named “autoreplace”.
You can create your own template. Select all of the thumbnail images,
press the yellow tag icon on the Infobar, and Add the name
autoreplace. This is it lets you create a reusable template and instantly
update a photo gallery. Brilliant!
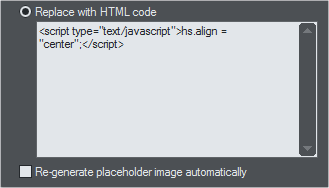 When the visitor clicks a thumbnail image, the pop up image is centered
over the thumbnail. You can override this setting so that every pop up is
centered on the page and not the thumbnail. Here’s how.
Just add a small placeholder anywhere on the page with the Placeholder
script shown above. The placeholder has to be on the page but it can be
small and will not be visible when the page is published.
If you are reading this Workbook, however, you probably like to have
more “pride of authorship”, that is to say, you would prefer to create
your own template. Here’s how.
When the visitor clicks a thumbnail image, the pop up image is centered
over the thumbnail. You can override this setting so that every pop up is
centered on the page and not the thumbnail. Here’s how.
Just add a small placeholder anywhere on the page with the Placeholder
script shown above. The placeholder has to be on the page but it can be
small and will not be visible when the page is published.
If you are reading this Workbook, however, you probably like to have
more “pride of authorship”, that is to say, you would prefer to create
your own template. Here’s how.
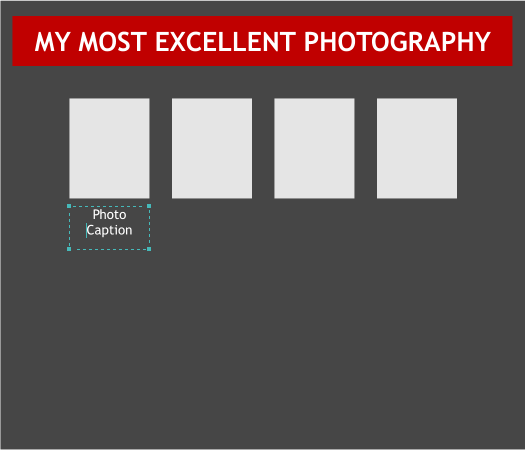 Design your page. Add rectangles for your photos (or bitmaps of your
illustration, design, etc.). Add some basic text and group the text with
the rectangle.
Drag and drop photos onto the
rectangles. Name each photo
autoreplace.
Design your page. Add rectangles for your photos (or bitmaps of your
illustration, design, etc.). Add some basic text and group the text with
the rectangle.
Drag and drop photos onto the
rectangles. Name each photo
autoreplace.

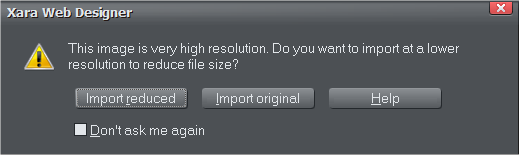 Hold down the Ctrl key. Drag and drop images from Windows Explorer
and drop them onto the first thumbnail. If your images are high
resolution, the dialog shown above will appear. Probably best to select
Import Reduced. The only effect I can see that this has is it works with
smaller images and thus creates a smaller file size when you save your
document.
After a few moments, all of the thumbnail rectangles will be replaced
with the new images. Change the page caption text as desired.
Ctrl click on each thumbnail and in the Image tabbed section, add an
Image Caption (Alt Text). Press Apply after you have added each
caption.
Press Options.
Hold down the Ctrl key. Drag and drop images from Windows Explorer
and drop them onto the first thumbnail. If your images are high
resolution, the dialog shown above will appear. Probably best to select
Import Reduced. The only effect I can see that this has is it works with
smaller images and thus creates a smaller file size when you save your
document.
After a few moments, all of the thumbnail rectangles will be replaced
with the new images. Change the page caption text as desired.
Ctrl click on each thumbnail and in the Image tabbed section, add an
Image Caption (Alt Text). Press Apply after you have added each
caption.
Press Options.

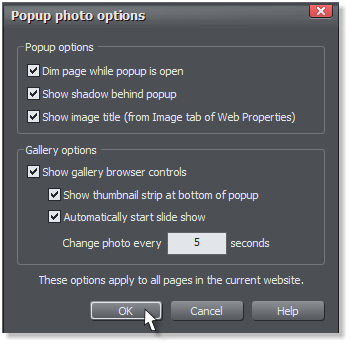 You can audition which of the options you want to use. I’ve chosen the
whole lot. Press OK to close the Popup Photo Options dialog and then
press OK again to close the Image Properties dialog.
Finally, add a placeholder as described above to center all of the popup
photos. Click here to see the Slide Show.
You can audition which of the options you want to use. I’ve chosen the
whole lot. Press OK to close the Popup Photo Options dialog and then
press OK again to close the Image Properties dialog.
Finally, add a placeholder as described above to center all of the popup
photos. Click here to see the Slide Show.