|
|
|
Another hot topic recently in the Xtreme Conference was the lack of a Fish Eye filter that can be applied to a bitmap. A Circular Envelope applied to a bitmap with the Mold Tool does nothing. So here's a quick and fun way to achieve this effect.
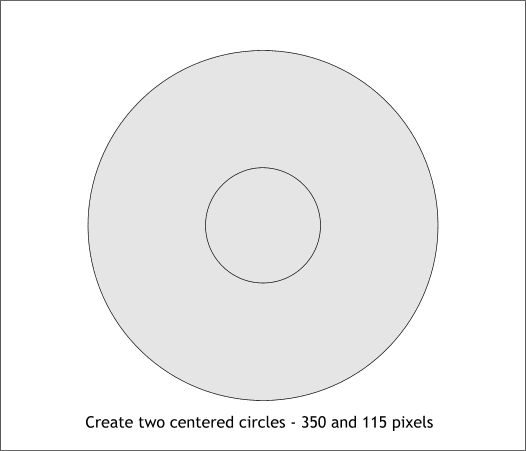
Create two circles to the sizes shown. These sizes can vary but for this exercise use these two sizes.
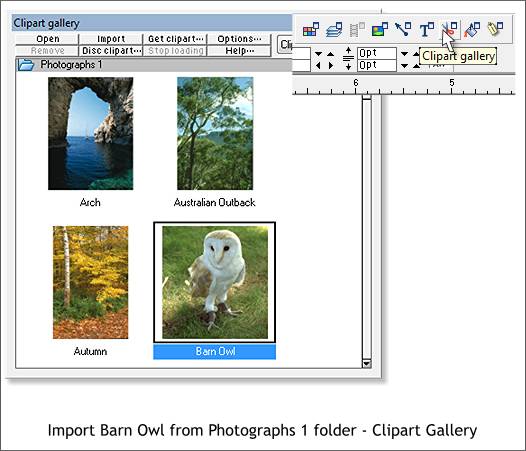
You can use any photograph but in this case we'll work with the Barn Owl photo in the Clipart Gallery > Photographs 1 folder. Select the photo and press Import to bring the photo into Xara. You can delete the photo because a copy is automatically placed in the Bitmap Gallery.
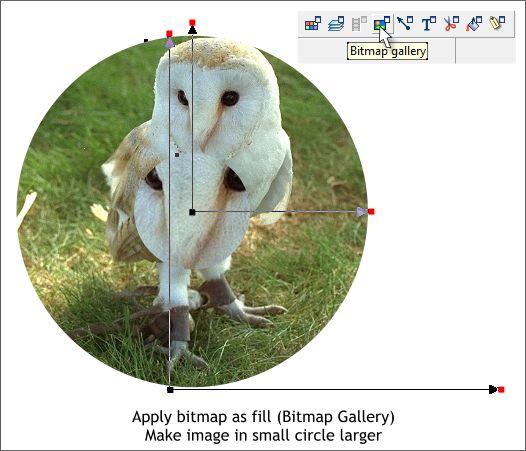
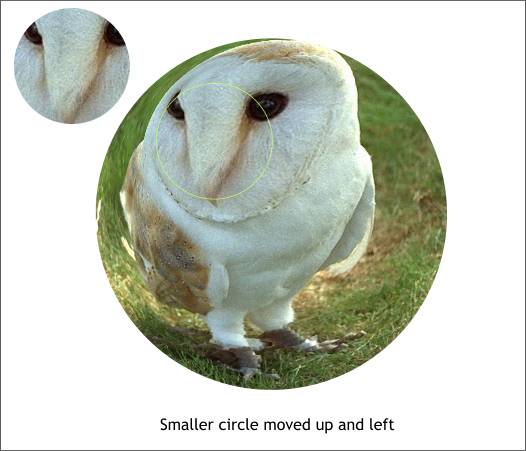
Select both circles then open the Bitmap Gallery (F11). Select the Barn Owl image then press Fill. Adjust the fill path arrows so the owl fills the entire large circle as shown and just part of the beak and eyes fill the smaller circle. The larger set of fill path arrows represents the smaller circle.
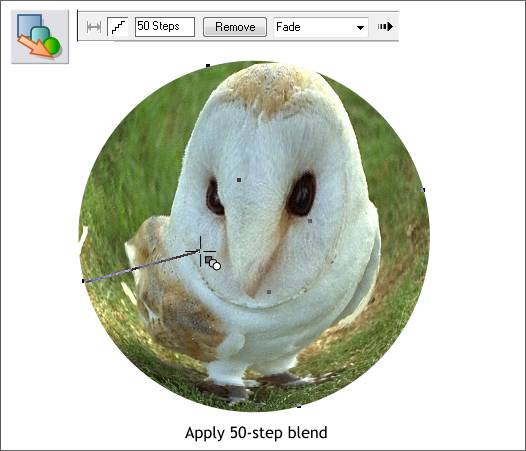
Select the Blend Tool (F7). Drag from the larger circle to the middle of the smaller circle. Change the number of Blend Steps on the Infobar to 50 and press Enter to apply the change. NOTE: For high quality, commercially printed output increase the number of steps. Zoom in to about 300-400%. If you can see the steps, increase the number of steps. You can go as high as 999 steps. And that's a simple way to create a fisheye lens effect.
I moved the circle to the left. You can select the smaller circle in the blend by holding down the Ctrl key then by clicking on the smaller circle. If you want to select the larger circle, first Ctrl click to select the smaller circle then press the Tab key to select the larger circle.
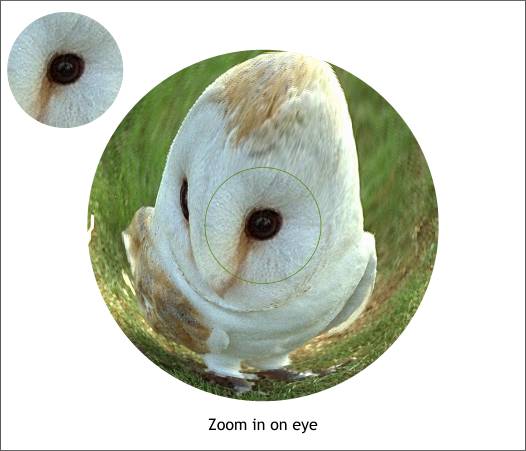
In this example, I made the eye larger in the small circle and centered the eye in the circle. Maximum fish eye, or is it owl eye, effect.
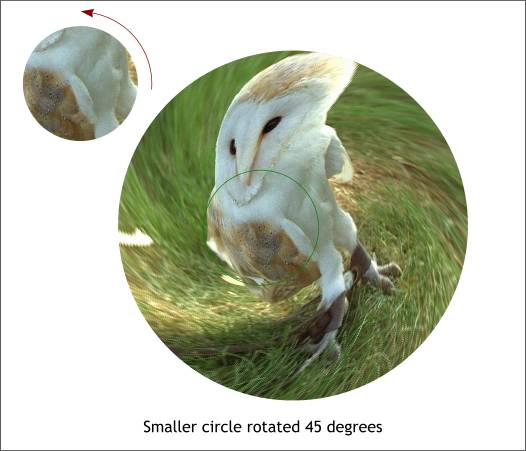
Both fills are the same in this example. In other words both fill path arrow positions are identical. The small circle was rotated 45 degrees anti-clockwise and then the blend applied creating a twisting effect.
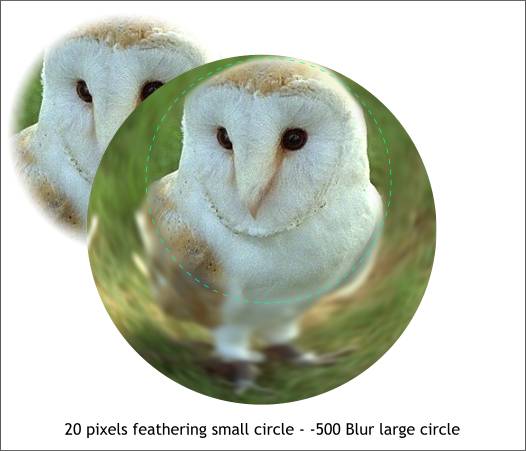
Here's how to create a zoom effect. Make the smaller circle about 1/2 the size of the larger circle. Make the fills identical. Add 20 pixels of feathering to the small circle using the Feathering slider found at the top right area of the Infobar. In the Xara Picture Editor > Enhance dialog (Ctrl e), reduce the Blur/Sharpen slider until the large image is quite blurred. Apply a blend.
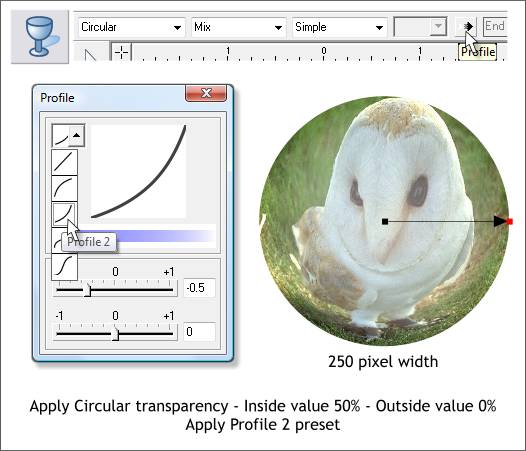
For the last part of this tutorial we'll create a bubble. Reduce one of the fish eye effect blends to about 250 pixels. Select the blend with the Transparency Tool (F6) and apply a Circular, Mix transparency. Change the transparency settings so the inside setting is 50% and the outside transparency setting is 0% (opaque). Click the Profile arrow icon on the Infobar (shown above) and from the drop down list of Presets, select Profile 2. NOTE: In Xara Xtreme and Xtreme Pro, blends and groups are treated as one object. So you can apply a transparency to a blend or a group of objects with the same effects as if you were applying the transparency to a single object or bitmap.
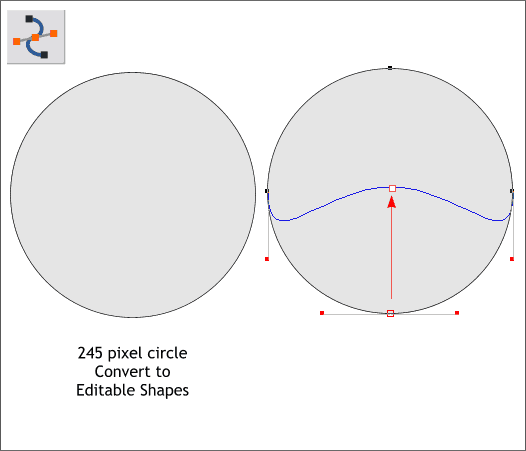
Make a new circle about 245 pixels in diameter. From the Arrange menu, select Convert to Editable Shapes. Switch to the Shape Editor Tool (F4). Drag the bottom center control point until it is about level with the left and right middle control points as shown above on the right.
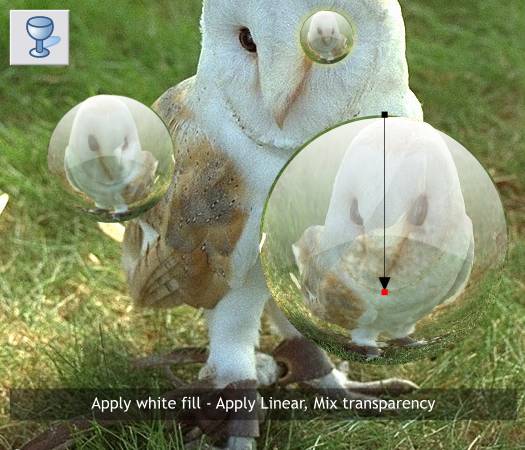
Place the shape over the top of the circle, change the fill color to white, and using the Transparency Tool click on the top of the white shape, hold down the Ctrl key (to constrain the angle), and drag downward past the bottom of the shape to apply a Linear transparency. Resize and arrange the bubbles over the original photo. NOTE: For the best results, work with high resolution images. And select images with a definite difference in scale such as the owl and the owl's face. The fish-eyed owl looks great on the screen, but the resolution is not really sufficient for use in commercial printed output.
|
||||||
|
|


