|
|
|
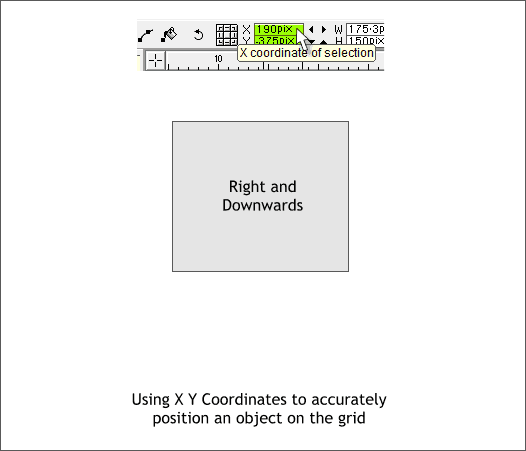
You can also use the X & Y Coordinates of Selection text entry boxes to accurately place objects on the grid or the page. Enter the precise coordinates and press Enter.
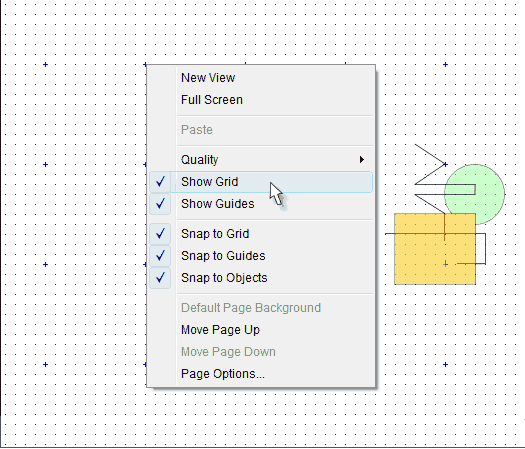
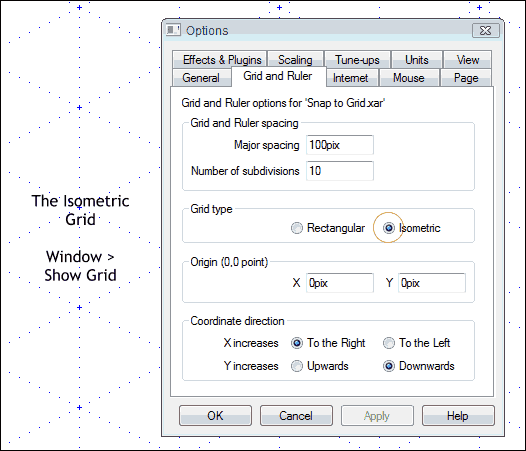
If you like, you can enable Show Grid (Window menu). This option displays a grid (Rectangular or Isometric) as you have specified in the Page Options settings (see below). If you remember my grid was set up for 100 pixel amounts with 10 subdivisions. This is the setting for the grid shown above. If you need to be more precise, increase the Number of Subdivisions and/or the Major Spacing settings in Page Options > Grid and Ruler Settings. Grids are magnetic. With Snap to Grid enabled, lines and objects snap to the grid points as you can see in my doodle on the right.
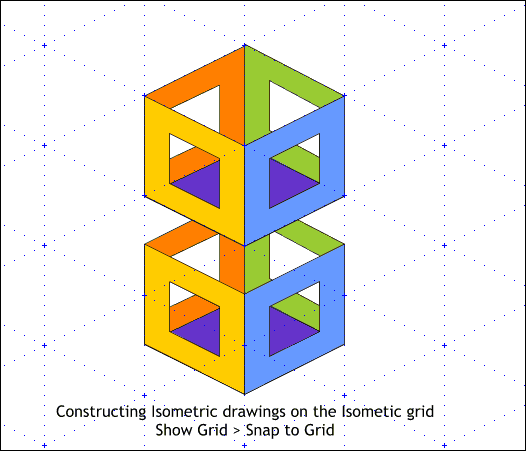
The Isometric Grid shown above is useful for drawing Isometric projection drawings. Isometric drawings are based on a set of angles: 30°, 60°, 90° and are used to create pseudo perspective as you can see in the next example.
The objects above were drawn on the Isometric Grid. They are 3D-like but are not in true perspective.
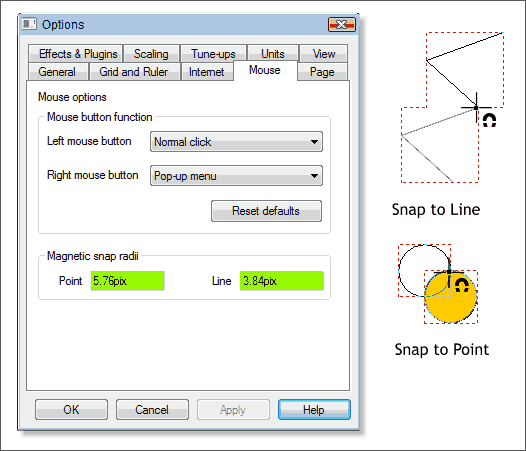
Finally, the Magnetic Snap Radii settings in the Page Options > Mouse tabbed section determine the precision of the snapping operation. To be honest, I never change these settings. But if you must, write down the default settings before you start to experiment. And be very careful that you do not accidentally set the values to 0 because if you do, nothing will snap to anything. This is one of the situations that frequently bedevils new users and is a frequent topic in the Xtreme Conference.
|
||||||
|
|


