|
|
|
How to make bubbles is a topic that comes to the surface frequently. Every time I do bubbles they seem to come out differently. Here's my latest attempt.
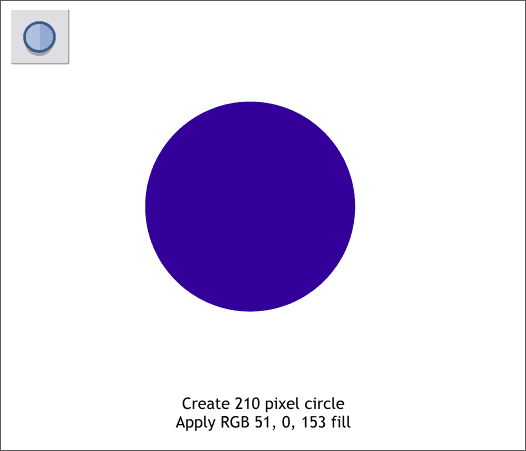
Start with a circle and apply a deep blue violet fill.
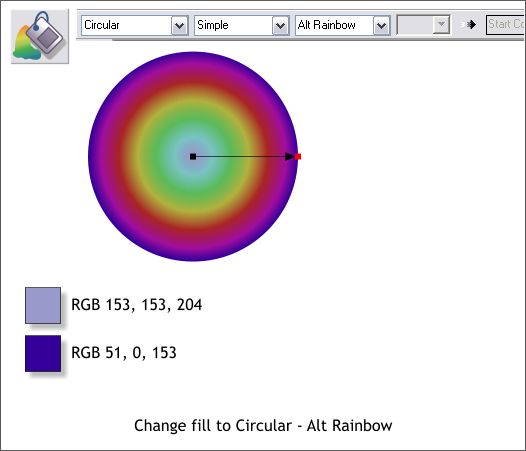
Using the Fill Tool (F5) change the fill type to Circular. And the Fill Effect to Alt Rainbow.
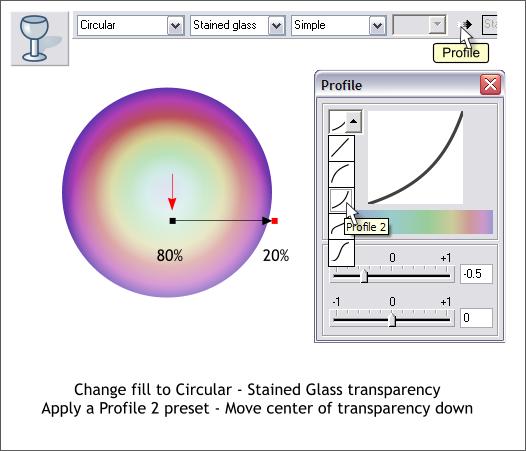
Select the circle with the Transparency Tool (F6) and from the Transparency Shape drop down list, select Circular. Change the Transparency Type to Stained Glass. Click the Profile icon to open the Profile dialog and select Profile 2 from the drop down list. Move the center of the transparency downwards as noted above. Change the inside and outside transparency amounts using the Transparency slider on the Infobar.
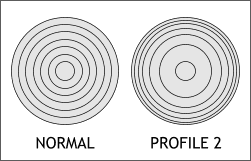
NOTE: Profiles change the spacing in a fill, transparency and other functions as shown in the diagram above. In the case of the bubble, a Profile 2 extends the center of the transparency outward.
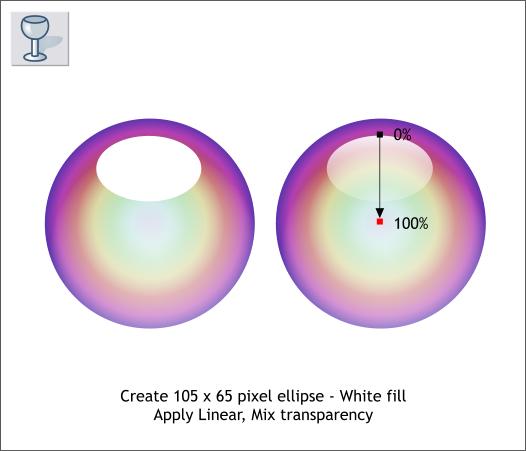
Add a white ellipse and apply a Linear transparency. Group the highlight and the bubble. That's it.
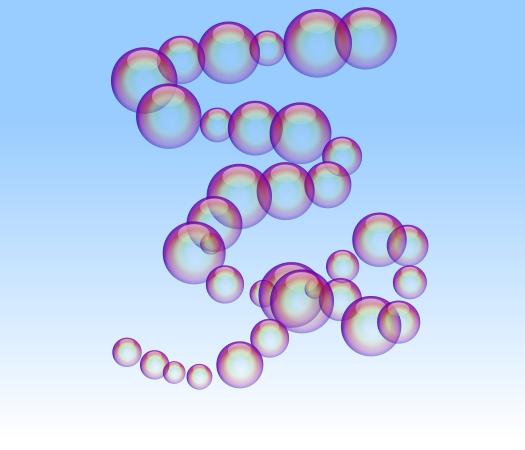
Make a bunch of duplicate bubbles and change the size and overlap some to get the full effect. 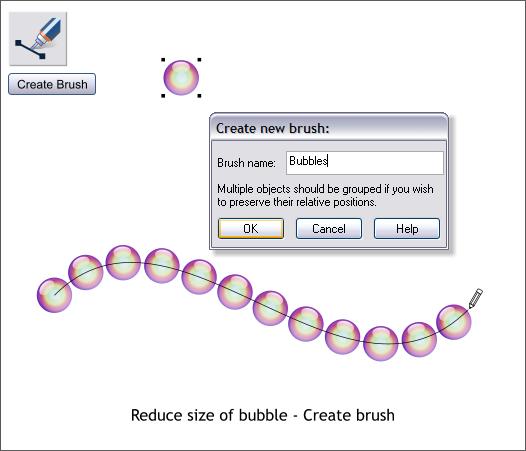
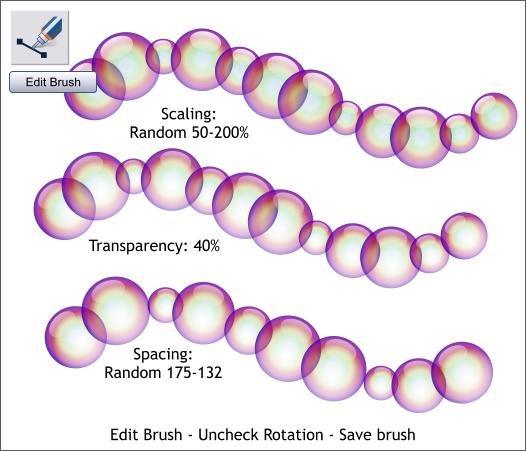
You can automate the bubble making process by creating a bubble brush. Select the bubble you just made and reduce the size to about 50 pixels. Select the bubble, the Freehand and Brush Tool (F3) then click the Create Brush button. Name your brush Bubbles, or Trixie or any other name that sounds right to you. Press OK. Using the Freehand and Brush Tool, draw a wavy line (it will automatically draw with your new bubble brush). But these bubbles are too consistent. We need more variety.
Click Edit Brush and make the edits noted above in the appropriate tabbed sections. When you are happy with the bubbles press Save to save the brush and click Close to exit the dialog.
Draw a new shape with the Freehand and Brush Tool. TIP: If you love your new bubble brush a lot and would like to have it available when the need for bubbles (or any of your other brush creations) arises. Save a XAR file with just the brush in this folder: C:/Program Files/Xara/Xara Xtreme/Templates/Brushes. The next time you open a new drawing, it will be ready for you to use in the Select an Existing Brush drop down list.
|
||
|
|


