|
|
|
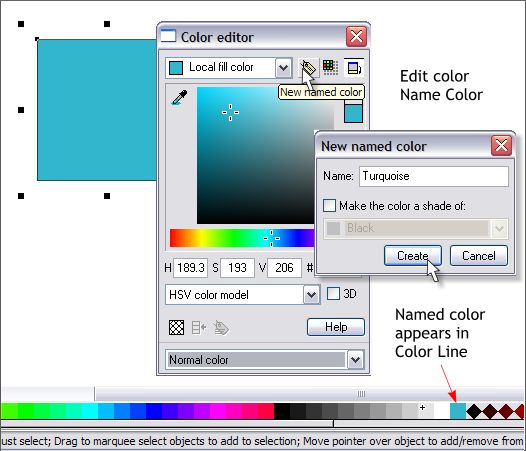
One of Xara's most powerful features is the ability to create a named color and then edit all instances of that named color. This lets you create a graphic with instances of a named color and then globally change the Hue, Value, and Intensity settings. This is really helpful if you are creating a prototype and want to audition a range of colors. We'll start by creating and naming a color.
Draw a square and apply a color from the screen palette. Open the Color Editor (Ctrl e), select the HSV (Hue, Saturation, and Value) Color Model and edit the color. When you are happy with the color, click the yellow New Named Color tag icon, name your color, and press Create. The color now appears on the Color Line (the screen palette) and if you let your cursor rest over the color for a few seconds, the name will appear in a tool tip.
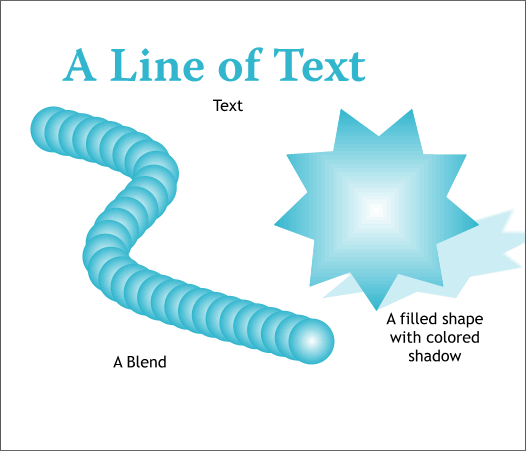
Shown above is a series of objects using the named color including a line of text, a blend of two circles with circular fills, a QuickShape star, and a floor shadow upon which the named color has been applied as a fill.
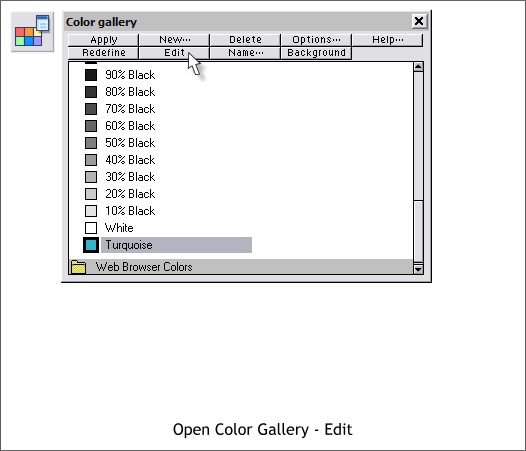
Open the Color Gallery (F9) and select the named color. Click Edit.
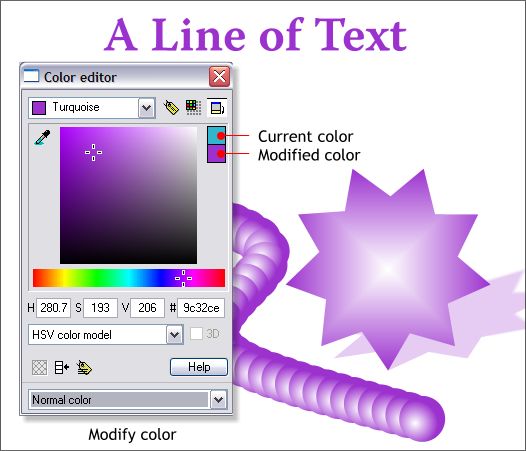
Edit the Hue (the color), Saturation (the amount of white), and the Value (the amount of black) as desired and all of the objects will change to reflect your edits.
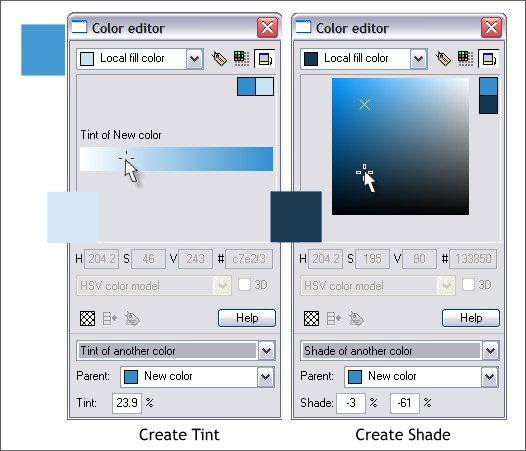
If you are creating a more complex illustration, you may need to use more than just a solid version of the color. You can create Tints (lighter versions) and Shades (darker versions) of the Named Color as shown above in the Color Editor by selecting Tint of Another Color and Shade of Another Color from the drop down list.
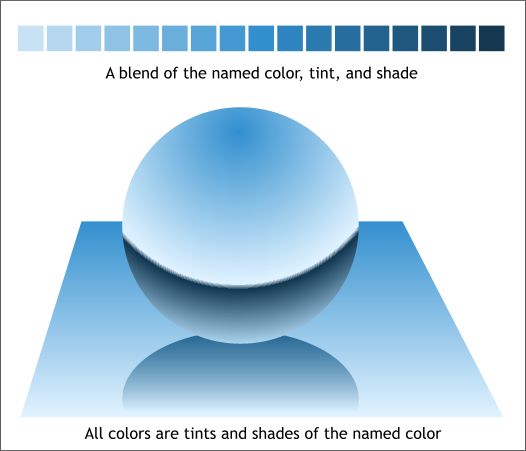
The objects in the illustration above as well as the blend of colors, were created using the Named Color plus Tints and Shades of the same named color. Now here is where the fun starts.
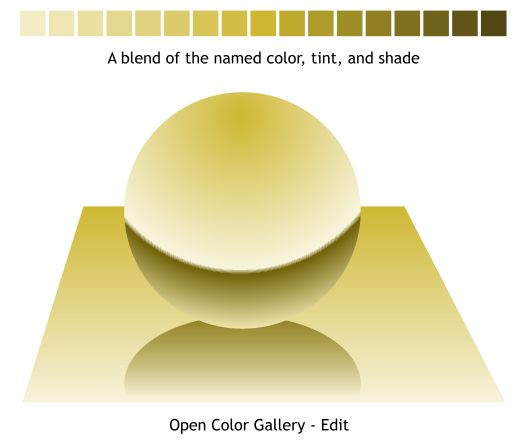
Open the Color Gallery (F9) and edit your color. The blue silver objects from the previous illustration are now transformed to gold.
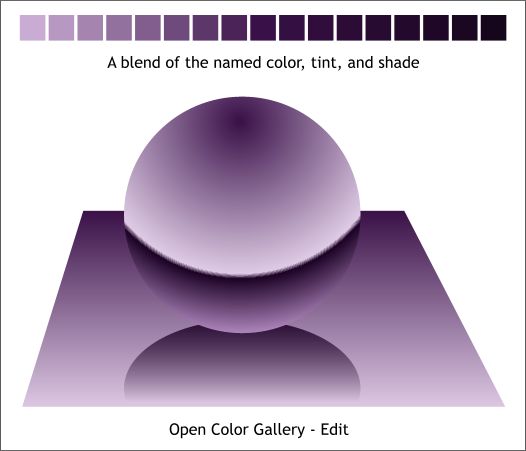
Or deep purple, or any other color you want. TIP: When you edit the Named Color, all instances of the Named Color plus Tints and Shades change too. So, when you have a color you like, save the file with a unique name, or create a bitmap copy of the image before you modify the color again. By doing this, you can create a wide range of color options.
|
||
|
|
||


