|
|
|
Xara X's Contour Tool can be used to create some zippy text effects as you will see in this exercise.
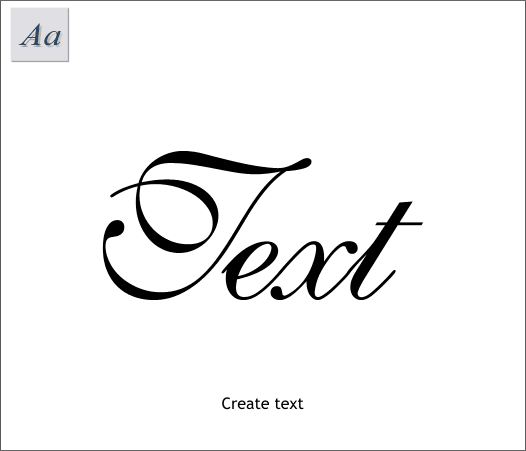
Start with some basic text. Your choice.
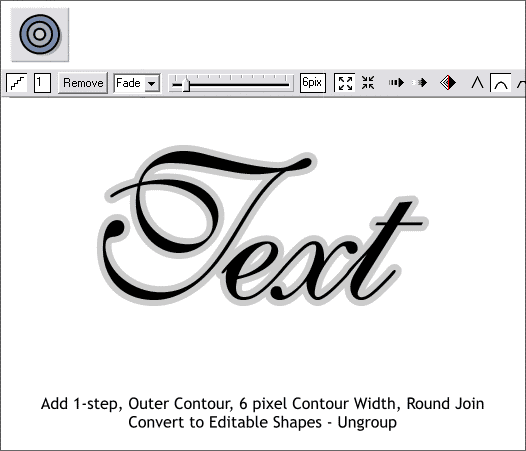
Apply an Outer Contour. Change the Contour Width to 6pix, select the Round Join option, and change the number of Contour Steps to 1. Press Enter to apply each change. With the contour selected, from the Arrange menu, select Convert to Editable Shapes, and then Ungroup. This removes the live edit option from the contour (you can no longer modify the individual contour properties).
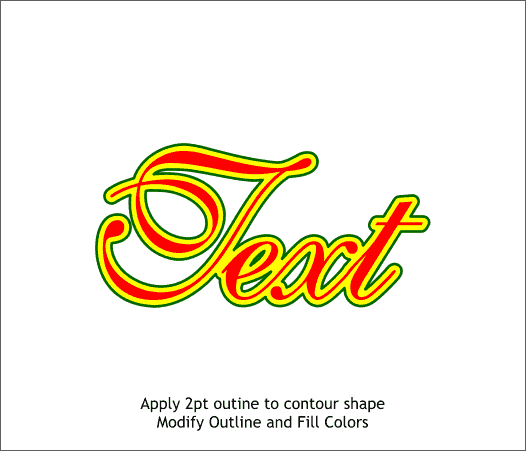
Select the outer contour ring. Modify the fill and outline colors and increase the outline width to a heavier width.
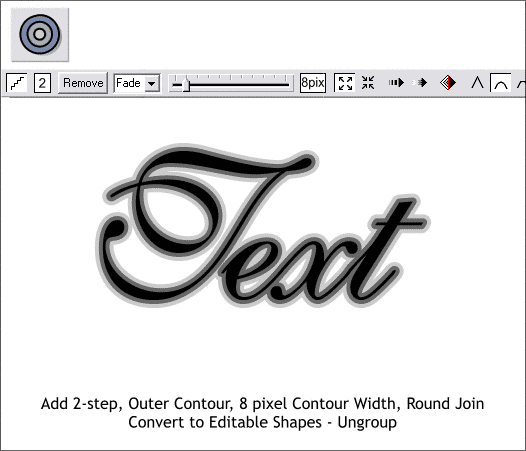
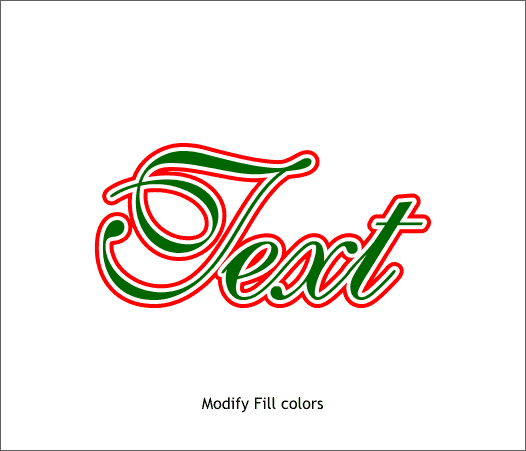
This is a new exercise. Start with some new text. Apply a 2-step, Outer Contour, with an 8pix Contour Width. Convert to Editable Shapes and Ungroup.
Modify the fill colors. In this example the outer contour ring is red, the middle contour ring is white, and the type is green.
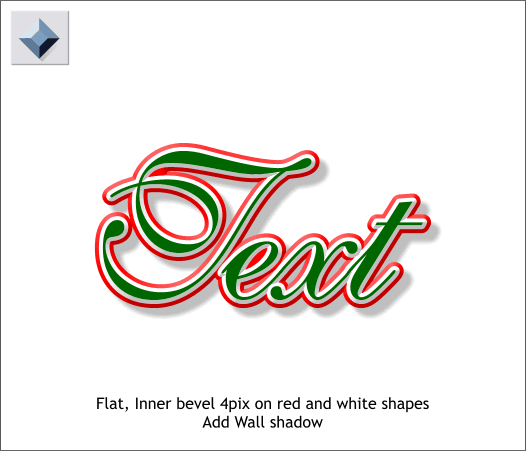
Apply a Flat, Inner Bevel to the red and white contour rings. Drag the outline of the bevel to the edge of the two colors. Add a wall shadow to the red ring.
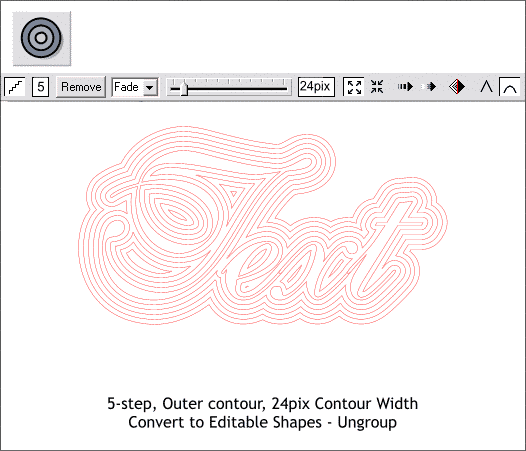
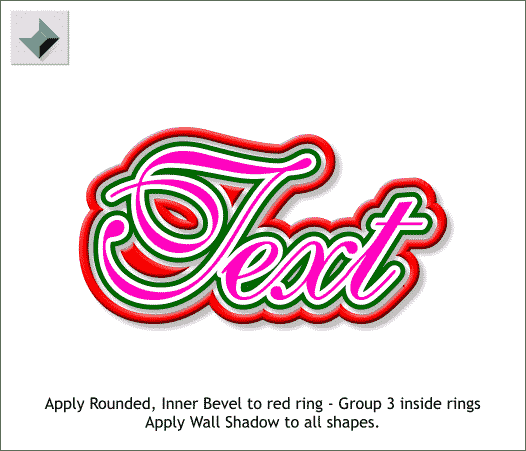
New exercise. New text. Apply a 5-step, Outer Contour. Change the Contour Width to 24pix. Convert to Editable Shapes and Ungroup.
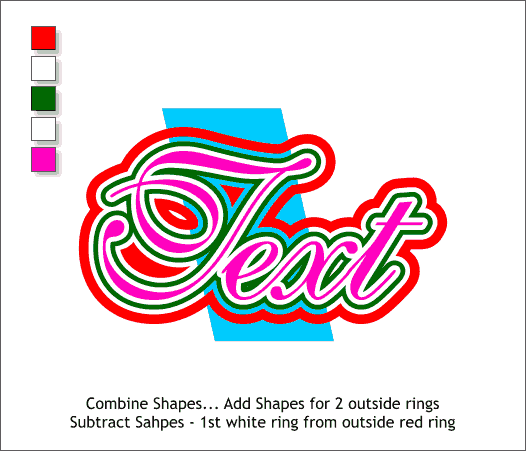
Select the two outside contour rings and Combine Shapes... Add Shapes. Select the next ring in (ring 3) and the combined outer ring and Combine Shapes... Subtract Shapes. This will leave a transparent area in the combined red ring as demonstrated with the blue shape beneath (the blue shape is to show the transparency only). Change the fill colors as shown above, or if you feel creative, use your own colors (creativity is encouraged).
Apply a Rounded, Inner Bevel to the red ring. Apply a Wall Shadow to all the shapes.
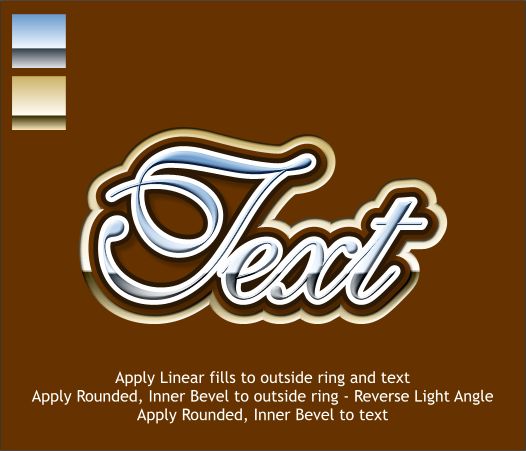
In this example, I deleted some of the inside shapes that were inside of the script F before I applied the bevel. The fills were changed to gold and chrome. And a Rounded bevel was added to the chrome text. I could go on and on, but you get the idea.
|
||
|
|


