 |
 |
| H 1 2 3 4 5 6 |
|
|
|
One of the things I really love about Xara is the ability to create special effects with photo images in an intuitive manner that would take many more non-intuitive steps to do in Photoshop or other bitmap editing applications. For example, the ability to left and right click on screen palette colors to change a color photo to a two-color photo and explore a wide range of color and transparency options. In this tutorial we'll explore more ways to have fun with photos and transparency.
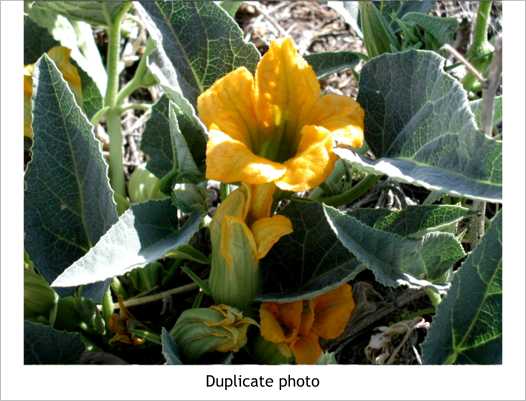
Step 1 We'll start with a digital photo I took of a wild squash blossom. And we will highlight just the flower part of the image. If you want to follow along, download the photo from your browser (right click on the photo in your browser (Internet Explorer-Netscape-Opera, etc.) and select Save Picture As...).
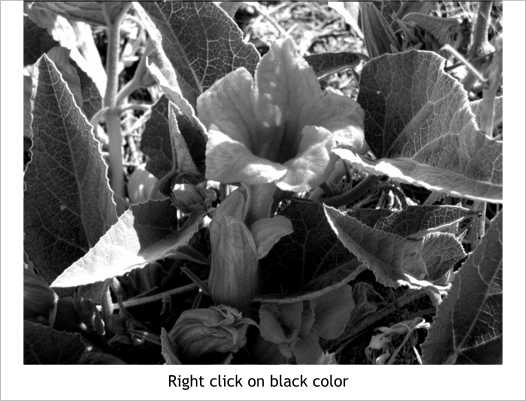
Step 2 Make a clone copy of the photo (Ctrl k). With the photo selected, right click on the black color on the on screen palette (the Color Line). This automatically creates a temporary grayscale photo. I say temporary because if you select the photo and set the outline color to none, it will revert back to a full color photo.
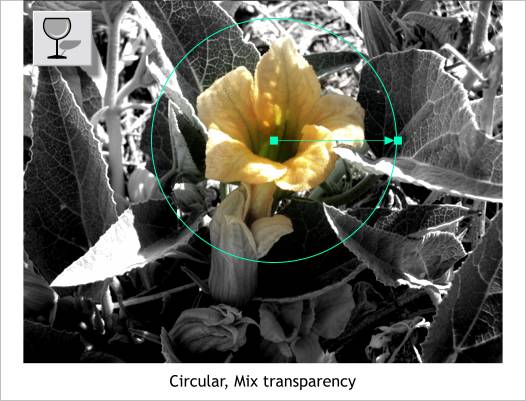
Step 3 Apply a Circular, Mix transparency. Adjust the radius as shown and center the center of the transparency over the center of the flower. Click the inside control handle and move the Transparency slider on the Infobar to 100%(totally transparent). Click the outside control handle and change the Transparency slider setting to 0% (no transparency). This is the opposite of the default settings.
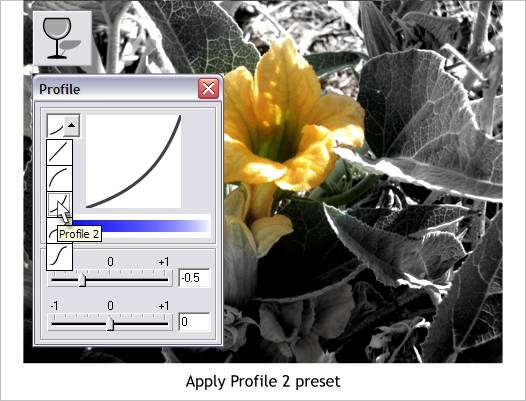
Step 4 Click the Profile arrow on the Infobar and select Profile 2. This profile setting pushes the transparency out towards the edge of the circle making the transparency inside the circle more intense. This is an easy way to highlight a portion of a photo. In the next few steps, we'll take this a bit further.
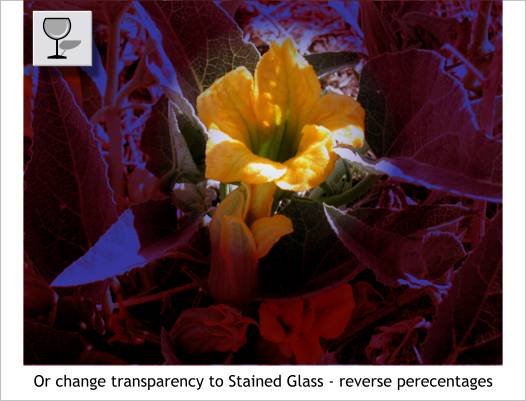
Step 5 Make another copy of the color photo and then a clone. Change the colors on the clone to a bright red outline color (right click on the red color on the Color Line) and the fill color a dark blue. Pretty far out looking as is!
Step 6 Apply a Circular, Bleach transparency, but this time do not reverse the transparency percentages. But do apply a Profile 2 preset. Another cool way to highlight a portion of a photo.
Step 7 Experiment with different types of transparency and different profiles and settings and see what happens. What happened to the photo above is pretty dramatic.
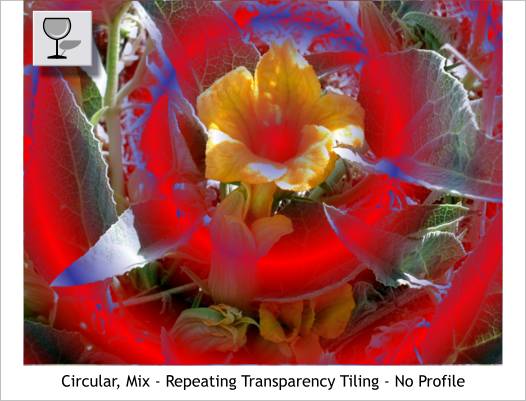
Step 8 This is pretty far out. It's a Circular, Mix transparency with the Repeating Transparency Tiling option selected on the Infobar. Kind of alien.
|
|
|
|
|
|
|