|
|
|
|
|
 |
Christine Farrelly's Ribbon TutorialChristine posted this image in the Xara conference and received a lot of really excellent comments and compliments. The effect was so cool, I asked Christine if she would work up a tutorial. And, here it is.
Fill the rectangle with a horizontal Linear fill from white (RGB 255,255,255) to blue (RGB 130,151,212). Set the line colour to none. |
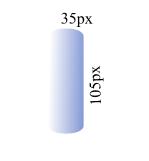 Step 1 First create a rectangle 105 pixels high
by 35 pixels wide, round the corners by clicking the rounded corners button.
Step 1 First create a rectangle 105 pixels high
by 35 pixels wide, round the corners by clicking the rounded corners button.|
|
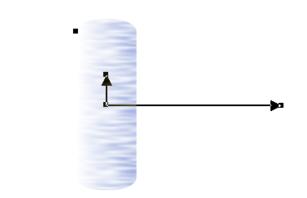 Step 2 Add Fractal Plasma transparency, stretch the horizontal arm of the transparency about 3 times
the width of the rectangle.
Step 2 Add Fractal Plasma transparency, stretch the horizontal arm of the transparency about 3 times
the width of the rectangle. |
|
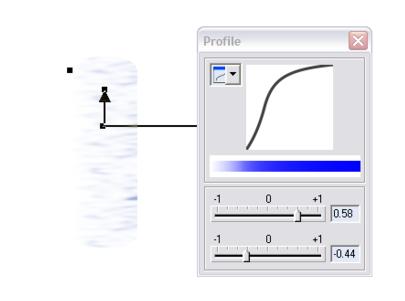 Step 3 With transparency still selected open up the Profile dialogue box and change
the setting to upper 0.58 and lower 0.44. This will increase the amount of transparency and your rectangle should look like this.
Step 3 With transparency still selected open up the Profile dialogue box and change
the setting to upper 0.58 and lower 0.44. This will increase the amount of transparency and your rectangle should look like this.|
Doesn't look much does it?
|
 Step 4 With the rectangle selected, select the Freehand and Brush Tool, then click Create Brush
on the Infobar. Give the brush a name. Draw a gently curving vertical line with the new brush 4 to 5 inches long.
Step 4 With the rectangle selected, select the Freehand and Brush Tool, then click Create Brush
on the Infobar. Give the brush a name. Draw a gently curving vertical line with the new brush 4 to 5 inches long.|
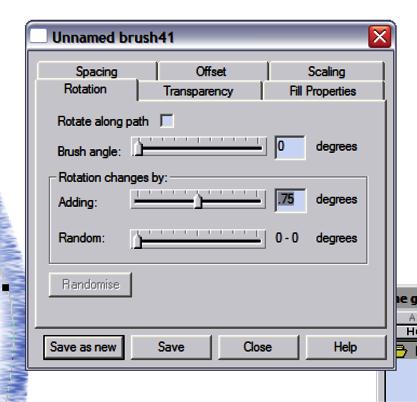
Step 5 Select Edit Brush from the Infobar and change the following settings. Fill Properties: Remove the tick from tile fills. Spacing: Move the slider as far to the left as it will go ( I got 3.61%) Rotation: Remove the tick from the rotate along path box. Rotation: Rotation changes by adding 0.75 degrees. |
|
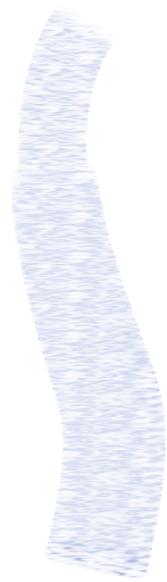
Your line should now look something like the example on the left. Try various line profile settings to alter the shape of the line or different transparency settings, such as stained glass, darken or luminosity on your line by duplicating/cloning the line and applying the transparency. Try using different colours instead of the white/blue for the original shape. If you have questions or comments about Christine's tutorial, e-mail them to christine.farrelly@btclick.com
|
 Save the settings.
|