|

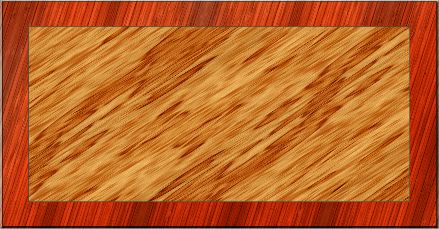
It’’s looking pretty good but the colors are a little too light so we are going to give our wood a richer appearance by making the wood colors deeper.
Select the outer shape with the Photo Tool (P) and adjust the Brightness slider setting to about -48 to make the color deeper. Set the Photo Temperature to 10
to make the wood a little redder.
Select the inner shape with the Photo Tool and set the Brightness to -29 and the Photo Temperature to 53.
Change the outlines to 70% Black. This will give the inlay pieces a nice tight seam but not too crisp.
Select the Bevel Tool (Ctrl F3) and give the outer shape a 2 pixel bevel.
Now lets add some text.
You can use your own text or click here to open a XAR file with the same text I have used for this tutorial.

The font I used for this is called Megalopolis Extra and is available for free here.
This is a very nice open type font with some great extra alternate characters. However Xara doesn’t support these alternates, so I came up with a work around.
Smeltery.net has a very nice PDF file you can download that displays all the extra open type characters. I opened the PDF in Acrobat Reader, (Don’t open
it with Xtreme as the extras wont show), zoomed in on the extra characters and took a screen shot of each one. I then traced the screen shots in Xtreme with the Shape Editor Tool.
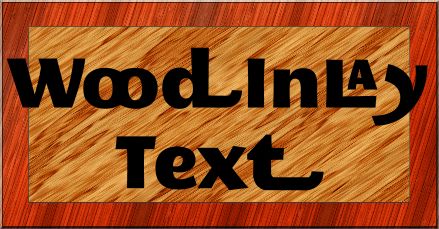
Type your text, size to fit on the wood background with the w and the y overlapping the darker wood, Arrange > Convert to Editable Shapes and
ungroup twice. Replace regular characters with the alternates traced from the PDF. I have included all the shapes I used (see link in the last section to the XAR file).
|