|
|
|
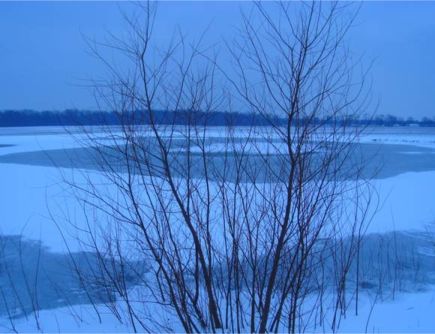
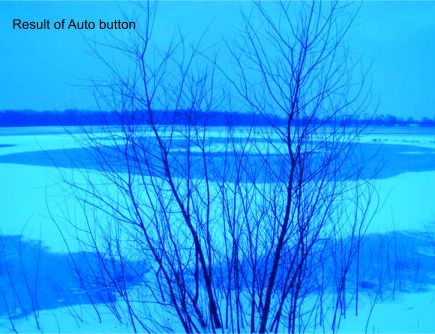
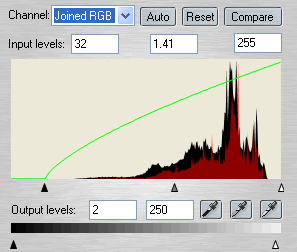
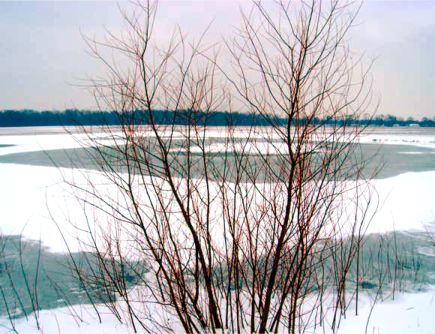
Example 4: Another winter landscape but with a blue cast this time. To correct the color we need to find at least one neutral spot (preferable white or gray) as the Auto button do not work as we hoped this time either as shown in the example below.
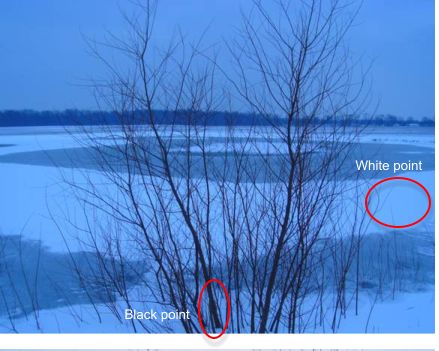
A click with the white picker on the ice in the mid ground will do, and for a black spot I tried the lower part of one of the trees.
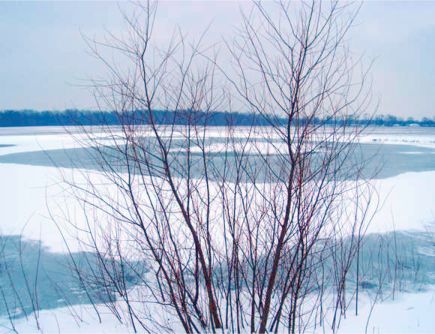
Now the image looks a lot better but it looks a bit too blue for me, so I will do some small adjustments.
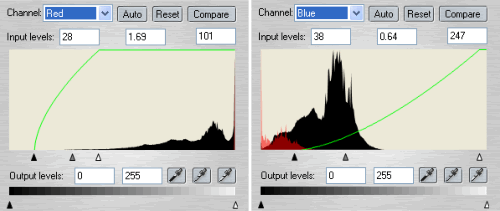
To decrease blue tones is done simply by decreasing the mid-tone value of the blue channel. But the sky is actually more cyan (light blue if you wish) than blue. But we do not have a cyan channel, do we? Then we need to know about complementary colors and the world of printing comes to our help. What do printers often ask for when we want to print something in color? CMYK (as in Cyan, Magenta, Yellow and Black - yes, K stands for black but that is another story)! And we work with RGB (like in Red, Green and Blue). Pair these colors with each other and we get complementary pairs: Red-Cyan, Green-Magenta and Blue-Yellow. So if we want to reduce cyan in an image we increase red. A similar situation is photos taken of people standing in shadows - they are looking cold and would need more yellow. As we do not have a yellow channel we use the blue one instead and increase yellow by decreasing the blue color. So, back to our current example!
Increasing red by moving the mid-tone slider to the right will decrease cyan!
|
|
|
|
|


