|
|
|
The Very Basics When you correct and retouch photos you should always start by taking a good look at the image and identify what needs to be corrected. The most common problems are exposure errors (the image is either too light or too dark) and color casts (blue cast when photo is shot in shadows, yellow cast when shot indoors with lights on). Fortunately both can often be fixed at the same time with levels.
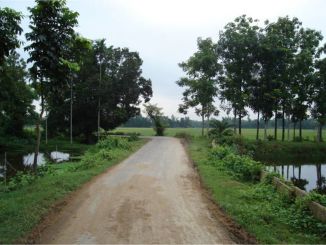
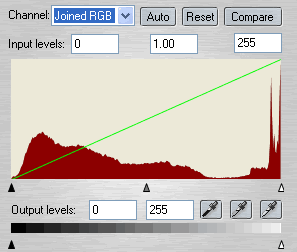
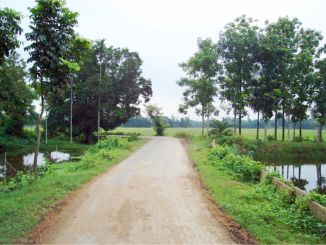
Example 1: The colors in the photo shown above have good saturation but the overall image is a little too dark (underexposed). Open the image in XPE (Utilities > Xara Picture Editor) and select Levels. The histogram above shows how the color pixels are distributed in the image with some peaks in the light areas (the sky) but otherwise a low-key image (details concentrated in the shadows). The most obvious thing to do is to click on the Auto button, but usually this will not do much. The reason is that the automatic settings on the digital camera has already used a similar function when taking the photo. That is also the case with this photo and so when using the Auto function, we see only a slight change in the histogram and hardly any changes in the preview image.
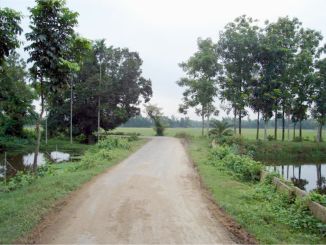
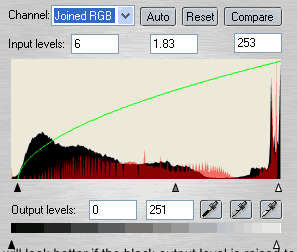
To bring out the details, drag the gray mid-tone slider to the right. In this case a value about 1.80 is a good start (you can always adjust these values later if needed). To adjust the contrast, move the black triangle shaped slider slightly to the right to about where the histogram start to rise, and move the white triangle shaped slider slightly to the left. Note: If you plan to print your images it is a good idea to also adjust the Output levels. By moving the white Output Levels slider to a value about 250 you avoid getting "blowouts" in the print. Blowout is an area where there is no color information (RGB value = 0, 0, 0) usually due to overexposure. A printer will not print any color on that spot, and it will be very visible on paper when looking closely as it is surrounded with color in form of color raster dots. By reducing the white triangle shaped Output Level slider to about 250 the printer is forced to print some color also in the overexposed areas. The human eye will still see the very light gray area as white.
This is how the image would have looked liked if I had used the Enhance tool, but as I stated at the beginning of this tutorial, I will only be using the Levels adjustments. The corrected photo. Usually when the mid tone values (gray slider) are increased above 1.80 the image become somewhat dull and flat looking. This can be easily corrected by increasing the color saturation (and sometimes also the contrast) with the XPE Enhance tool (Ctrl E).
|
|
|
||||||||
|
|
||||||||
