|
|
|
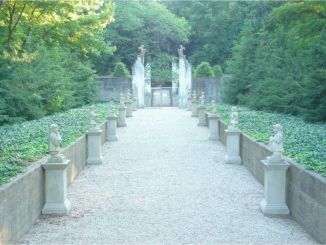
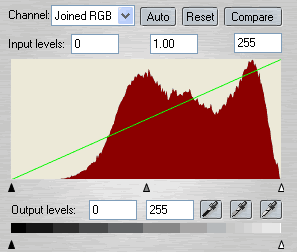
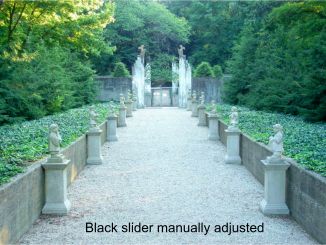
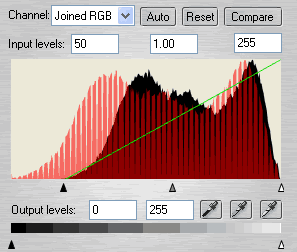
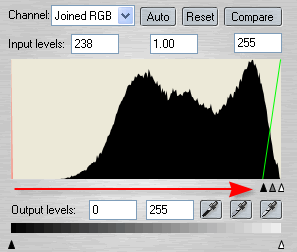
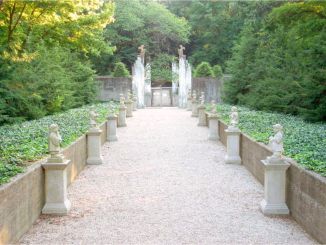
Example 2: The colors in the photo shown above are not bad, but the overall image is a bit too light and dull. The Levels histogram shown above right indicate that the image is in fact a bit overexposed with an absence of dark colors but otherwise the colors are well distributed.
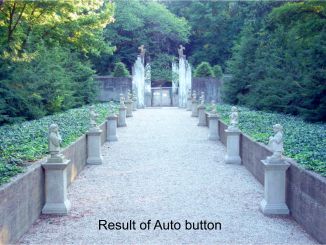
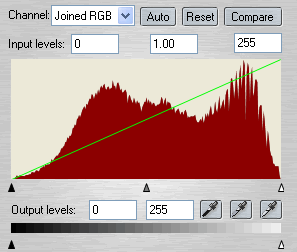
If we try the two obvious things that come in mind we notice that they do not work (as usual; Murphy's Law!): By simply pulling the black slider to the right the image is improved but now has a slightly green color cast. By clicking the Auto button the result is slightly better but the colors are still heavily on the cool side. The solution is to manually find the black, gray and white spots in the image.
Lets start with finding a black spot. Images are very sensitive when you start clicking around with the color pickers. So you need to find the darkest spot in the photo before you select it with the Black color picker. If you pick a spot that is not the darkest spot on the image you will clip colors that may be needed and also wind up making the darker areas even darker. In XPE, there is no way to read the color values as in Photoshop. So we have many spots to choose from in the shadows of the vegetation on the sides of the image.
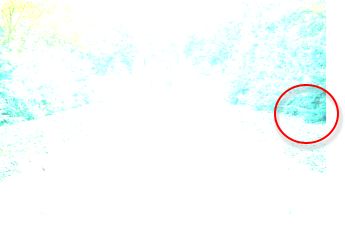
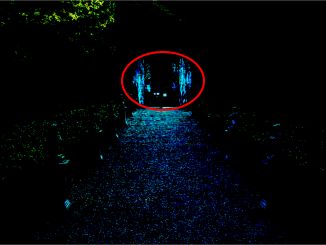
So how can we find the most suitable dark spot to pick? I use a similar technique as when using levels in Photoshop. Drag the white slider to the left until there are only a few black spots left visible. You can see the darkest area inside the red circle. Try to find areas that are slightly bigger than the smallest ones as they will be easier to target with the picker. When you find a suitable spot memorize where it is and jump to the next step to find the white spot.
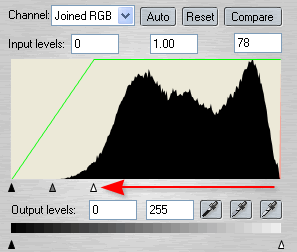
Finding the white spot is quite similar to the previous step. Click Reset and then move the black slider to the right until only a few bright spots remain. In this example I take the spots in the gate as overexposed and I will select my white spot from the gate posts instead. Click the Reset button to reset the levels and then select the black picker and click on one of the dark areas on the far right. If you have difficulties to pick the darkest pixel you can use the Zoom (Ctrl Z) (you do not need to close the Levels window) to zoom in on the area. TIP: You can also use Alt Z to select the Zoom Tool Draw a selection rectangle to zoom in close. The press Alt Z to return to your last used tool.
Select the white color picker and click on one of the lightest spots on the gate posts. The same thing here, if you do not hit the right pixels just use the Zoom tool. In this example we have a lot of gray areas. Due to light and shadows all grays are not the same! Some are cooler (right side in the shadows) while some are warmer (on the left side). Select the gray picker and click around on areas you think should be neutral gray. If you click on a cool gray the overall image will become warmer, if you click on a warm gray the overall image will turn cooler (I clicked on the pedestal of the first statue on the right to make the colors warmer overall and to remove the greenish cast).
|
|
|
|
|


