|
|
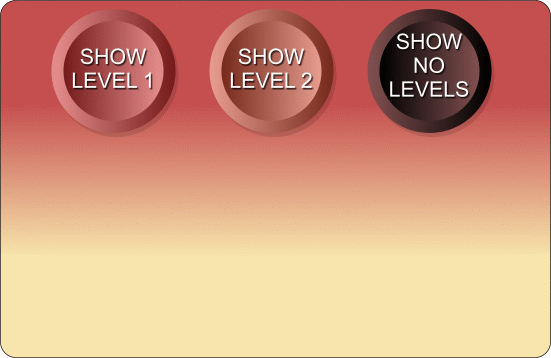
1. First, create the level 0, base Flash file. This can animate and then wait for a user input, but here, it's just a static image with buttons.
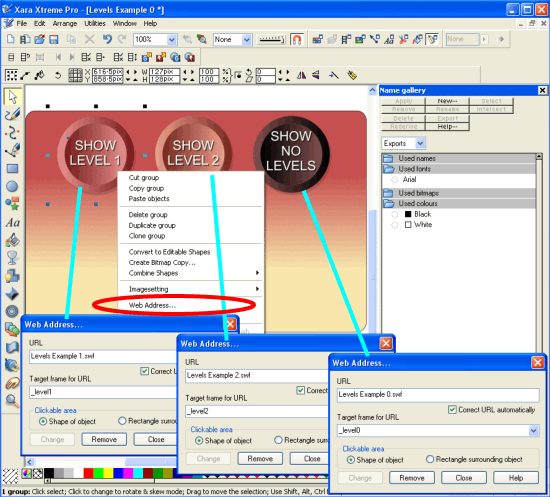
2. Next, right-click the first button and select "Web Address…" from the context menu, and enter the details shown below. The "URL" should be the name of the Flash file that the button will load (including the .swf extension), and the "Target frame for URL" should be set to "_levelX" where "X" represents the level it should be loaded to. Clicking the "Add" button assigns these details to the object. You don't need to close the web address dialogue when doing the same for the other buttons – just click on the new button in the Xara document and enter new details. Xara's use of modeless dialogues here makes this process more efficient. This completes the design of the base level Flash file. NOTE: setting a button (the right most one here) to load the same file on the base level (level 0) is essentially reloading and restarting the flash animation, thus turning off any other flash files opened. But this will also restart any animation if your base file is animated.
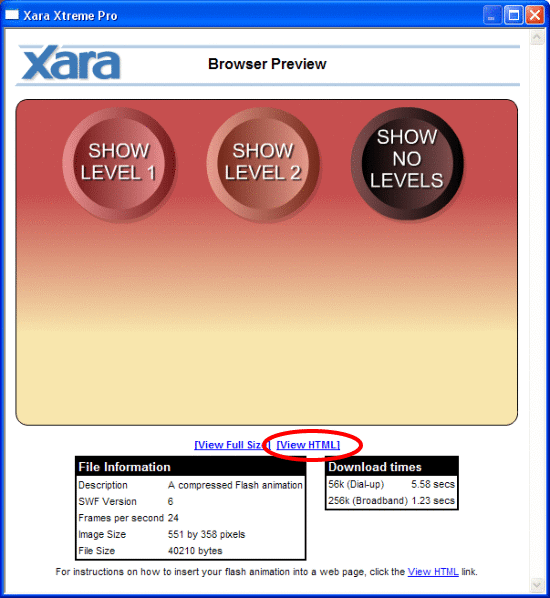
3. Export the Flash file (preferably keeping the same name as the xar file for ease of editing later if needed). NOTE: all swf and html files generated in the following steps must be stored in the same directory. 4. For the base level Flash file, now preview the Flash animation, and click on the "View HTML" link.
|
|
|


