|
|
|
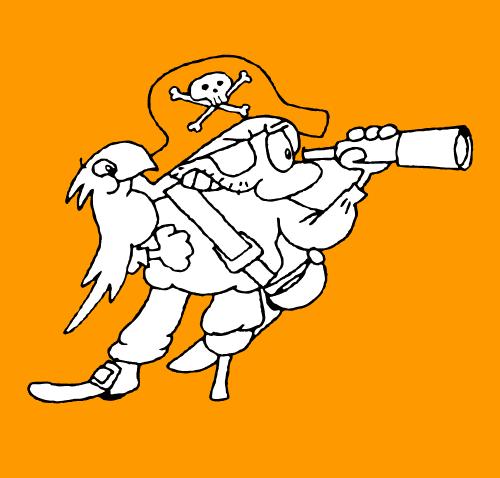
Keep the new connecting shape selected and move it to the back (Ctrl B). Shift click on the black outline shape of the pirate, and from the Arrange menu, Combine Shapes > Add Shapes (or press Ctrl 1) to close the gap. NOTE: By moving our "patch" shape to back we will avoid getting the outline shape in front when we add the shapes, which would cover the other shapes of the image. Also, we avoid any unwanted outlines that can be hard to notice if we work at a low zoom level.
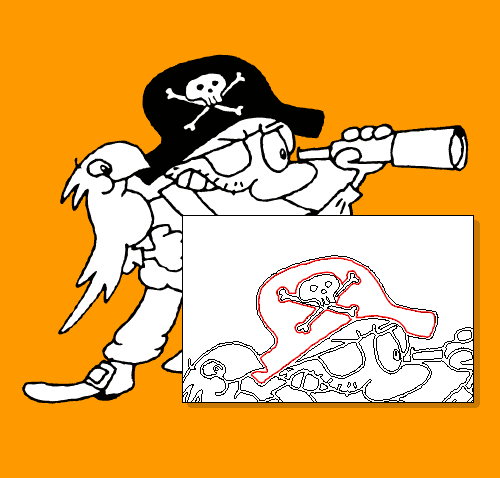
To make the hat’s fill color solid, select the hat and from the Arrange menu, select Break Shapes. The hat turns to black! Well, the actual hat shape is now behind the outline shape, and it has the same color as the outline. Also, all the the shapes (in this case only two) are still selected. To fix this we have a couple of option: First deselect the object by pressing the Esc key (or simply click outside of the image). Then select the outline object by clicking on it once followed by an Alt click on the hat, (but not too close to the outline). Alt click selects the object behind the outline and is also called “drilling down” because each Alt click drills down one more object. Or we can change the display mode to Outline (Window > Quality > Outline) and select the hat shape. When the solid hat shape is selected, change its color and move it forward until it is in front of the outline shape. Press Shift Ctrl F to bring the hat shape forward one object at a time. (If you changed the View Quality, set it back to Anti-aliased).
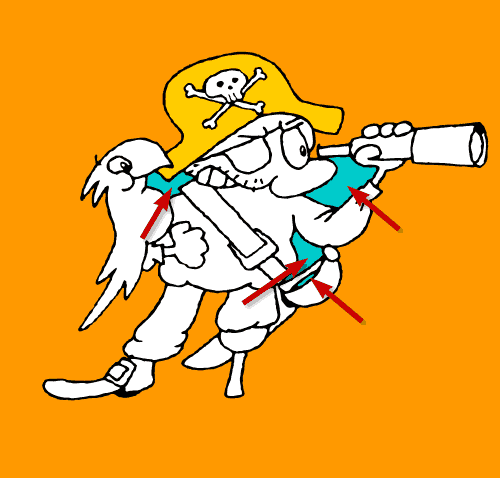
With the hat shape in place we have the easy part left to do: Knocking out the shapes where we want the the background visible (I’ve colored these shapes green for easy identification, and in case you are color blind, I added red arrows). Select one of the shapes that should be removed, Shift click on the outline shape(to multiple select), then select Arrange > Combine Shapes > Subtract Shapes (or Ctrl 2). TIP: Shift select all the shapes that will be removed, group the selected shapes, then select the outline and make the holes with by pressing Ctrl 2.
|
|
The Xara Xone Guest Tutorials ©2005 Gary W. Priester All rights reserved
|


