|
|
|
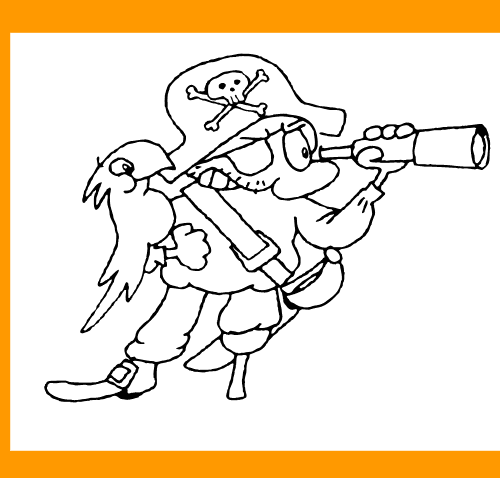
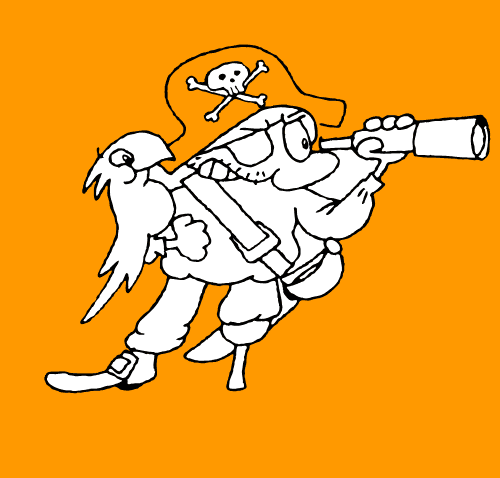
Apply a color to the Page background by holding down the Ctrl key and dragging and dropping a color from the screen palette onto the page. You will now see that there is a white rectangle behind the trace. Select the rectangle and delete it. NOTE: To reset your page background, right click on an empty place on the page and select Default Page Background. But leave the background colored for now.
With the background rectangle deleted, we notice that there is a gap in the pirate's hat, as we can see the background color through it. And looking closer we find the gap on the right of the pirate's eye. (Yes, real pirates really do only have one eye!). This is of course something we should have avoided at the inking phase, but sometimes these gaps still happen, especially if there are a lot of details and the lines are very fine. The gap in this picture I made by purpose so I can demonstrate how to fix similar problems (just so you know I am not sloppy).
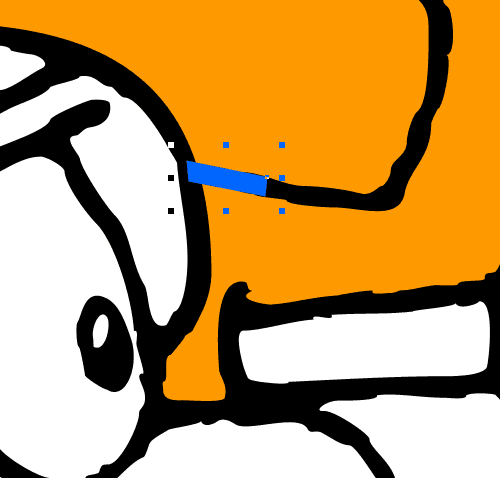
Using the Shape Editor Tool (F4), draw a simple shape overlapping the gap. Set the outline to none. I changed the color to blue to make it easier to see the object I made. By default objects are filled with black and have a 0.5pt black outline. It does not really matter what color the object has as we will see in the next step.
|
|
The Xara Xone Guest Tutorials ©2005 Gary W. Priester All rights reserved
|


