|
|
|
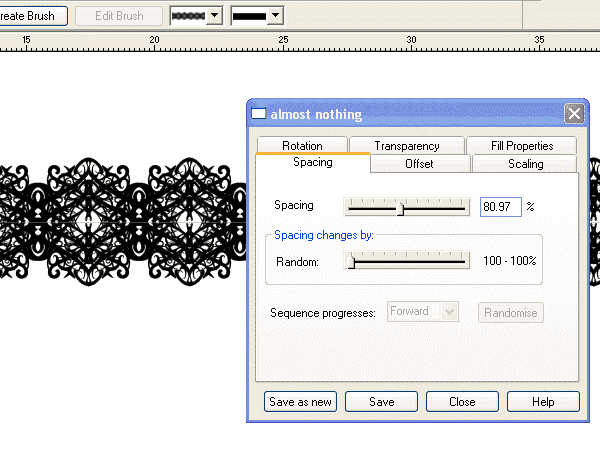
Step Five: Employing the Shape A: Making brushes Once you have your lovely shape complete, you can make it into a brush. This will allow you to create borders around polygons such as rectangles or circles, or create full lines full of that shape which can all serve to create sophisticated flourishes, borders, line spacers or whatever decorative feature you wish. First, click on your final shape, select the Freehand and Brush Tool (F3) and click the Create Brush button. The Create Brush function is full of options. So do have a play with the rotation angle and spacing. Also to preserve the shape's original colours click within the Fill Properties tabbed section on the Edit Brush dialog box (only accessible when you have the Freehand and Brush Tool (F3) active). Under "Local brushes replace", click on "All Brush Colours" to have complete control of the colour of the border by right clicking on a colour in the colour bar, like you would normally when selecting a colour for the line fill.
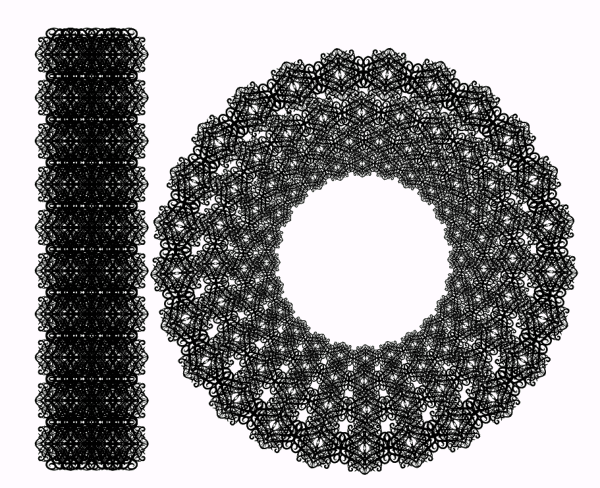
Step Six: Apply it to a line Draw a line, or select a QuickShape such as a circle. Select it. Open the New Brush Strokes folder in the Line Gallery (F12) and double click on the new brush you've just created. Adjust the point size so that it looks right, and adjust again accordingly by selecting Edit Brush when you have the Freehand and Brush Tool (F3) active so that it looks good.
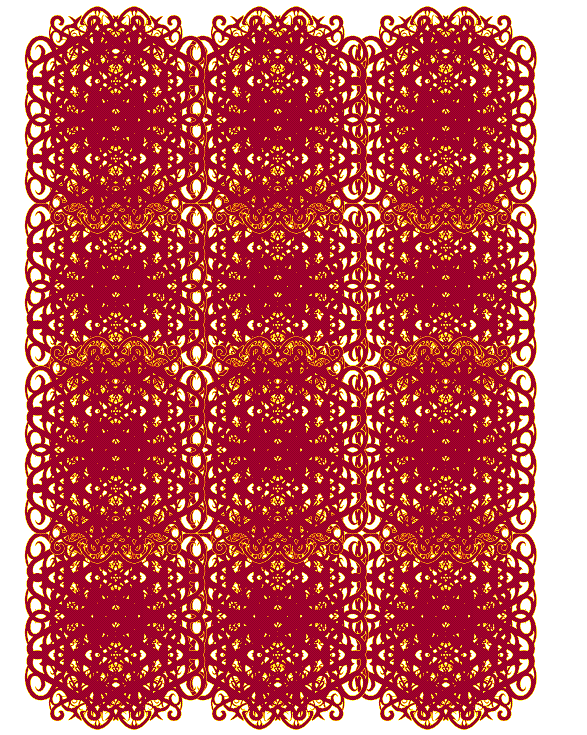
Remember that you don't have to be finished just yet. You can make concentric circles all with the line fill, or layer up lines just offset from each other to create increasingly complex noise and lace-like borders like those shown in the examples above and below.
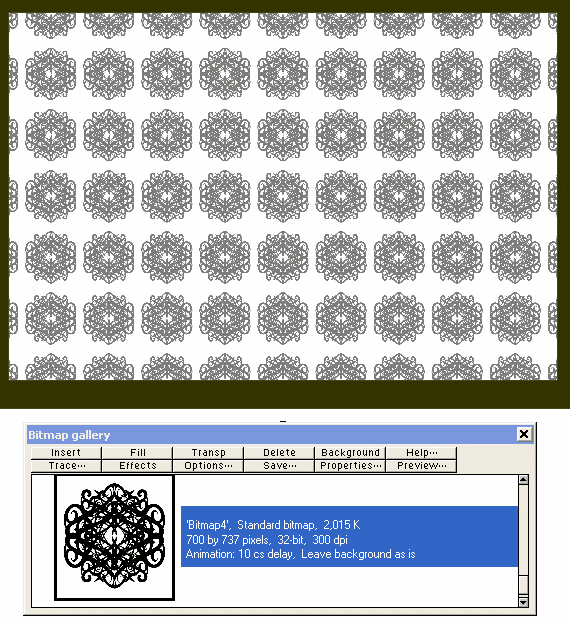
Step Seven: Employing the Shape B: Making Wallpaper For a background texture, these lovely shapes can be made into a bitmap and used as a fill. Draw a rectangle using the Rectangle Tool and put it to the back of the shape (Ctrl b). You can crop it to the shape as tight as you like. If you have a pretty tessalatable shape then crop it very tight. Set the fill colour to white and set the outline colour to none. This is not cast in stone however, please experiment away. For example, old 70s wallpaper have tan and dark brown colours which always give it that retro glam look that I'm such a fan of. Size the whole thing a bit bigger than you'd use it, this just gives you a bit of breathing room (which i call an "experiment buffer zone") when you use it as a fill. Select the whole lot, right click and select Make Bitmap Copy.... Select a higher resolution (300dpi) so you will be able to scale the size of the fill to a greater extent. This creates a bitmap copy and also places a copy in the Bitmap Gallery from where it can be applied as a fill. Drag the bitmap from the Bitmap Gallery (F11) and drop it onto a rectangle or any other object. To make the fill larger or smaller select the filled object with the Fill Tool (F5). Select either of the outside control handles (those tiny boxes at the ends of the arrows) and use the left and right arrow keys on your keyboard to increase and decrease the fill pattern size. You can also do all these things to any other complex patterns you've created using a brush (see Step Six), to create more intricate wallpaper.
|
|
The Xara Xone Guest Tutorials ©2006 Gary W. Priester All rights reserved
|


