|
|
|
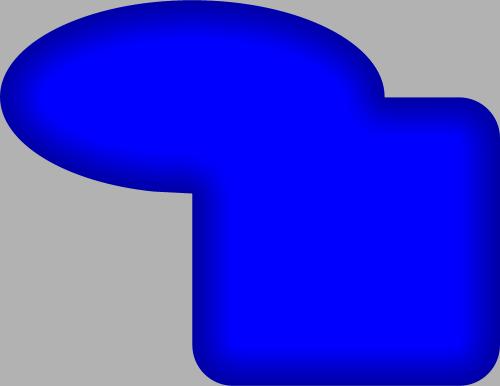
Hod down the Alt key and click twice on the shape to drill down to the original shape (look at the status bar in the lower left corner to confirm the lighter color). Press Ctrl F to bring the object to the front. Using the Adjust Size of feather Region slider on the Infobar, feather the edges so that it looks something like this:
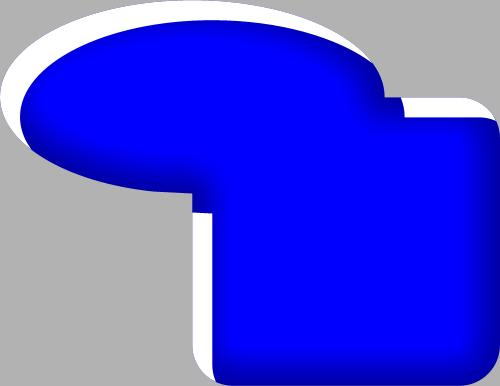
Using the Feathering slider in essence creates a blend of the lighter top object and the darker bottom object and produces the 3D look. So far so good its already starting to look 3D. Next, place another copy directly on top of the others (again, Ctrl - Shift - V or Edit > Paste in Place) and make it white. Place yet another copy directly on top of that and move it down and to the right as shown below.
Select the top copy (the one you moved down and to the right) and the white copy (hold the Shift key down when you click on the white copy to multiple select) and press Ctrl -2 to subtract shapes (or Arrange > Combine Shapes > Subtract Shapes). What you get is a section of the white copy left over shown below.
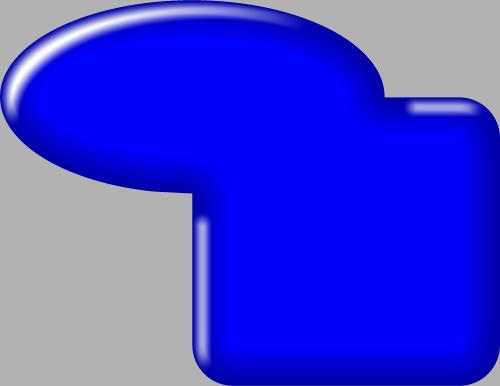
The final step is to feather that so that it looks like a highlight.
|
|
The Xara Xone Guest Tutorials ©2005 Gary W. Priester All rights reserved
|
