 |
 |
|||
| 0 1 2 3 4 5 6 Download Zipped Tutorial | ||||
|
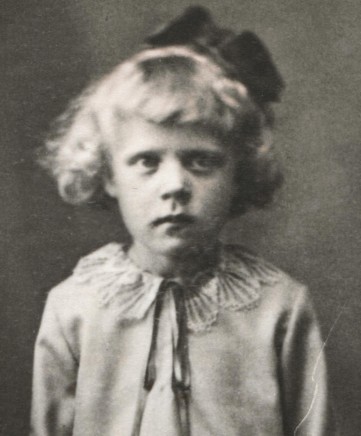
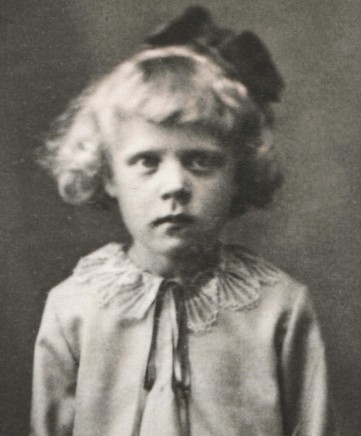
Next is the area at the girls shoulder. Start of by making a clone of the original image (yes, image retouching can be boring) and draw a shape around the area we are going to repair. But this area is much too big to be covered with the neighboring area as we did earlier. We have to cover it with a suitable area like the upper left corner of the image. Move the shape to the corner of the image and make an intersection, Arrange > Combine Shapes... Intersect Shapes or keyboard shortcut Ctrl 3. Move the shape back to the area we are repairing. Change the feathering to cover up the seam. You may also have to push the fill around a bit. Also, you might need to reshape the patch, and apply a (Linear) transparency). (Note: By mistake, I patched with an uncorrected area and some dust spots reappeared under her left lock of hair - this is why you should always make bitmap copies when you go to the next step!) Tip: If you do not find an area big enough to cover the damaged area, duplicate some small undamaged areas. Then you patch them together (simply by overlapping) to cover the damaged area. Remember to save your work frequently!
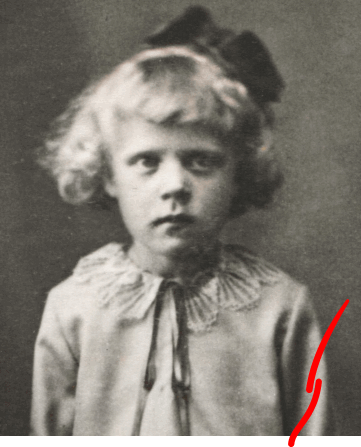
The next problem is the scratch on the girls arm. Because the scratch happens to be S-shaped we cannot fix it with just one shape (because the damage flows in different directions - if we try to fix it with just one shape some part of the scratch will still be visible). My first try was (after trying with only one patch of course) was with two shapes which I made by drawing two lines and applying stroke shapes. The lines were converted to shapes, (Arrange > Convert Line to Shape) and intersected with respective clones of the original photo.
I was not completely satisfied with this last step. The reason is that the scratch starts from the edge of the image.
|
||||
|
|
||||


