 |
 |
|||
| 0 1 2 3 4 5 6 Download Zipped Tutorial | ||||
|
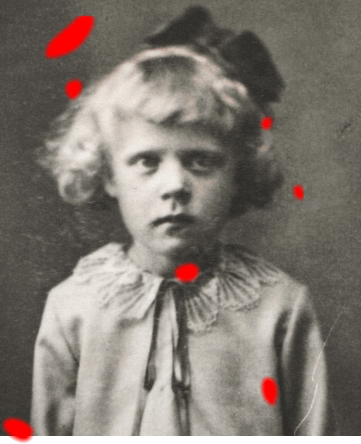
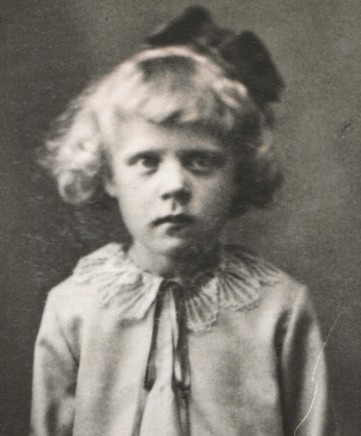
Clone the image (Ctrl K) and using the Freehand and Brush Tool, draw selections of the easy areas you are going to fix. Select the shapes you just created and Arrange > Combine Shapes... Add Shapes (or use the keyboard shortcut, Ctrl 1).
Select the shapes you just created and the cloned image (make sure the shapes are in front of the image), and Arrange > Combine Shapes... Intersect shapes or keyboard shortcut, Ctrl 3 . You should now have some cut up pieces of the clone placed in front of the original (you can check by switching to Outline view). Select the cut up clone and set the feathering to 7 pixels (use the Change Size of Feathering Region slider on the Infobar). Keep the clone shapes selected and select the Fill Tool (F5). Select the center of the fill pattern and move the center control point a down and to the right (stop when the dust spots vanish and no other spots appear). Tip: You should save often (and preferably as copies every time you do major changes) because Xara X may crash when you are mixing transparencies and feathering! Tip (added after I finished the tutorial): After every correction, make a bitmap copy to continue the work with. This is to avoid copying untouched areas (lying under the "repairing spots")...
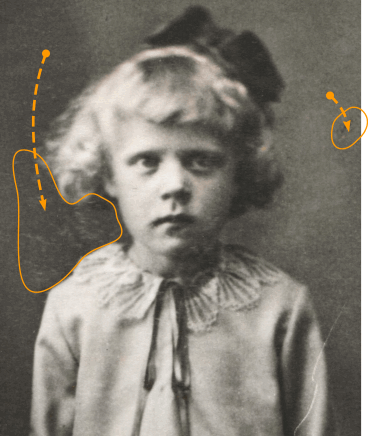
Let's move along to some of the bigger problems. First the spot to the right. Because this spot is much bigger than the previous spots we need to move a bigger area of the image to cover it up. (That is the reason we did not try to fix it with the first dust spots). Again, make a clone of the original image and draw a selection of the area you are going to repair. Select the clone and the shape and Intersect. Set the feathering slider to about 7 and select the Fill Tool . Move the center of the fill to fix the spot. NOTE: When you mask an object using Xara's Combine Shapes... Intersect Shapes command, the entire image is retained even though only a tiny portion of the image may be visible. So when you select the masked shape with the Fill Tool, moving the center of the fill path arrows, moves the image through the mask. Another way to move the masked image is to select the image, switch to the Shape Editor Tool, select all the control points on the shape, then use the arrow keys on your keyboard to move the mask.
|
||||
|
|
||||


