 |
 |
 |
 |
 |
 |
 |
New Users Guide – The Transparency Tool
Continuing with our New User's Guide we'll look at the Transparency Tool, one of Xara's most elegant and powerful features. Xara's transparency functions parallel those of the Fill Tool and work in much the same way. Except whereas the Fill Tool applies the 11 kinds of fills (covered in WebXealot 6), the Transparency Tool uses transparency in place of color. Here's what I mean.
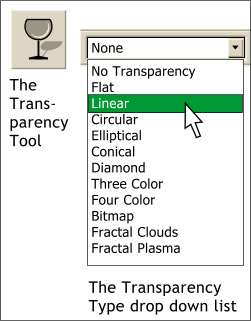
 When you select the Transparency Tool
, the Infobar presents a drop down list of Transparency Shapes (types) shown on the left. The names of the Transparency Shapes are the same as the Fill Types. And they operate in much the same way.
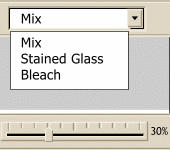
 There are three Transparency Types: Mix, Stained Glass and Bleach. In addition,
there is a slider on the Infobar that can be used to adjust the amount of transparency.
Mix adds user specified amounts of color to the image or images underneath.
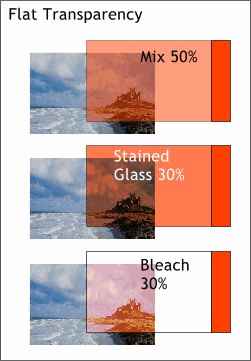
Stained Glass Transparency (also known as subtractive) treats white as transparent. All other colors under the transparent object become darker. Bleach Transparency (also known as additive)
treats black as transparent. All other colors under the transparent object become lighter or bleached in appearance. The three examples on the left illustrate the three Transparency Types, which have been applied to a red rectangle.
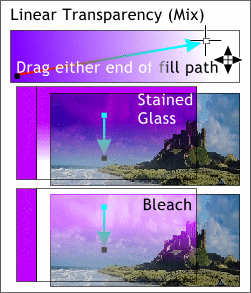
Stained Glass and Bleach Linear Transparency
operations produce different results as seen on the left.  Xara's Linear Transparency
(also known as gradient, or fountain) applies a smooth transition from opaque (no transparency) to transparent, or 0% to 100% transparency. As with Linear Fills, dragging the fill path arrow determines the
direction of the transparency. Click on either node on the fill path to select it and adjust the starting or ending amount of transparency with the Transparency slider.
Tool Review Continued on the Next Page