Object Alignment Tips and Tricks

Shortcut keys: CTRL SHIFT L

There are three options in the Within: section, with Selection Bounds being the default. Page(s) applies the settings to the boundary of the page or pages and Spread the boundary of a spread. I'm fairly certain Pages and Spread is wishful thinking as I have yet to discover these.

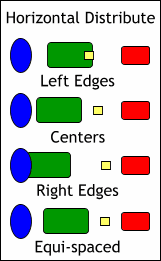
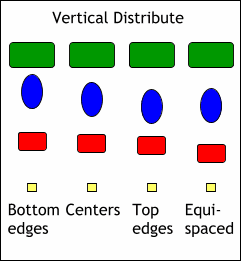
Each of the Position drop-down lists contains 8 settings, None, three Alignment settings, and four Distribute settings.

The four colored objects in the preview window graphically represent the selected alignment option. In this case the four objects will be centered horizontally.

SIMULATED ALIGNMENT MENU

Clicking inside the preview window sets the alignment options as follows.

TOP LEFT: The nine basic alignment settings. Click in any of these positions to align as shown.

BOTTOM LEFT: Hold down the Shift key and click to align vertically.

TOP RIGHT: Hold down the Ctrl key and click to align horizontally.

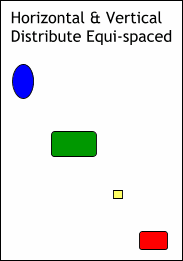
BOTTOM RIGHT: Hold down the Ctrl and Shift keys and click to distribute equally.

The four Distribute functions are less clear. Basically all I ever use is the Distribute Equi-spaced settings, although I'm sure one of you clever readers will supply your editor (that's me) with uses for the other settings.

Alignment TIP: If you have a row or column of objects that you want evenly spaced, select the group and use the Distribute Equi-spaced alignment.