|
|
|
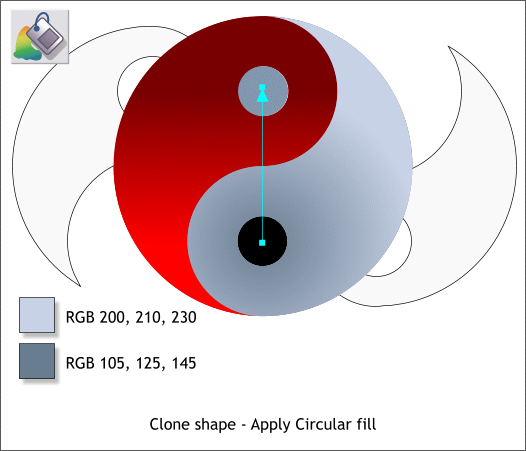
Clone the blue gray shape (Ctrl k). Select the Fill Tool (F5) and apply a Circular fill to the blue gray shape. Move the center of the fill to the center of the small lower circle and extend the fill path arrow to the center of the upper small circle as shown.
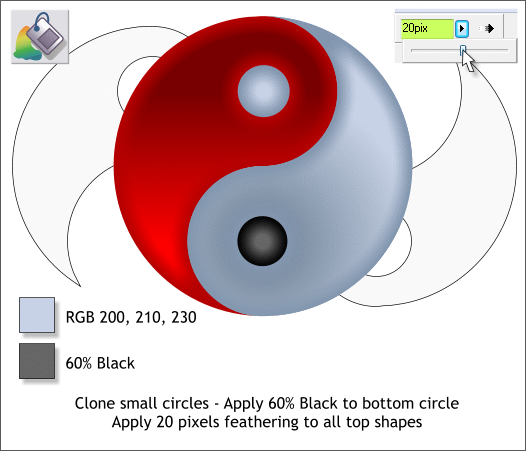
Clone the small circles and apply the two Flat fills shown. Select the two cloned small circles and the red and blue gray shapes. Move the Feathering Region slider setting to 20pix.
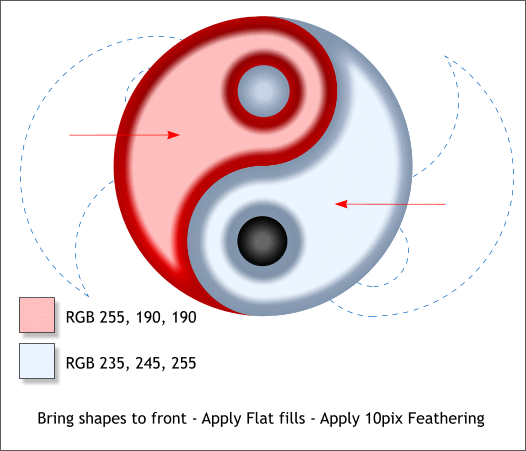
Bring the two contoured shapes to the front (Ctrl f). Apply the two flat fills shown and apply 10 pixels of feathering.
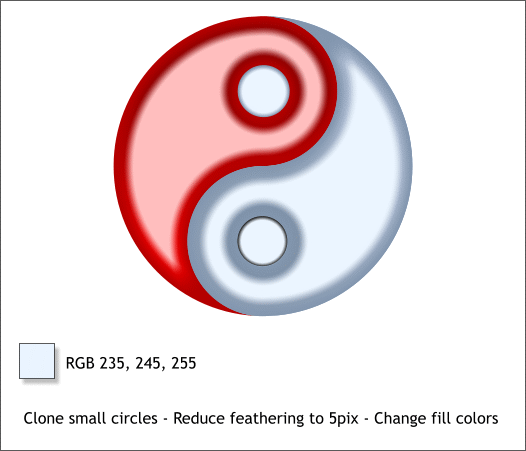
Clone the two small circles. Reduce the feathering to 5 pixels and change the fill color.
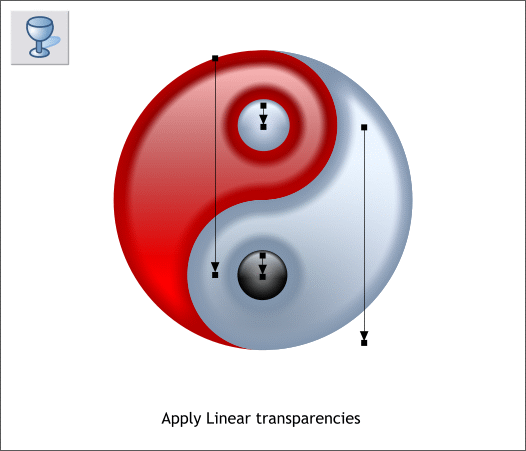
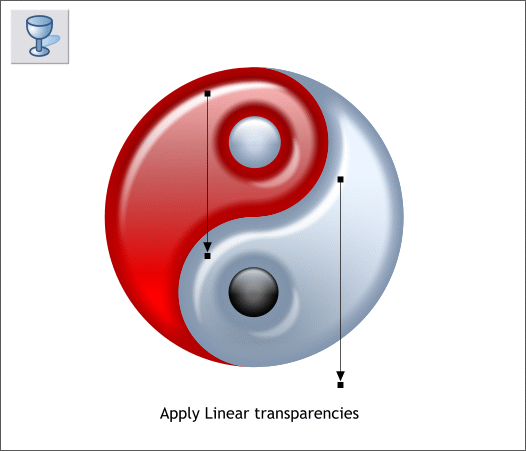
Apply Linear, Mix transparencies to these four shapes as shown.
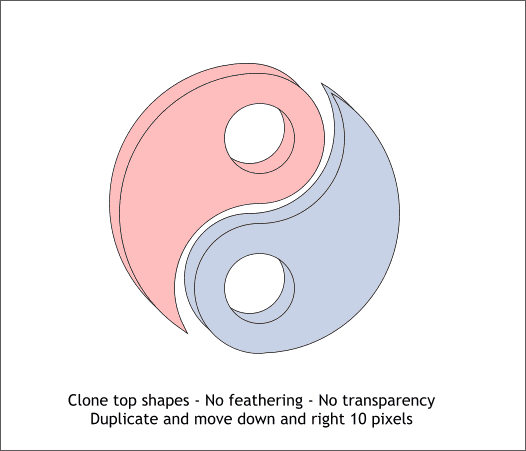
Clone the top two shapes (Ctrl k). (I have hidden the rest of the shapes for the moment. Don't worry, they are still there). Set the transparency and the feathering to none. Clone these clones and move the clones down and to the right 10 pixels.
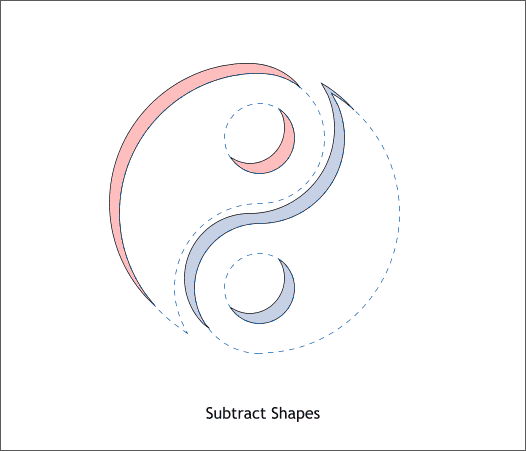
Select the two pink shapes and Arrange > Combine Shapes > Subtract Shapes (or press Ctrl 2). Repeat for the two pink shapes.
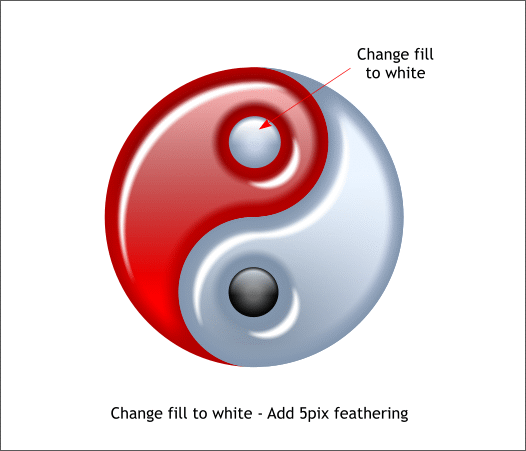
Change the fill for these new highlight shapes to white. Apply 5 pixels feathering. Change the fill on the top small circle highlight to white.
Apply Linear, Mix transparencies to the white highlights as shown.
And that's it. A shiny Yin and Yang. I'm still not sure which is the Yin and which is the Yang. If you know one from the other let me know. Let me know what you think. Use the e-mail link below to send me your comments, questions and suggestions for what you would like to see covered in the future. And remember if you need to find something the first place to go is the Workbook Index Page. It has probably already been covered. Gary W. Priester |
||||||
|
|
||||||
|
|
||||||


