|
|


|
Create (I hope Allison is not reading this) a circle. Using the Fill Tool (F5) apply a Circular fill. Move the center of the Circular fill to the top of the circle. Double click on the fill path arrow to add two new colors. Move the colors down and close together as shown. Use the Color Editor (Ctrl e) to edit the RGB colors.
Create two new circles to the size shown. Click here to open the file Clouds.jpg. Save this file to your desktop, then import it into Xara. Select the two circles. Open the Bitmap Gallery (F11), select the clouds photo and press Fill to apply the fill to the circles. Select the larger circle with the Fill Tool (F5). Adjust the fill path arrows to align with the edge of the large circle. Hold down the Shift key when you drag to adjust the fill path arrows individually. Select the smaller circle with the Fill Tool and adjust the fill path arrows as shown with the aqua colored fill path arrows. What we are doing is creating a large (in the small circle) and a small (in the large circle) version of the fill. TIP: Click on either of the ends of the fill path arrows. Press the right arrow key on your keyboard to increase the fill size.
Select the Blend Tool (F7). Click on the larger circle and drag to the smaller circle to apply a blend. On the Infobar, change the number of Blend Steps to 50 and press Enter to apply the change. This creates a distorted spherical fisheye lens effect.
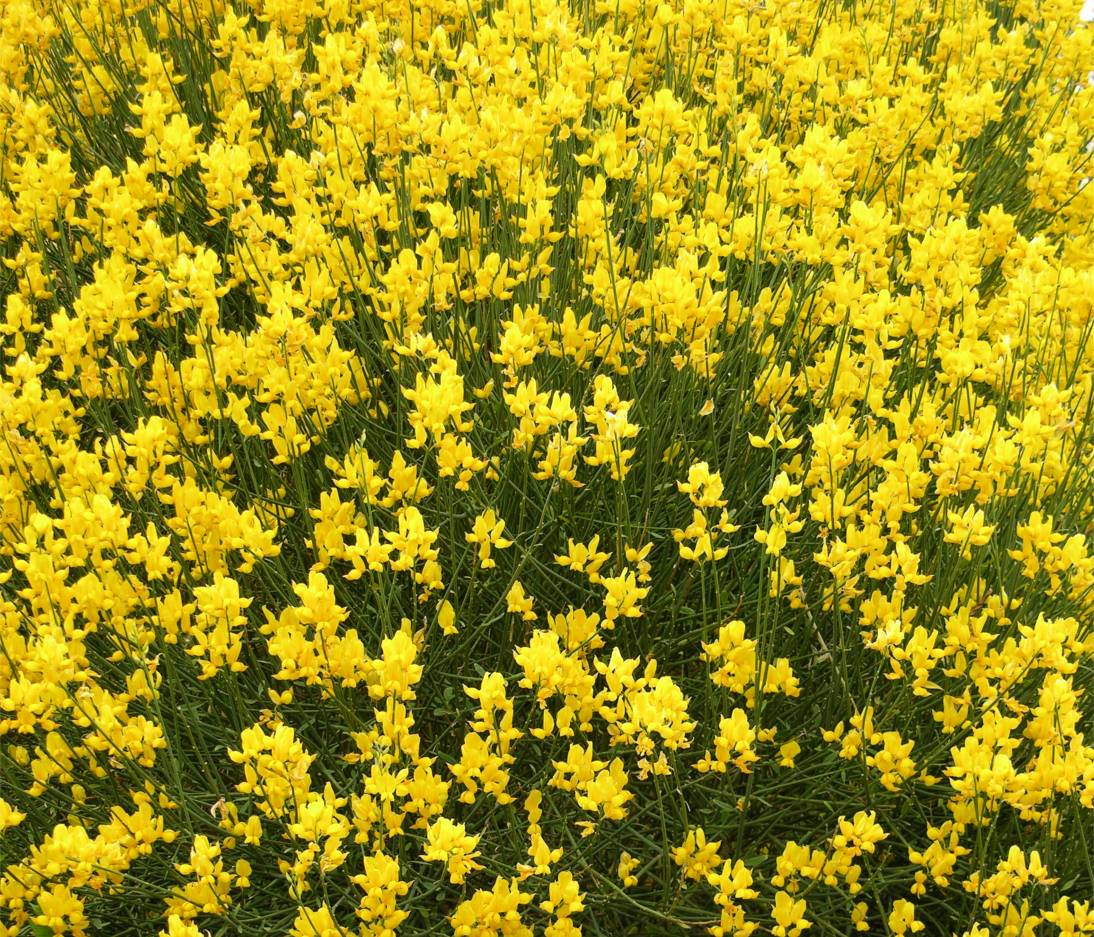
Repeat this last step with the yellow-flowers.jpg image. Click here for the image.
Apply a 50-step blend.
One at a time, right click on the blends and Create Bitmap Copy... Use the True Color + Alpha Color Depth option and change the Bitmap Size to 150dpi . You can delete the blends. We'll be working with the bitmaps.
Create a rectangle approximately 525 x 450 pixels. Open the Bitmap Gallery and apply the yellow-flowers.jpg to the rectangle. Center the sphere on the rectangle (Arrange > Alignment). TIP: The fastest way to center a selection of objects in the Alignment menu is to click in the center of the preview window. The icons will all align in the center of the preview window. Press Apply . See The Alignment Menu in Workbook 44 for more one click alignment options.
Center the spherical flowers bitmap over the sphere. Select the Transparency Tool (F6). From the drop down list of Transparency Shapes on the Infobar select Circular. Click on the center control point and change the slider setting on the Infobar to 100%. Click on the outside control point at the end of the arrow and change the Transparency slider setting to 50% . This creates the illusion of a subtle reflection.
Center the clouds sphere over the two spheres and apply a Linear transparency. Edit the inside transparency setting as shown. TIP: Click on the bitmap with the Transparency Tool to select it. Click at the top center. Hold down the Ctrl key and drag downwards. This is the quick way to apply a Linear transparency (or a Linear fill). The Ctrl key constrains the direction of the fill path to vertical, horizontal, or a selection of angles. Add an ellipse to the size shown above for a shadow and apply an 80% Black fill. Hold down the Shift and Ctrl keys and press b a few times to send the ellipse behind the three spheres but in front of the flower filled rectangle.
Apply a Linear, Stained Glass transparency. Set the Change Size of Feather Region slider setting at the top right of the Infobar to about 10 pixels.
Here's the final image. I added a bit of Linear, Mix transparency to the top of the photo for effect. And to give the sphere a softer and more photographic look, I selected all three spheres and created a new bitmap copy. I replaced the three separate spheres with the new bitmaps copy to which I applied 3pix of Bitmap Feathering with the Live Effects Tool (Ctrl F5) to soften the edges.
|
||||||
|
|


