|
|
|
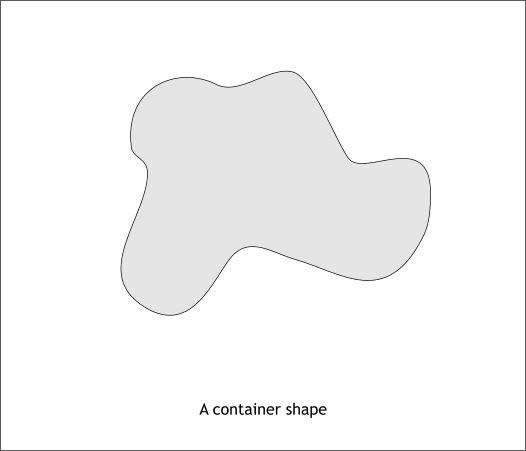
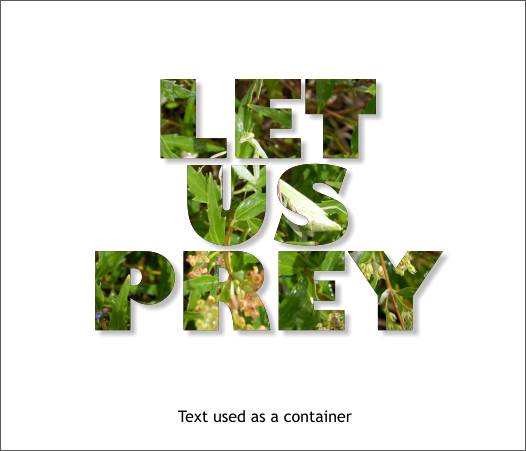
Any object can be a ClipView container, a shape such as shown above, text, a circle, square, a bitmap, a grouped set of objects, and even another ClipView.
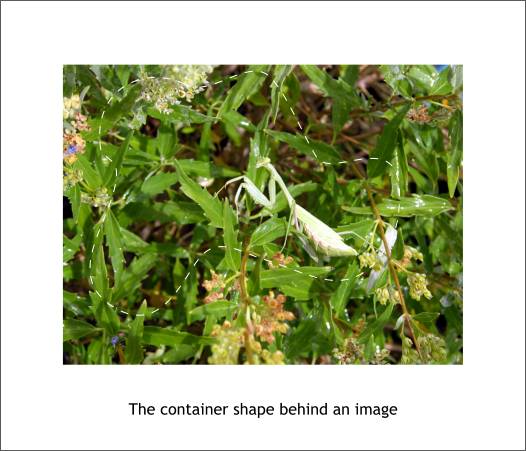
The container object goes behind the contents to be masked. In the example shown above the photo of the Praying Mantis will be masked into the irregular shape we saw in the first illustration. I have added a white dashed outline to show the location of the container object.
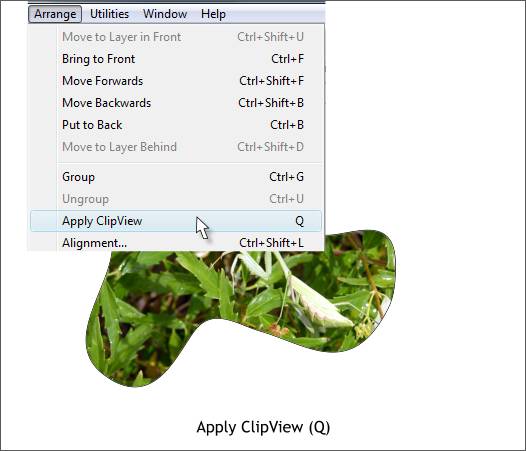
Select both the container and the content and from the Arrange menu, select Apply ClipView or use the new timesaving keyboard shortcut, Q.
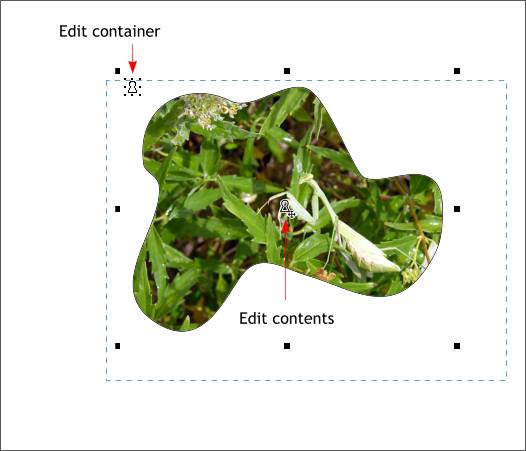
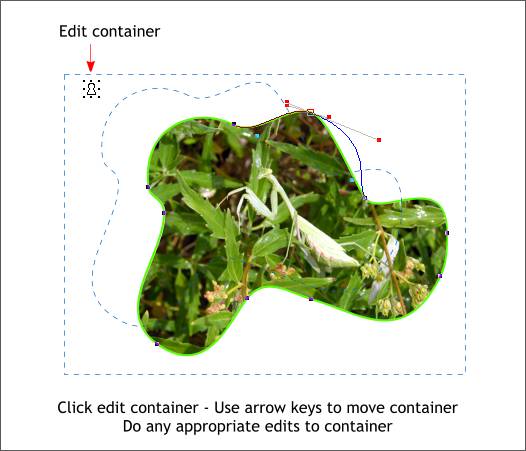
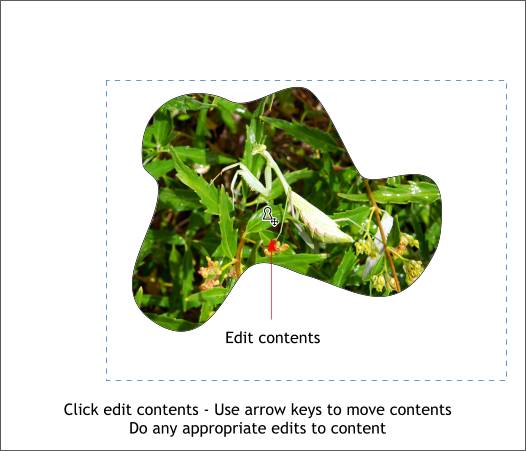
When a ClipView is created you will see two keyhole icons as illustrated above. Click the icon in the upper left to edit the container. Click the keyhole in the center to edit the contents of the ClipView. Although the bitmap photo of the Praying Mantis is now masked, the entire image is still retained as indicated by the blue dashed outline.
Click the edit container icon and you can move the container around the content object. You can edit the shape of the container, or add or remove an outline. In the example above, the container has been edited, moved down and to the right, and a 2pt green outline has been added. You can also add or remove a background color or bitmap fill to the container.
When you click the edit contents keyhole icon, you move the contents around inside the container, and edit the contents in any way you would normally edit objects. For example, since the contents of the container is a bitmap, you can resize the bitmap, rotate the bitmap, and/or edit the bitmap in XPE or your designated default image editing program. If you have several objects inside your ClipView container, hold down the Ctrl key and click on an object to select and edit just that object.
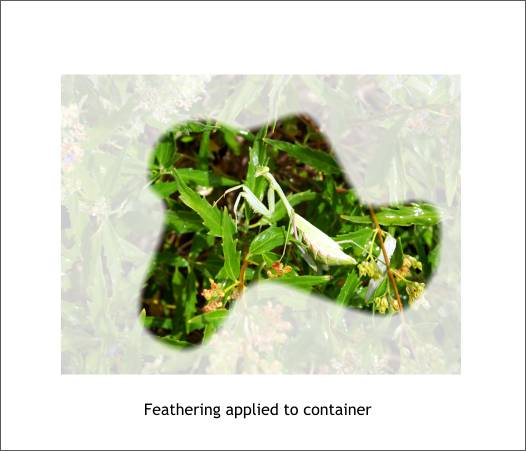
You can apply feathering to a ClipView container. In the example shown above, feathering has been applied to the ClipView container which has been placed over a lightened duplicate photo.
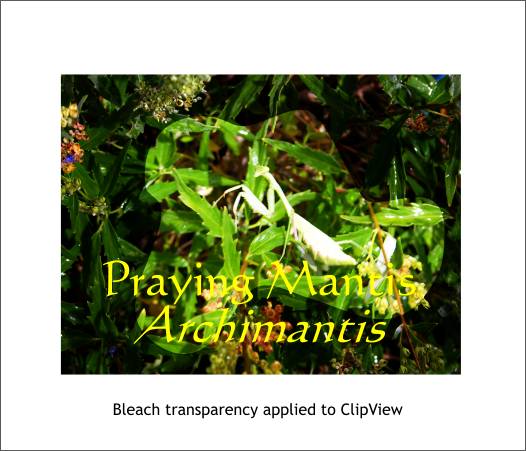
You can apply transparency to a ClipView container. In this example, the large photo has been darkened, while Bleach transparency has been applied to the ClipView.
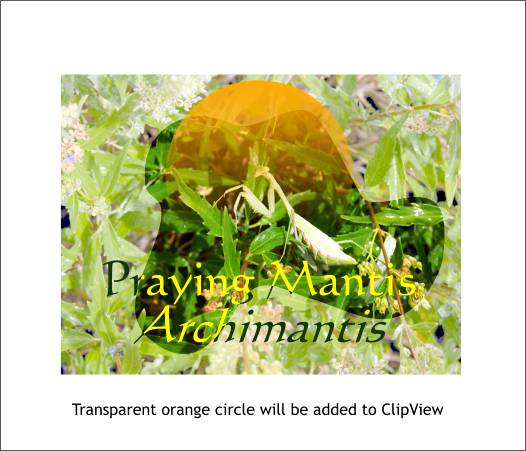
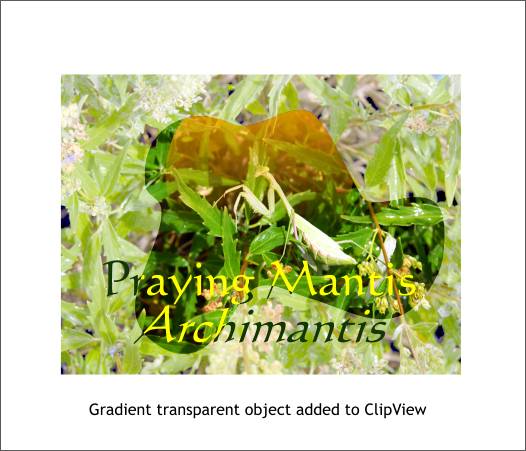
You can add additional objects to a ClipView as shown here. A duplicate of the text is placed behind the ClipView and the fill color changed to dark green. The yellow type is added to the ClipView by selecting the ClipView and the text and pressing Q or Arrange > Apply ClipView. A Linear transparency has been applied to the orange circle shown above. This will be added to the ClipView in the next step.
Select the transparent orange circle and ClipView container and Apply ClipView.
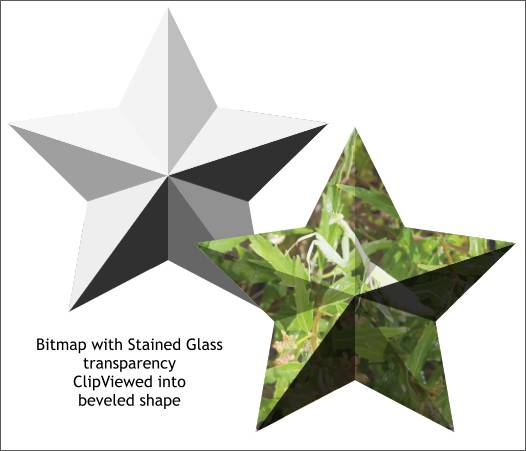
In this example. the photo with a Flat, 0% Stained Glass transparency has been masked using the Apply ClipView command inside a gray, beveled star container.
And of course, the photo can be clipped inside text as shown above. Inquiring minds may well ask, why not just use Arrange > Combine Shapes > Intersect Shapes to mask the text and photo. The answer is this will work just fine. The advantage to using ClipView is ease of editing the contents. Also, when you use ClipView, the text remains text and can be edited.
|
||||||
|
|


