|
|
|
One thing I have observed over my years using Xara and moderating the Xara Conference is that most people are looking for the easiest way to do something. But life is not always a contest to see how easy we can do something, is it? Sometimes it's more fun to see how hard we can make something? A star is a good example. Sure you can use the QuickShape Tool to create a five pointed star. But what's the fun of that, I ask you. So I hereby present a star. The not so easy way.
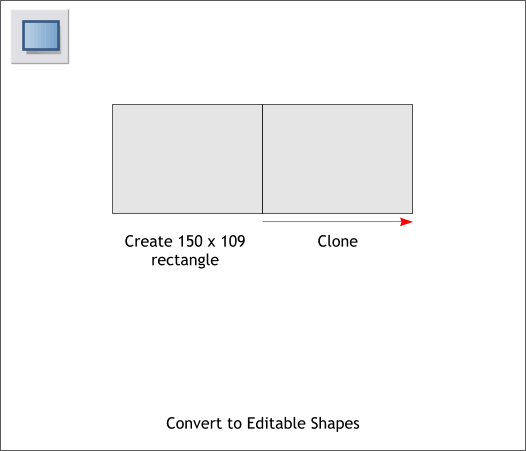
Create a rectangle to the exact pixel dimensions shown above. Clone the rectangle and place it to the right. Select both rectangles and from the Arrange menu, select Convert to Editable Shapes.
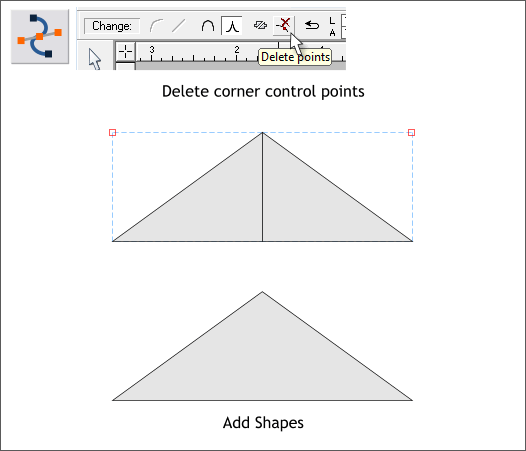
Switch to the Shape Editor Tool (F4). Select the two top outside control points and delete them by pressing the Delete key on your keyboard or the Delete Points icon on the Infobar. Select both objects and press Ctrl 1 (or Arrange > Combine Shapes > Add Shapes).
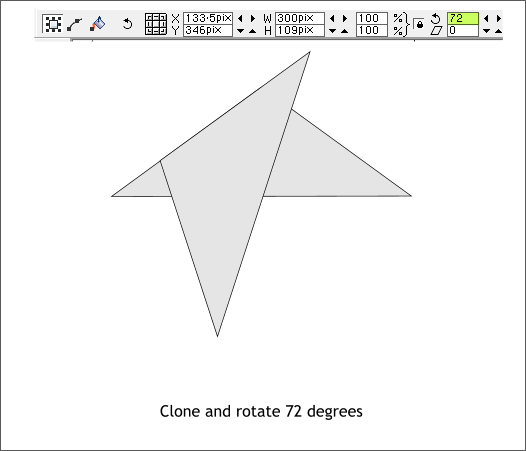
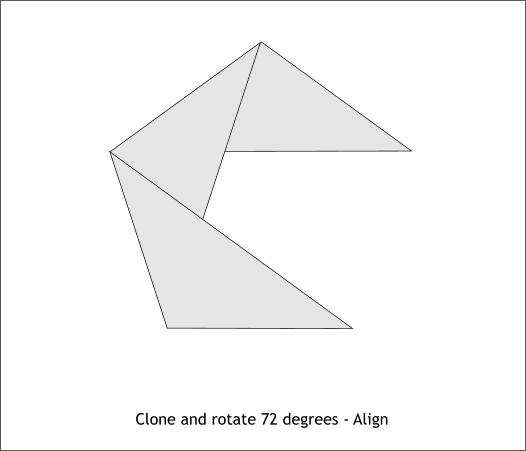
Clone the triangle (Ctrl k). In the Angle of Rotation text entry box shown above on the Infobar, key in 72 and press Enter (or Return) to apply the change. Doesn't look like much of a star, does it? 72? 5-pointed stars have, what else, 5 points. 360 degrees divided by 5 is 72. OK?
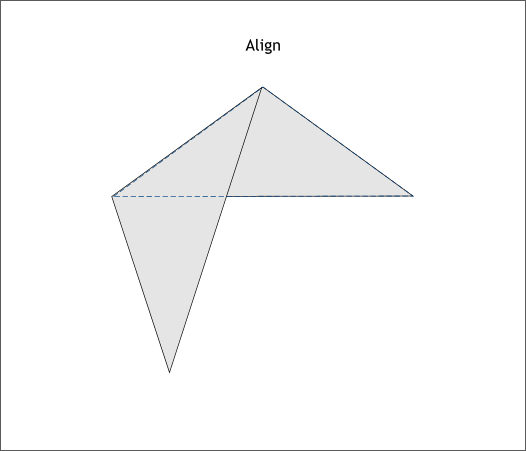
Align the rotated shape as shown above.
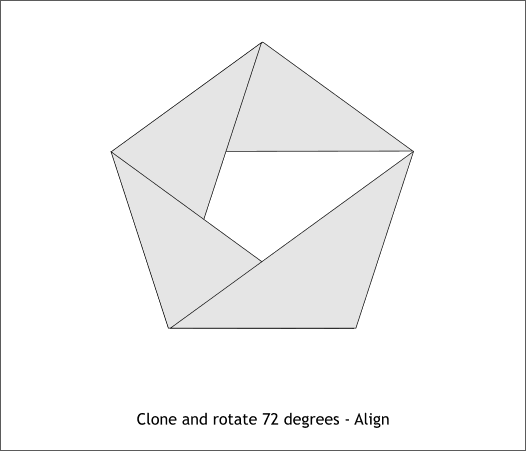
Clone the clone, rotate 72 degrees, and align.
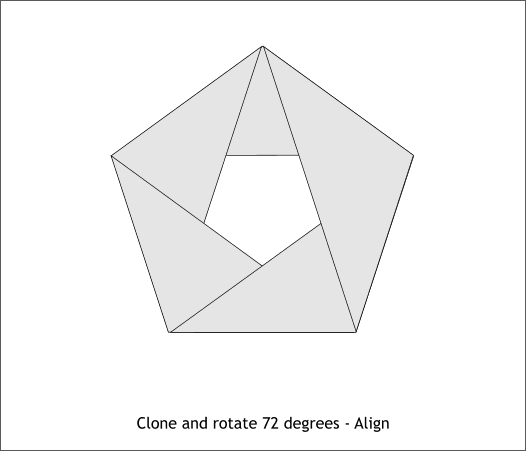
Repeat the last step.
One more time. There is definitely a star in here somewhere.
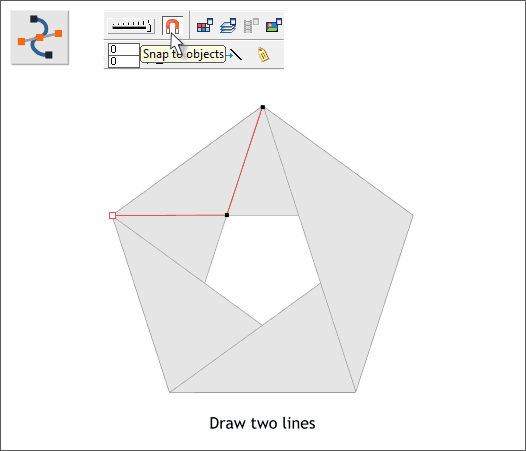
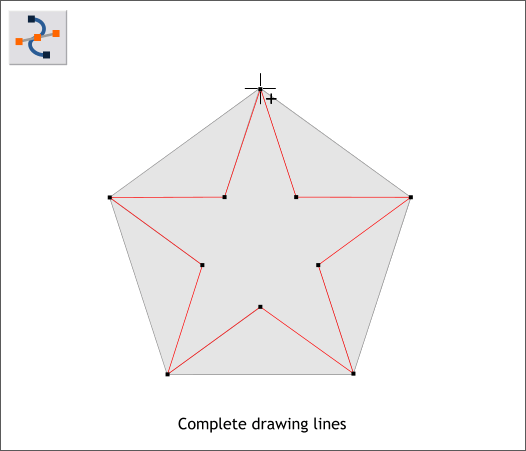
Let's see if we can draw it out. Make sure the orange magnate (Snap to Objects) icon is in the down (enabled) position. Select the Shape Editor Tool (F4). Click at the top point and then click the top left part of the white pentagon to add the first line segment. Click the left outside point to add the second line segment. Can you see where we are going with this?
Continue add line segments. Click the last line segment at the very top to close the shape. The cursor will change to show a + to indicate the shape is about to be closed. And the closed shape will fill with your default fill color, usually black.
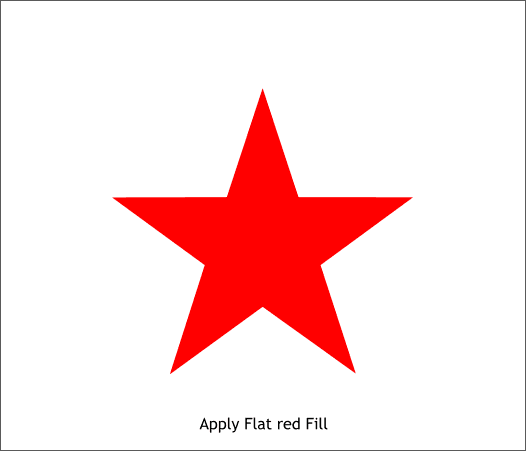
Hard step. Apply a red fill.
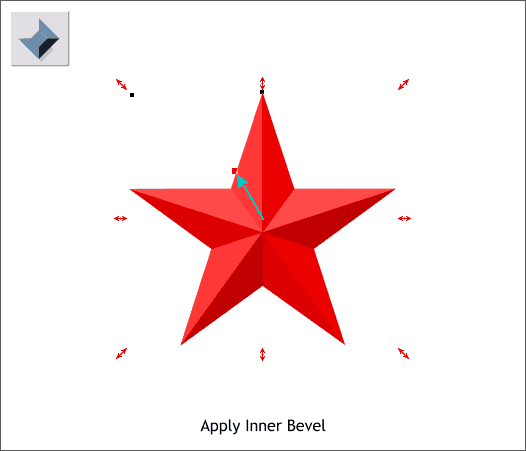
Select the star with the Bevel Tool (Ctrl F3) and drag toward the center until the star outline you are dragging disappears.
Serving Suggestion: Add a dark green rectangle and apply a light green Circular fill. Duplicate the star, reduce the size and change the fill color. Make 4 more duplicates as shown. Almost as easy as drawing an arrow, huh?
|
||||||
|
|


