|
|
|
Xara, like many applications, can produce a rainbow colored gradient fill, But how do you create a rainbow colored arc, like an actual rainbow? And how do you make the edges soft like a real rainbow in nature? And transparent like a real rainbow in nature? The answer is easily. In Xara Xtreme and Xtreme Pro.
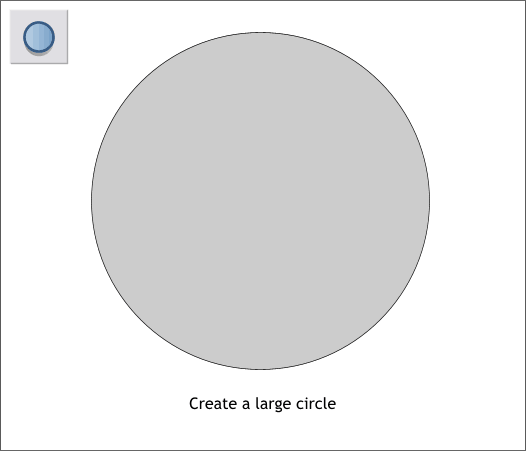
Create a large circle. The size is not important. New users, select and click the Ellipse Tool (Shift F4) on the page. Hold down the Ctrl key (to constrain the ellipse to a circle) and drag out a large circle. I have applied a pale gray fill to my circle.
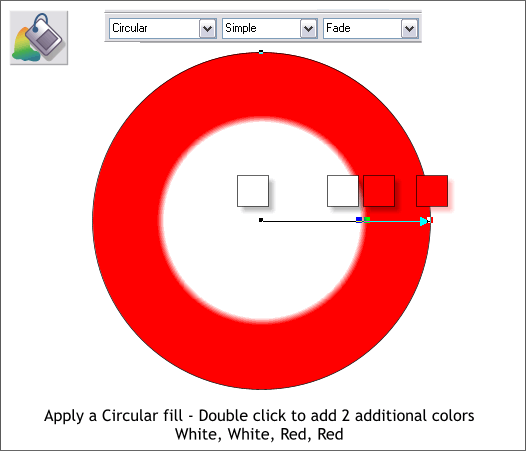
With the circle selected, switch to the Fill Tool (F5) and from the drop down list of Fill Types on the Infobar at the top of the screen, select Circular Fill. Double click on the fill path arrow (the arrow that extends from the center of the circle to the right edge) to add a new color and double click again to add a second color. Move the two new colors close together. Fill the center and next from center colors white (click the small square on the fill path then click a color on the screen palette). Make the 2 outside colors red. Position the two added colors as shown above so you have a large red O-shape. TIP: To move colors on the fill path arrow, click to select a color then use the left and right arrow keys on your keyboard to move the selected color. RELATED TIP: To cycle through the colors, press the Tab key. As each color is selected, the small selected color square will turn red.
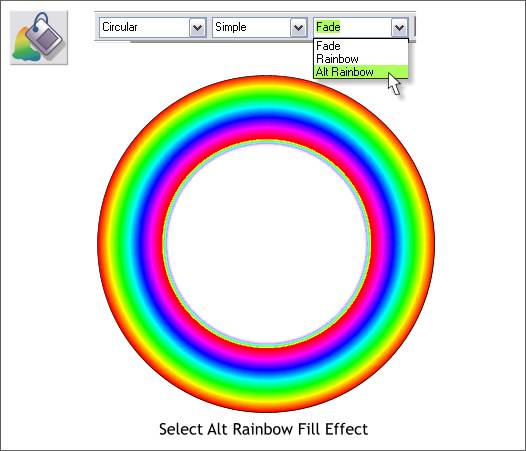
With the circular-filled circle and the Fill Tool still selected, from the Fill Effect down list, select Alt Rainbow. This affects only the two reds and a tiny bit of the inside where the white meets the red color which is green.
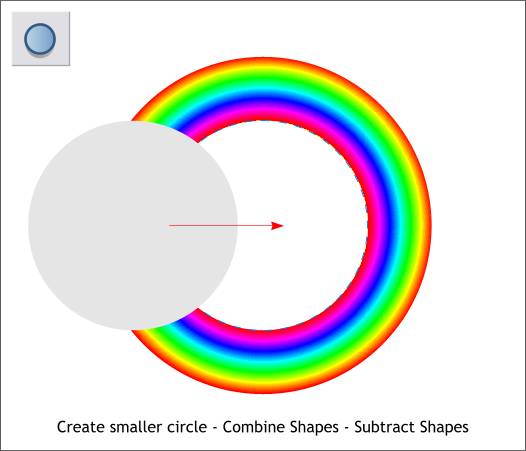
Create a new circle that is a little bit larger than the white area of the rainbow-filled circle. Center the smaller circle over the larger circle (Arrange > Alignment > Align Centrally). Hold down the Shift key and click each circle to select multiple objects. From the Arrange menu, Combine Shapes > Subtract Shapes (or keyboard shortcut Ctrl 2). The blue dashed outline shows where the center of the circle has been removed by the Subtract Shapes operation. TIP: The fastest way to center align 2 or more selected objects is to click in the center of the Alignment menu preview window (with the colored shapes), then press Apply.
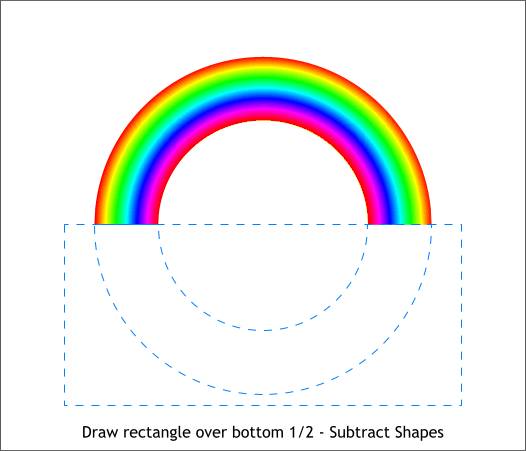
Using the Rectangle Tool (Shift F3), draw a rectangle that covers the bottom 1/2 of the circle. Select both (Shift click to select multiple objects), and Combine Shapes > Subtract Shapes ( Ctrl 2). This leaves an inverted U shape. But the sides are not very soft nor is the rainbow transparent as I promised.
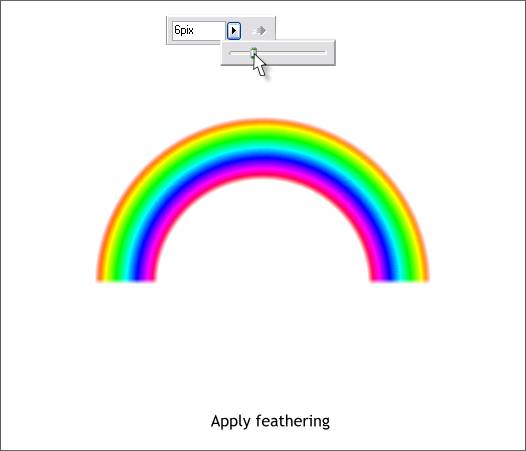
To soften the edges of the shape, with the shape selected, click the Adjust Size of Feather Region slider, which is located at the upper right area of the Infobar, and move the slider to about 6pix . Feathering softens the outer edges but not the inside of the selected object.
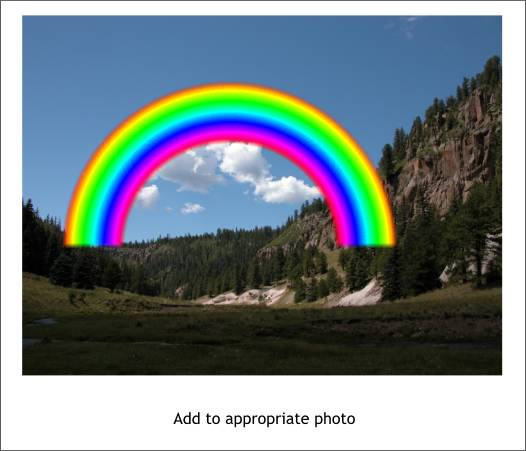
Place the rainbow shape over an appropriate photo. There are plenty of good candidates in the Clipart Gallery (Shift F10) > Photographs 1 and Photographs 2 folders. Or you can enhance one of your own photos.
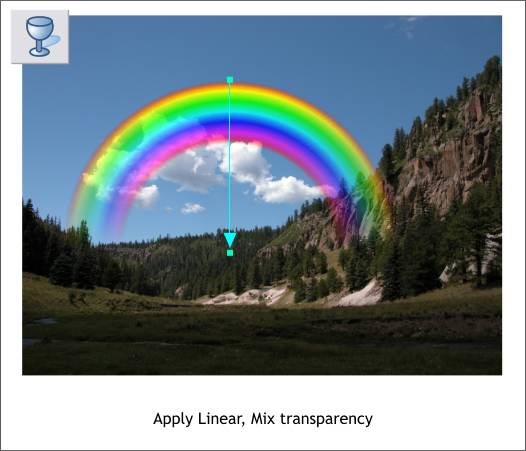
Select the Transparency Tool (F6). Click the top of the rainbow to select it. Hold down the Ctrl key (to constrain the direction), and drag down to a short distance before the end of the shape. You can resize the rainbow as necessary including stretching it sideways or from top to bottom.
|
||
|
|


