|
|
|
The best way to create a spherical bitmap effect is to use Photoshop's Distort > Spherize filter. But here is a method that works pretty well and you can do it in right in Xara.
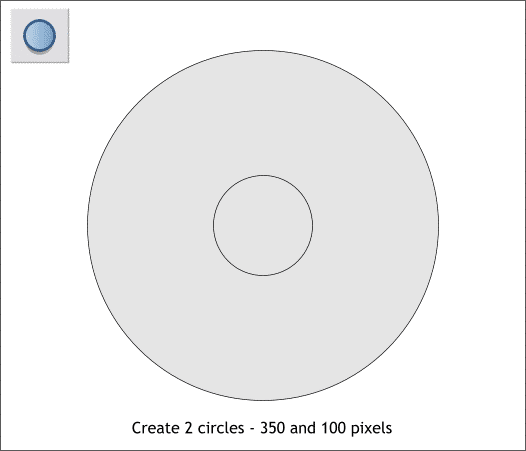
Create 2 circles to the sizes shown above.
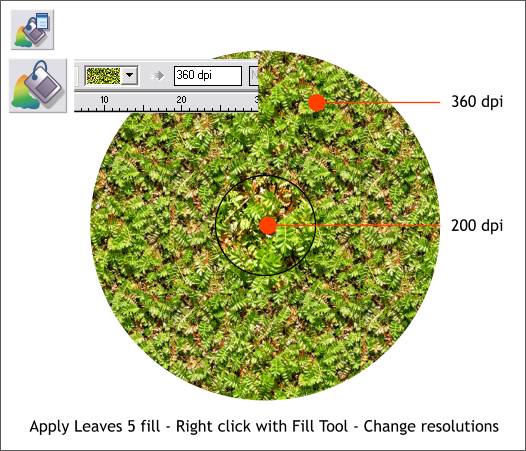
Apply a Leaves 5 fill from the Horticultural Fill folder in the Fill Gallery (Shift 11). This will work with almost any kind of bitmap fill. Right click on each of the circles with the Fill Tool (F5) and change the dpi settings as shown above. (Highlight the current number, key in the new number, and press Enter to apply the change).
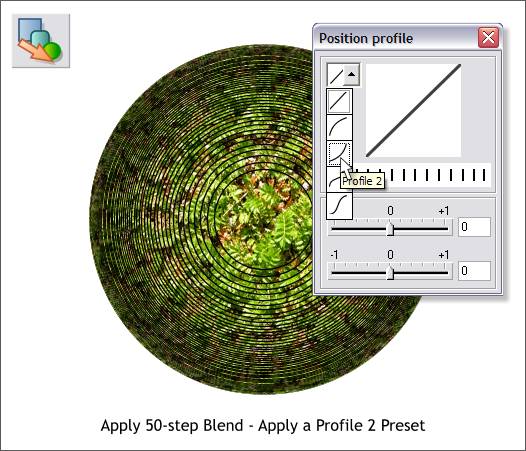
Using the Blend Tool (F7), click on the larger circle and drag to the center of the smaller circle. Change the number of Blend Steps on the Infobar from 5 to 50 and press Enter to apply the change. Press the Profile arrow icon on the Infobar to open the Position Profile dialog and select Profile 2 from the drop down list. This forces the rings to get closer together the farther they get from the center of the circle. NOTE: I have left the outlines on the blend so you can see the effect of the profile. Your blend should have no outlines.
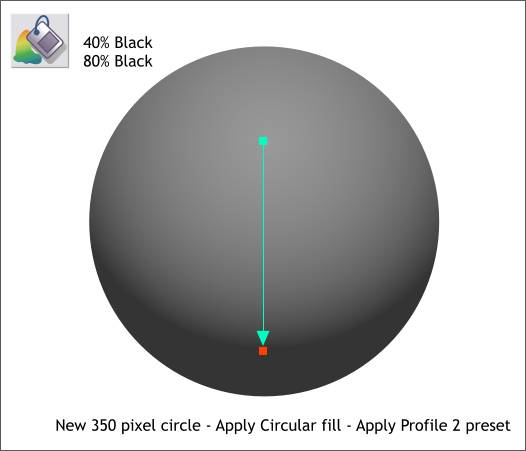
Create a new circle and using the Fill Tool, apply a Circular fill using the two shades of black shown above. Move the center of the fill upwards and apply a Profile 2 preset to expand the lighter area of the fill outwards.
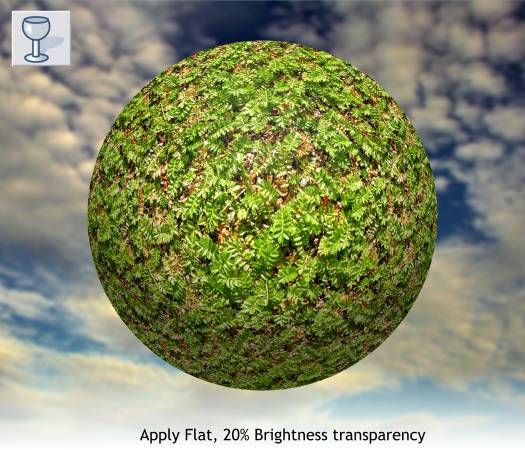
Apply a Flat, 20% Brightness transparency. This reenforces the spherical effect.
|
||
|
|


