|
|
|
A request came up recently in the Xara X Conference to know if there was any way to create a vector fill (like CorelDRAW can do). The short answer is not exactly. This is one area in which we have to give CorelDRAW its due. But that does not mean that we cannot create a scalable vector fill. And one of Xara's strengths is its bitmap fills. In this tutorial, we'll do both.
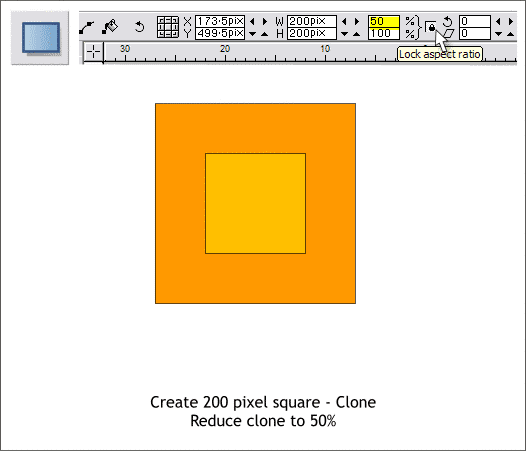
Using the Rectangle Tool, and holding down the Ctrl key to constrain the rectangle to a square, draw a 200 pixel square. Clone the square (Ctrl k) and reduce the size to 50%. New users: With the clone selected, make sure the Lock Aspect Ratio icon is in the down position (proportional scaling). Enter 50 in either of the % text entry boxes and press Enter to apply the change. I have applied different fill colors so you can see the results of this operation.
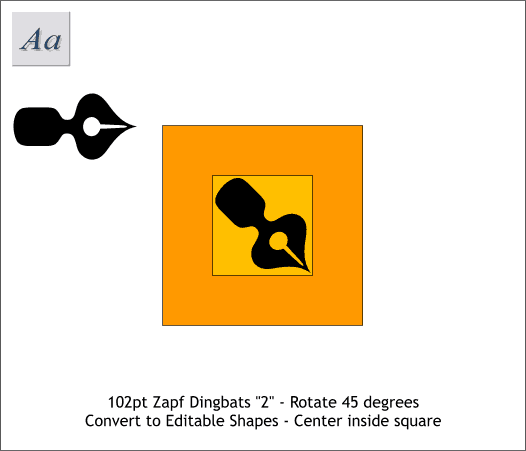
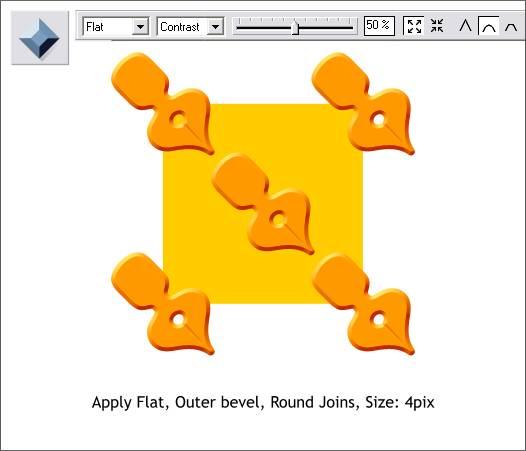
You can use any symbol or text character. I have used a Zapf Dingbats pen symbol (format the number 2) with a point size of 102 pt and which has been rotated -45 degrees, Converted to Editable Shapes ( Arrange menu), and centered inside the square using the Alignment menu (Arrange > Alignment).
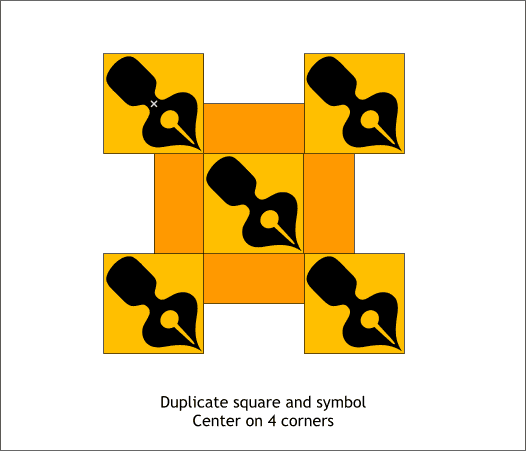
Duplicates of the pen and square have been placed in each corner. The center of each square should be directly over each corner of the large square.
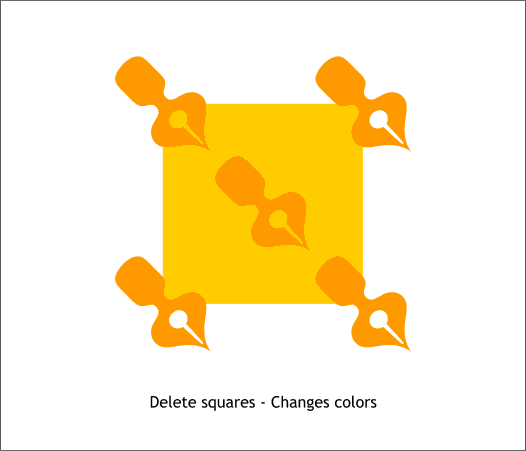
Once the pens are in place, delete the squares and apply a color scheme of your choice.
Bevels have been applied to all five pen symbols. The Round Joins option keeps the tips of the pens from being sharp angles.
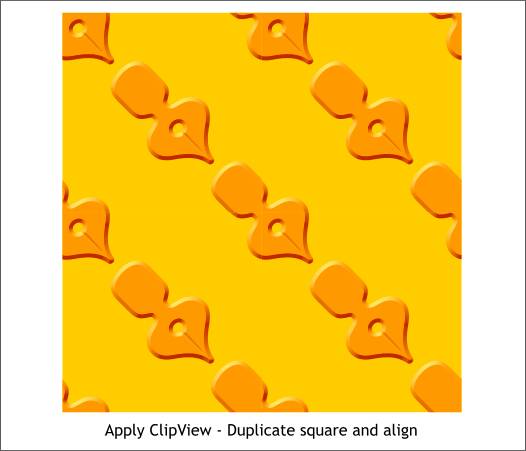
Select the 5 pens and the square and Arrange > Apply ClipView to mask the shapes inside of the square. In the example above, 3 duplicates have been made and aligned creating a seamless, repeating pattern. You can make a large section of the pattern tiles, group these, and use Apply ClipView to place the fill inside other objects.
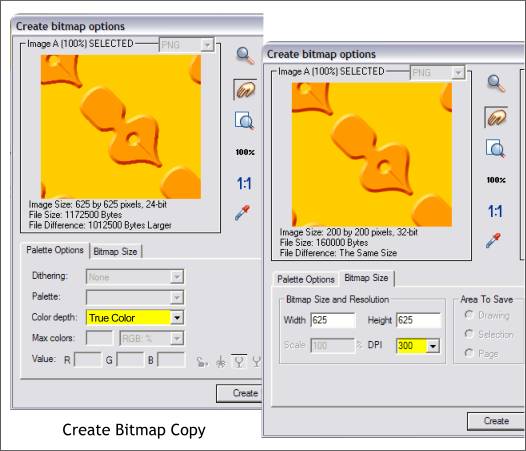
Xara also creates very excellent Bitmap fills. The clip view tile was selected and a bitmap copy created (Arrange > Create Bitmap Copy...) The True Color color depth option was selected and the Bitmap Size increased to 300 dpi for greater scalability.
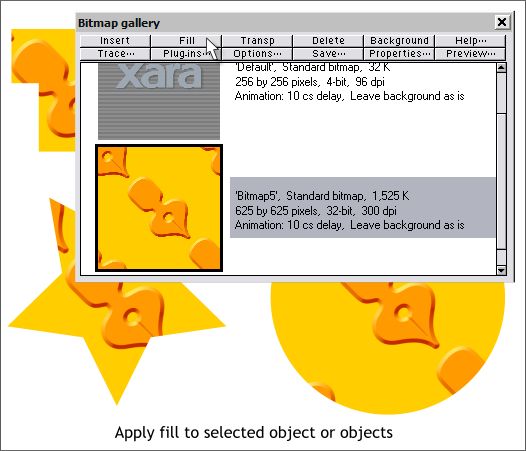
The repeating fill is applied by selecting the object to be filled, opening the Bitmap Gallery, selecting the fill pattern, and pressing Fill.
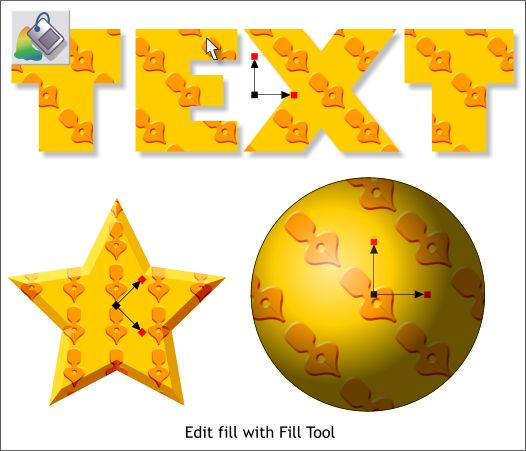
To edit the size of the fill pattern, select the filled object with the Fill Tool. A set of fill path arrows appear which can be dragged to enlarge, reduce or rotate the filled shape. Filled shapes can be beveled, have shadows applied, and other Xara effects.
|
|
|
|


