 |
 |
| H 1 2 3 4 5 6 |
|
|
|
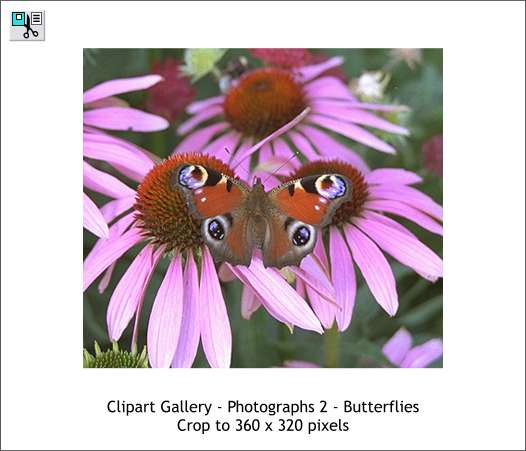
For this tutorial, we'll be using images from Xara's Clipart Gallery, which is located on the top right area of the Infobar. Open the Bitmap Gallery, select the Photographs 2 folder and locate the Butterflies image shown above. Click Import or drag the image onto the page. Once on the page you can delete it as it is now in the Bitmap Gallery. New Users: If you open the Clipart Gallery and there is nothing there, insert your Xara X CD into your CD drive. Open the Clipart Gallery and press Disc Clipart... Xara will attempt to locate your CD drive. Locate the Clipart folder and double click on the icon. Then press Add. Xara will add thumbnails to the gallery for all the clip art folders. The actual clip art remains on the CD however and so to access the clipart, the disc needs to be in your drive.
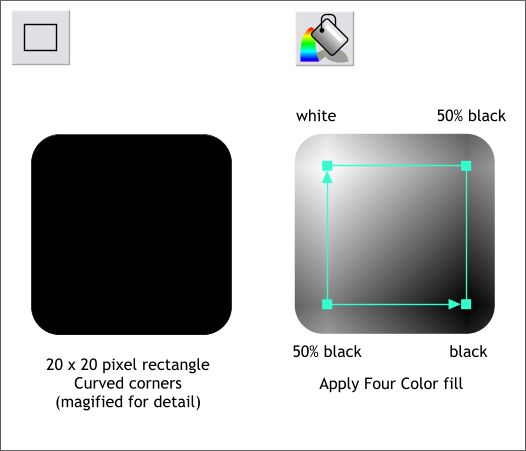
Using the Rectangle Tool, and holding down the Ctrl key to constrain the rectangle to a square, drag a 20 x 20 pixel square. Zoom in close so the square is more the size shown above. Click the Curved Corners icon (the arc icon on the Rectangle Tool Infobar) to round the corners. Select the square with the Fill Tool then select Four Color Fill from the Fill Type drop down list. Adjust the fill path arrows as shown and click each corner square to apply the for shades of black shown above.
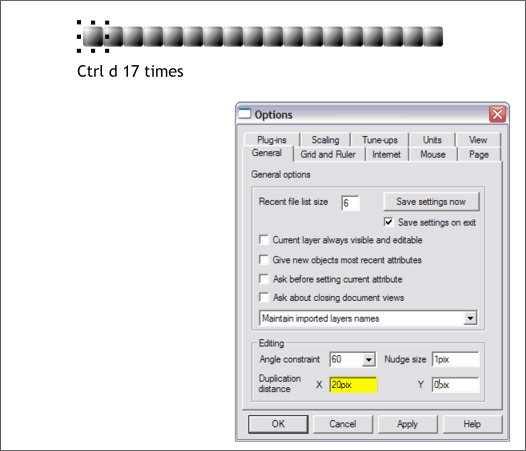
[Joel Schilling's precise patented object moving technique] Once you have applied the fill, zoom out to 100%. Right click on the page and select Page Options... from the pop up menu. Select the General tabbed section. Change the X Duplication Distance to 20pix and the Y distance to 0. Press Apply to make the changes and keep the dialog open. Select the square and press Ctrl d (duplicate) 17 times making a row of 18 squares as illustrated above. Change the X Duplication Distance to 0 and the Y Duplication Distance to -20 (minus 20). Press Apply. Select the top row of squares and group them (Ctrl g). Now press Ctrl d 15 times to make a total of 16 rows. Group all the rows. Change the duplication distance settings back to how they were and press OK to close the Page Options dialog.
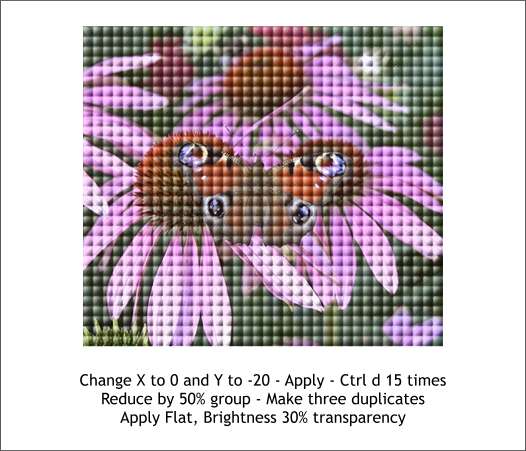
Reduce the group of squares to 50%. Make three duplicates and arrange them to make two rows of two groups. Group all four groups. Center the squares over the photo and apply a Flat, 30% Brightness transparency. This produces a kind of quilted look. If you reduce the size of the of the groups by 50% again, and arrange them two and two, you will have a convincing canvas effect.
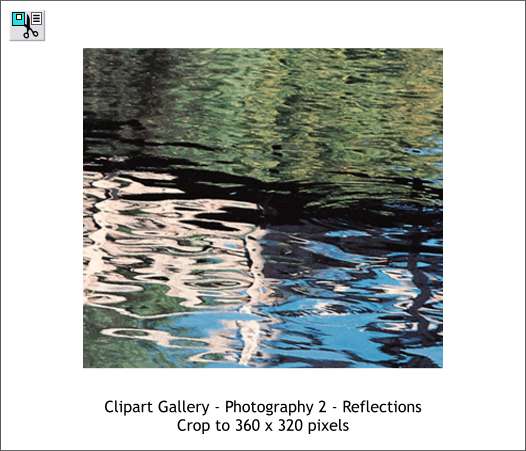
In the Clipart Gallery, locate and bring the Reflections photo onto the page. You can delete it because it too is now in the Bitmap Gallery. Create a new rectangle to the same size as the previous one and apply the image as a Fill from the Bitmap Gallery. If you now select the rectangle with the Fill Tool, resizing handles appear and you can scale the image inside the rectangle.
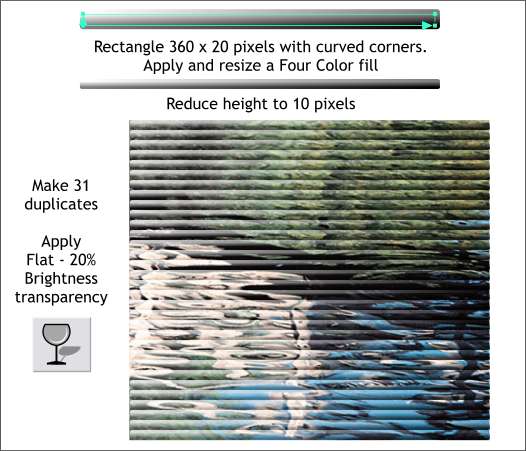
Create a new 20 pixel x 320 pixel rectangle, apply a Four Color fill using the same four shades of black used for the first square. Reduce the height to 10 pixels and make 31 duplicates using the Joel Schilling method described above to evenly space the duplicates. Apply a Flat, 20% Brightness transparency to the rectangles which produces another interesting effect.
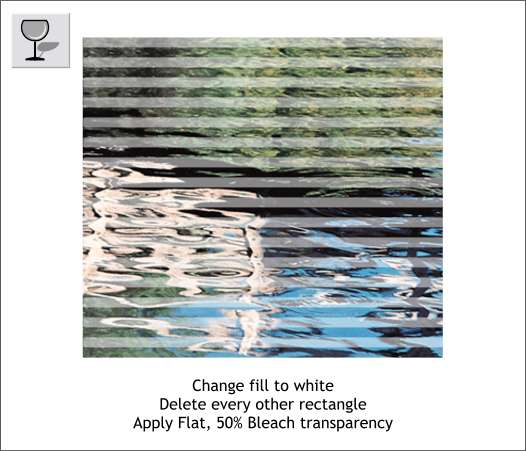
Here is another effect. Select all the rectangles and change the fill to Flat, white. Apply a Flat, 50% Bleach transparency. Delete every other rectangle. NOTE: If you grouped the rectangles, Ctrl click to select just one rectangle in the group.
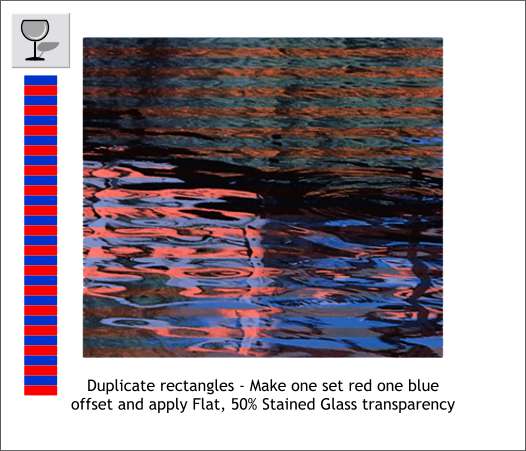
I could go on and on and several of you rude readers have told me as much! But here is one last thing to try with our Fun with Fotos tutorial. Recycle the white rectangles from the last effect. Apply a Flat, blue fill. Duplicate these, offset them down 10 pixels, and change the fill to red. Apply a Flat, 50% Stained Glass transparency to each. Xara can do so many cool things with transparency and photos it is hard to stop experimenting, don't you agree?
|
|
|
|
|
|
|
|