|


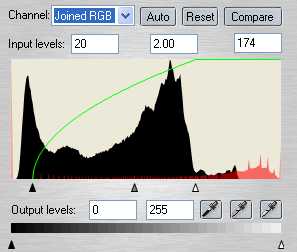
We can increase the contrast even further by pushing the white and black sliders to the center of the histogram and push the gray slider further to the right! Accept the changes and return to Xara (Alt F4).

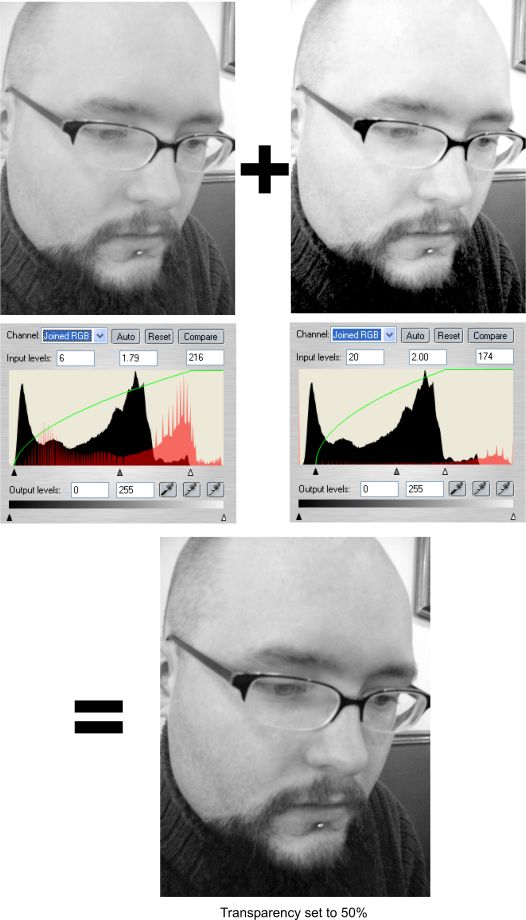
Apply Stained Glass transparency to the cloned image and Voilà! a lot of detail has been regained! If the effect is too extreme you can decrease it by increasing the transparency percentage, which in this case decreases the dark
areas of the image. 0% is actually 100% Stained Glass transparency. Increasing the percentage of Stained Glass transparency actually decreases the intensity of the transparency operation. This is something that is better
seen by experimenting as you can see the results easier as they are applied in real time.
The trick here is lighten up the midtones a couple of ticks "too far", making the image slightly too light for your eyes. The copy with Stained Glass
transparency will reduce the lightness and increase the contrast, making the photo perfect!
You need to remember a very important point: If you have a lousy original you will also get poor results when editing the image, so always try to work with good original images.
I prefer to use Stained glass transparency in the case I would export my work in Photoshop format (PSD) as Xara Xtreme can convert only Stained glass and Bleach to corresponding Photoshop transparencies (Stained glass imports as
Multiply in Photoshop, and Bleach as Screen).
|