
|
||
|
|
|
The screen grab left shows a few of these in highlighted colours, with no feathering nor transparencies, but you should by now be getting the idea.
|
|
Look again at your abandoned, forlorn empty glass. Create these shapes , but keep them within the limits of the base. Change the fill colour, feathering and transparencies to match what you see. None of these shapes are fixed, remember. They will change as you move the glass or the light source. One thing that I've also noted is that the shadow of the glass itself is also well refracted within the glass. I've coloured it red here to highlight the shape. |
|
The glass body still looks a bit formless though so lets add some more highlights to the body. You can either do this in the Body Highlights layer or create a new one. View your pathetically dry and unwanted glass again. Notice how it has reflections and highlights running down it's length. . |
|
By altering the fill colours, the feathering and transparencies, the whole glass will take on a form of it's own. Remember to add additional colours as well as black and white. Whilst I'm producing this tutorial the light I'm using has a brass base and there are degrees of a very distorted brassy yellow in the empty glass sitting on my desk. (It's really getting on my nerves now!)
|
|
Open the Layers Gallery again and create a new layer and name it Shadow. Make all other layers non-editable. Drag the Shadow layer to just above the Background bitmap layer in the Layers Gallery. The multiple shapes within the drawing are too complex for us to use Xara X's shadow tool, so we're going to have to draw one. (You can do it!)
|
|
Fill the yellow one with 60% Black, feather and apply a hefty Mix transparency. Do the same for the red shape but fill with white.
|
|
Now get a pen or pencil and place it behind that bloody empty glass on your computer table. Notice the refraction! On my desk, the pen appears split, with the part behind the glass higher than the rest of the pencil. Let's recreate this in our drawing
|
|
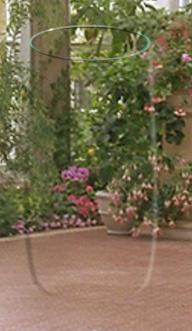 Now we've finished the rim, let's draw the base.
The base will probably look different on individual glasses more than any other part of the glass due to it's thickness and the surface on which it's standing.
Now we've finished the rim, let's draw the base.
The base will probably look different on individual glasses more than any other part of the glass due to it's thickness and the surface on which it's standing.
 The shapes of the bottom arcs will depend greatly
on what I've mentioned above, but by careful observation it is merely a continuation of the preceeding techniques. ie creating arc's and applying fills, feathering and transparencies.
The shapes of the bottom arcs will depend greatly
on what I've mentioned above, but by careful observation it is merely a continuation of the preceeding techniques. ie creating arc's and applying fills, feathering and transparencies.
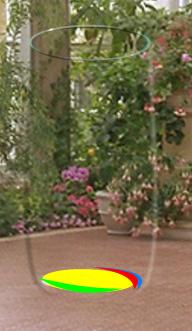
 The base also has some non standard shapes other
than arcs and ellipses.
The base also has some non standard shapes other
than arcs and ellipses.
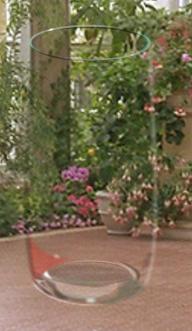
 So now we're at the stage left. Again notice that
I've added some white, non transparent highlights to the base to give a true depth feeling.
So now we're at the stage left. Again notice that
I've added some white, non transparent highlights to the base to give a true depth feeling.
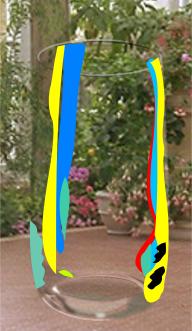 Again, I can't show you how to create each
highlight or reflection individually, but you should be able to get the idea by looking at the multi coloured shapes left.
Again, I can't show you how to create each
highlight or reflection individually, but you should be able to get the idea by looking at the multi coloured shapes left.
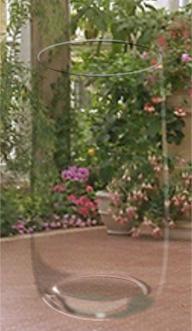
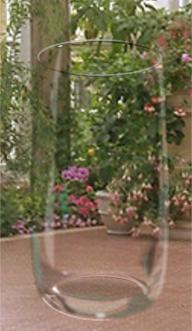 After applying the fills, feathering and
transparencies your glass should look something like the one on the left.
After applying the fills, feathering and
transparencies your glass should look something like the one on the left.
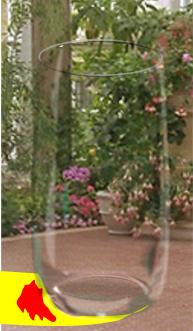 Draw the 2 shapes as shown left. (Remembering the light source).
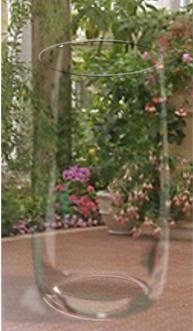 We're almost finished!