


 Several years ago when I was complaining about not having any
inspiration upon which to create a tutorial, my long suffering wife
suggested that I do a tutorial on how to create the logo for my alma
mater, Art Center College of Design in Los Angeles. And this month
lacking both a Guest Tutor and inspiration, I have decided to accept her
suggestion. Even new users should be able to complete these tutorials.
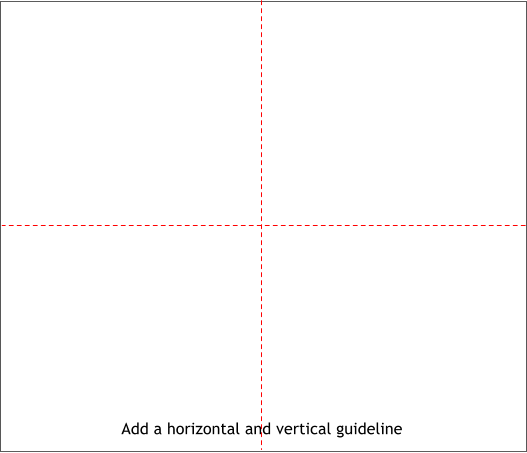
Display the screen rulers (Window > Bars > Rulers, or use the keyboard
shortcut, Ctrl L). Drag a vertical and horizontal guideline from the
screen rulers (hold down the left mouse button and drag from the ruler
onto the page).
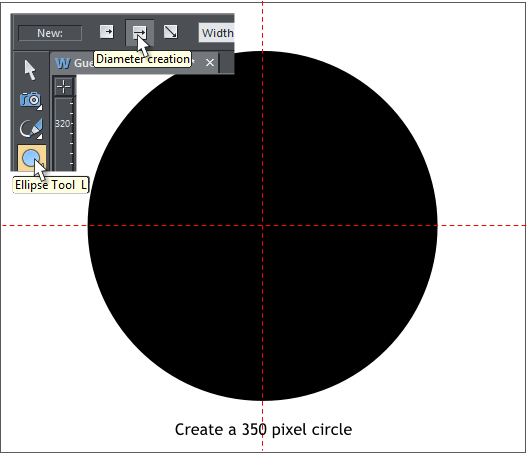
Select the Ellipse Tool (keyboard shortcut is L). Click the Diameter
Creation icon on the Infobar at the top of the screen. Hold down the
Shift key on your keyboard, click at the intersection of the two
guidelines and drag a 350 pixel circle as shown above.
TIP: Create any size circle. Then on the Infobar, highlight and
change the W and H dimensions to 350 and press Enter to apply
the change. This works with ellipses, rectangles and squares as
well. It only works right after the object’s creation however.
Your circle should look just like mine above.
Several years ago when I was complaining about not having any
inspiration upon which to create a tutorial, my long suffering wife
suggested that I do a tutorial on how to create the logo for my alma
mater, Art Center College of Design in Los Angeles. And this month
lacking both a Guest Tutor and inspiration, I have decided to accept her
suggestion. Even new users should be able to complete these tutorials.
Display the screen rulers (Window > Bars > Rulers, or use the keyboard
shortcut, Ctrl L). Drag a vertical and horizontal guideline from the
screen rulers (hold down the left mouse button and drag from the ruler
onto the page).
Select the Ellipse Tool (keyboard shortcut is L). Click the Diameter
Creation icon on the Infobar at the top of the screen. Hold down the
Shift key on your keyboard, click at the intersection of the two
guidelines and drag a 350 pixel circle as shown above.
TIP: Create any size circle. Then on the Infobar, highlight and
change the W and H dimensions to 350 and press Enter to apply
the change. This works with ellipses, rectangles and squares as
well. It only works right after the object’s creation however.
Your circle should look just like mine above.
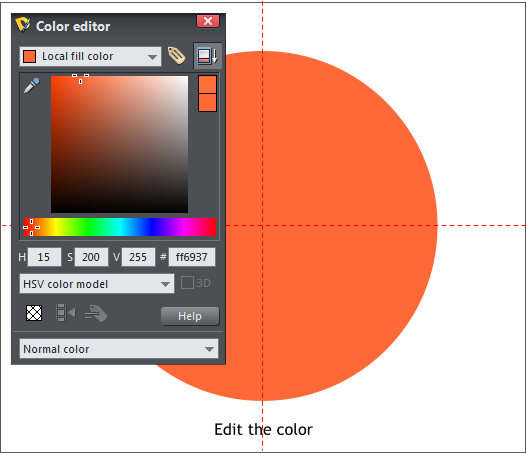
 With the circle selected, open the Color Editor (Ctrl e).
Select the HSV Color Model (Hue Saturation Value).
Enter these color values: H: 15, S: 200, V: 255.
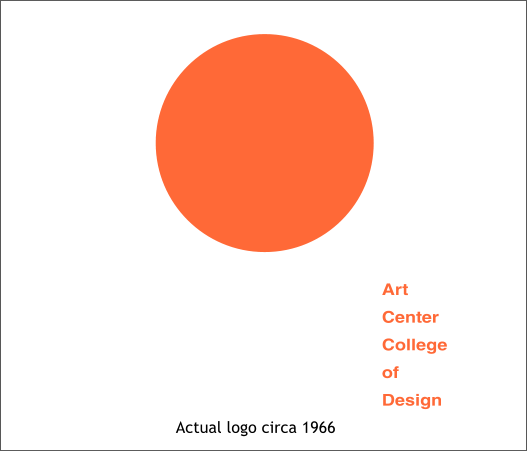
If you followed my instructions, you should have something like the logo
shown above. If you are wondering, yes, that was the actual Art Center
logo and to some extent still is, though now it is gray and smaller. But
the college catalog looked pretty much like the above, except it was
square. Simple but very recognizable.
So this got me to thinking. A circle is a circle is a circle, isn’t it? Well
yes and no. Maybe visually. Bit what about in terms of creation?
On the following pages we’ll look at some other methods you can use to
create a circle. After all, I have four more pages to fill up!
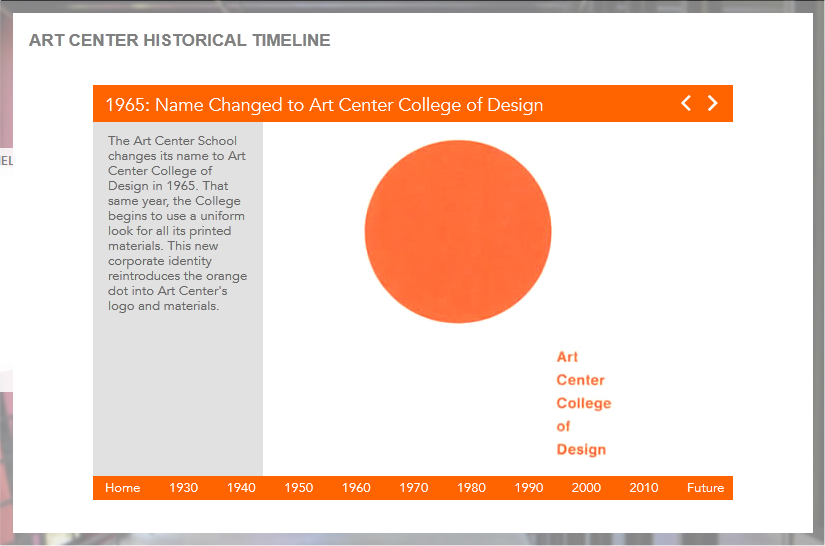
Click image
to see actual
timeline image
With the circle selected, open the Color Editor (Ctrl e).
Select the HSV Color Model (Hue Saturation Value).
Enter these color values: H: 15, S: 200, V: 255.
If you followed my instructions, you should have something like the logo
shown above. If you are wondering, yes, that was the actual Art Center
logo and to some extent still is, though now it is gray and smaller. But
the college catalog looked pretty much like the above, except it was
square. Simple but very recognizable.
So this got me to thinking. A circle is a circle is a circle, isn’t it? Well
yes and no. Maybe visually. Bit what about in terms of creation?
On the following pages we’ll look at some other methods you can use to
create a circle. After all, I have four more pages to fill up!
Click image
to see actual
timeline image