|
While this tutorial is titled Creating Stucco, it is based on a paint finish I remember from grade school in which sand is mixed in with glossy enamel paint and which produces a glossy stucco-like texture.
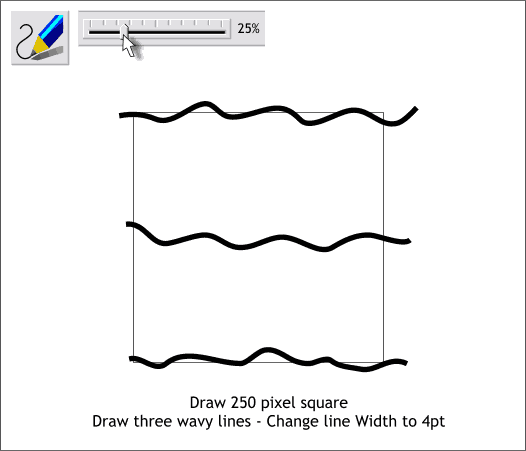
Create a 250 pixel square. Using the Freehand and Brush Tool, and with the Smoothness slider set to around 20-25%, draw 3 wavy lines as shown above. Make each line different and align the three evenly spaced.
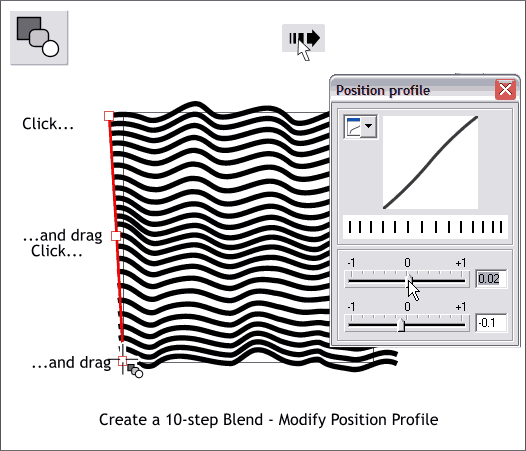
Select the Blend Tool. Click and drag on the top line to the center line. Click and drag from the center line to the bottom line to create a multi-part blend. Change the Number of Steps in the Blend setting from 5 to
10 and press Enter to apply the change.
Press the Position Profile arrow icon on the Infobar to open the Position Profile dialog (shown). Move the top slider a tad to the right and the bottom
slider a tad to the left. This causes the spacing between the blended lines to be slightly irregular.
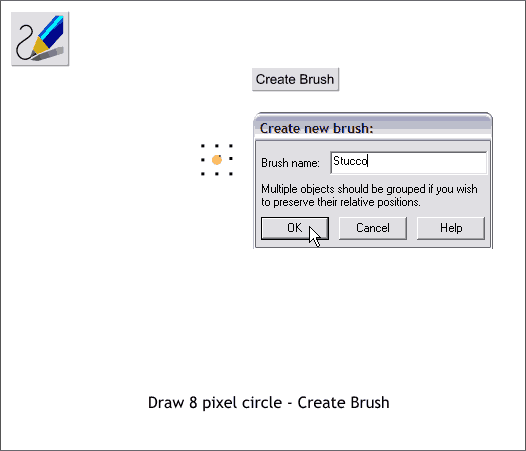
Create a small circle (about 10 pixels). Apply a pink fill. Select the Freehand and Brush Tool, and with the circle selected, press the Create Brush button on the Infobar. Name the brush Stucco and press
OK.
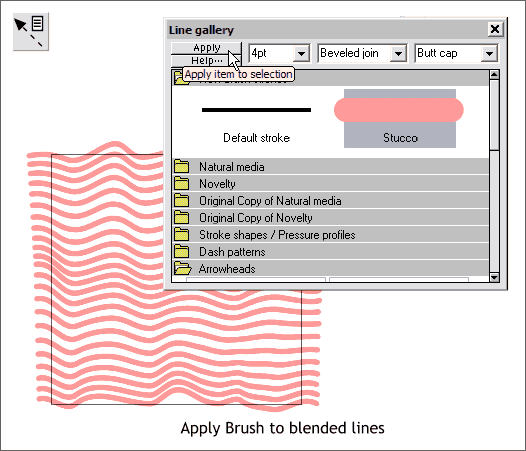
With the blend selected, open the Line Gallery (on the upper right area of the Infobar). Open the New Brush Strokes folder at the top of the list and select the Stucco brush stroke. Press Apply
to apply the fill to the selected lines. Make sure the line Width is 4pt.
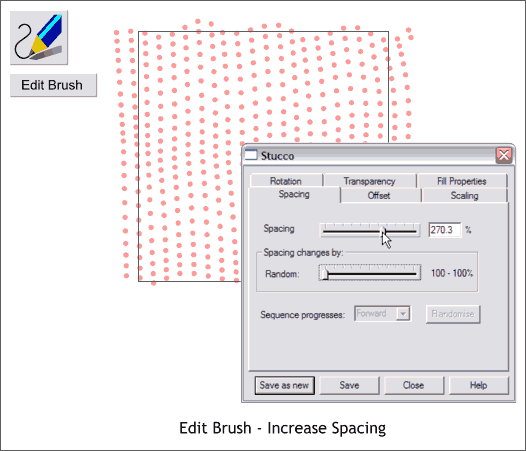
Select the blend with the Freehand and Brush Tool then press Edit Brush.
Change the Spacing setting to approximately 270% or until there is a good amount of space between the dots.
Select the blend with the Selector Tool (the arrow pointer). From the Arrange menu, select Convert to Editable Shapes. With the blend still selected, from the Arrange menu, select Ungroup
. This leaves 22 brush-stroked lines.
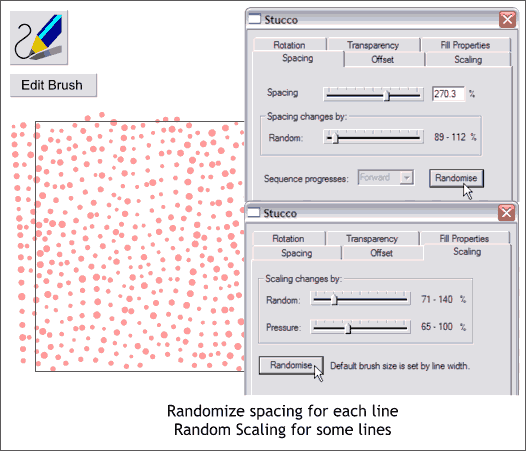
One line at a time, select the line with the Freehand and Brush Tool and select Edit Brush. Move the Spacing > Random slider to the right a small distance and press Randomize.
Select the Scaling tabbed section and move the Random slider about 1/5th to the right. Press Randomize.
Repeat for each line pressing the Spacing and Scaling Randomize buttons several times until each line looks very different from the other lines.
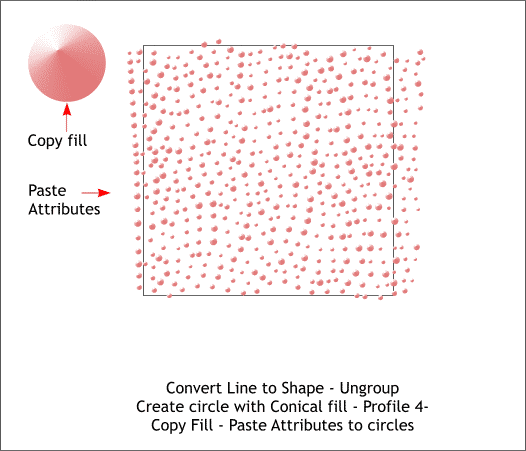
Select all the lines and Arrange > Convert Line to Shape. (This converts the lines from a brush stroke to a group of circles. Then with all the lines selected, Arrange > Ungroup.
Create a larger circle. Apply a Conical fill using Pink and white. Drag the center of the Conical fill to the upper left area of the circle. Click the Position Profile arrow icon on the Infobar and apply a
Profile 4 preset from the drop down list.
Copy the Conical fill to the clipboard (Ctrl c). Select all the dots and Edit > Paste Attributes. This copies the Conical fill and its modifications to the dots.
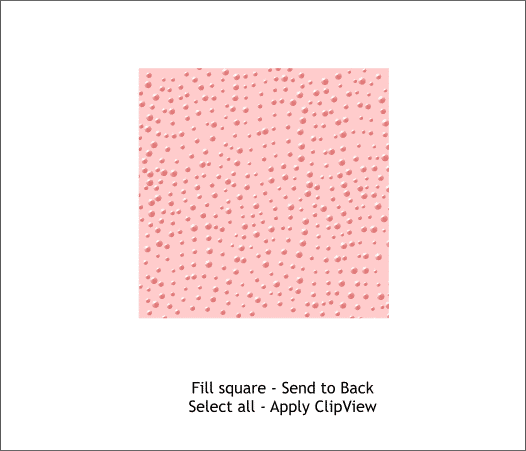
Apply a pink fill to the square and set the outline to none. Send the square to the back (Ctrl b). Select the dots and the pink square and Arrange > Apply ClipView. This masks the dots inside the square.
You can use any colors you want for this technique and you can have the dots spaced closer or rather apart as you wish.
|
