
| |
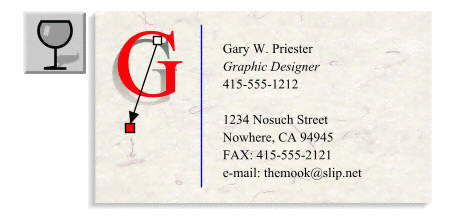
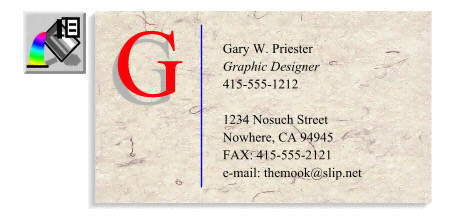
Select the drop shadow, change the fill color to black, and select the Transparency Tool again. This time from the Transparency Shape drop-down list (left side of the Property Bar) select Linear. An arrow appears. Drag the arrow as shown in this example to make the shadow become gradually lighter. Cool huh? And, the type can still be edited. Save your work and if you have a printer handy, print out your card. I actually create my business cards in Xara and print them on glossy stock using my Epson Stylus 800 color ink jet printer. They look every bit as good as expensive cards. But that's another tutorial. If you liked this tutorial and would like to have more, click here to send me an e-mail message.
Gary W. Priester
| |
©1998 Gary W. Priester
This lesson may not be copied, altered, republished or distributed in any type of media without the express written permission of the author.