|
|


|
Let's take what we learned with Gary's tutorial and go to the next step. In this tutorial, you will learn how to use adjustment layers and curves to enhance your digital photographs (the easy way).
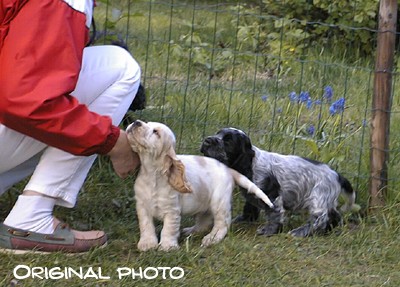
As an example, we have this digital snapshot. It looks pretty good, but we can always try to enhance it a bit.
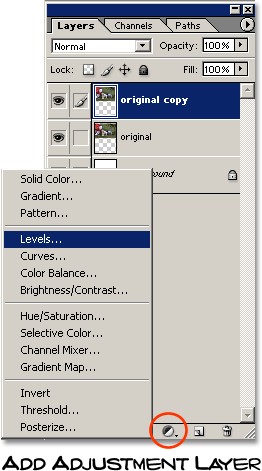
Overall tonal correction, quickly done by an adjustment layer with levels (read Gary's previous tutorial), use same techniques except that you use levels on an adjustment layer).
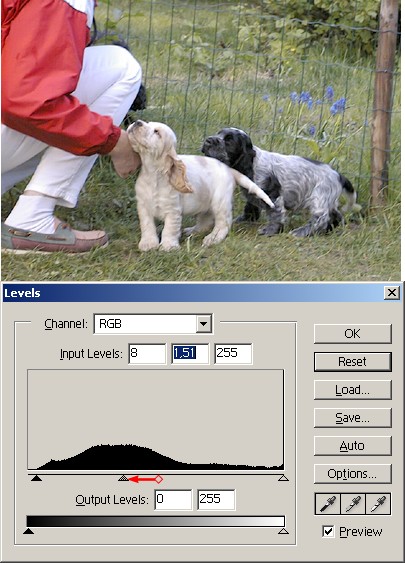
What I do here is dragging the midtones a little too far on the light side to bring out details in the shadow parts, making the image look a bit flat and washed out. No problem, we can fix that by adding a hue adjustment layer.
|
||||
|
|
||||