 |
 |
||||
| 0 1 2 3 4 5 6 Donwload Zipped Tutorial | |||||
|
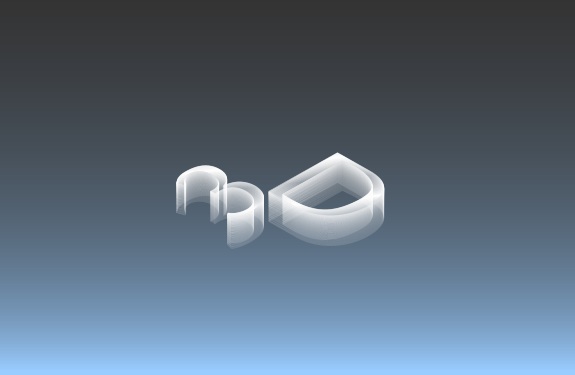
Aligning the Type Now, with our blended, semi-transparent type in the center of our background, move the original type down so it sits directly on top of the blended characters. If you have to, you can align both type objects vertically, then use the down arrow key to move the original type into position.
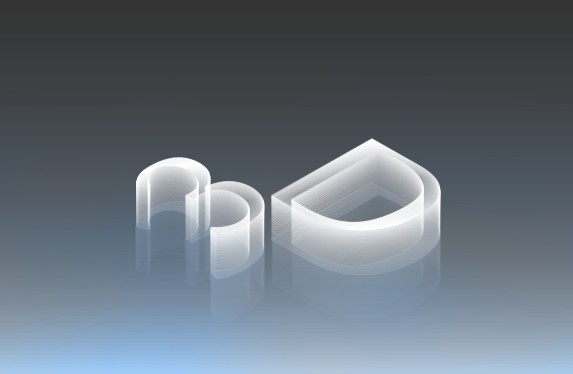
Adding a Reflection Select both type objects now and under the Arrange menu choose "Create Bitmap Copy". Accept the default settings and just click "Create". Then drag the bitmap copy over top of the original type, select both objects, and align them centerally. Then select just the bitmap copy (which is the topmost object) and hold the SHIFT key down while you tap the down arrow key 3x (30 pixels). Then send the bitmap behind the original type (Ctrl+Shift+B). Select the bitmap copy and apply a Flat transparency to it, with a setting of between 75-80%. Then change the transparency mode to "Luminosity". PAUSE... And now that we've completed most of our type creation, we can scale the whole thing up a bit. If your type started out fairly small like mine, select all 3D type objects and scale them up a good amount. We want to see some detail. NOTE: if when scaling up you start to see visible lines in the blended type, just increase the amount of blends until you attain a smooth effect again.
|
|||||
|
|
|||||
|
|
|||||