 |
 |
||||
| 0 1 2 3 4 5 6 Donwload Zipped Tutorial | |||||
|
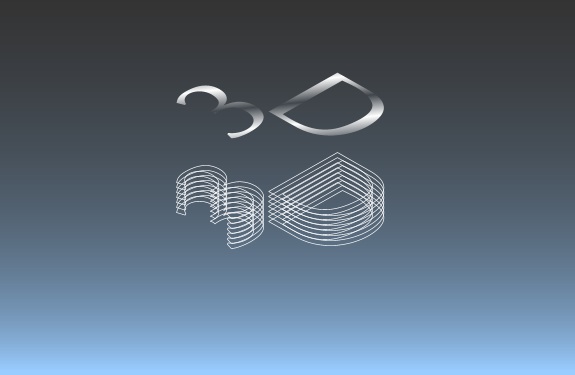
Cloning the Type It's time to clone the type. Click the type and press Ctrl + K. Move this first clone down so it's well below the original. Now clone the first duplicate and move this second clone down until the distance between the two clones is the height you want your type to be. A good height for our example here would be about 30 pixels or so. Also, send the bottom clone behind the first (Ctrl+Shift+B).
Blending the Type Select the Blend tool. Click on the bottom type clone and drag the tool up to the top type clone. Release the mouse button when the tool sits on top of the upper text. Xara will default to 5 blends between the two originals. Leave that number as is for now. Add a .5 pixel white Stroke to the blended type, and remove the main fill colour. Now you can better see how solid the blends are. Add more blend steps now to make the type appear solid. It should take about 120 blend steps to fill a gap of 30 pixels, with a .5 pixel outline. Extra Info: Although the math would suggest that only 60 blends are needed, this isn't accurate in this case. Why? Because the lines are anti-aliased, so gaps will be quite visible with only 60 blends. Since there are 2 sides to each line, 120 blend steps does the trick.
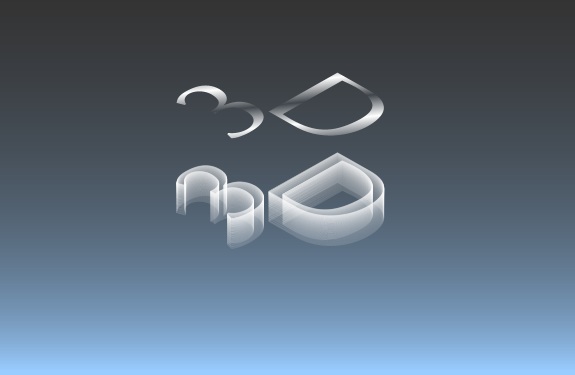
Adding Transparency Once the blends have been created, apply a Flat transparency to this type, and set the Transparency level slider to about 85%. Select the blend with the Blend Tool. Open the "Position Profile" and choose "Profile 2". This will make the blend more dense at the top and a little spacious toward the bottom. This creates the illusion of light diffusing as it passes down through the top of the plastic letters.
|
|||||
|
|
|||||
|
|
|||||